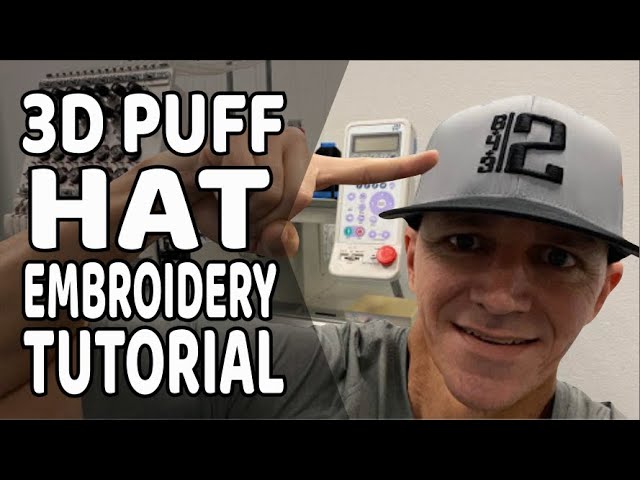
How to Create 3D Embroidery Baseball Hats
Contents
If you are looking for a fun and unique gift, try creating a 3D embroidery baseball hat This guide will show you how to create a custom baseball hat that is sure to be a hit with any baseball fan

Introduction
Learn how to create three-dimensional (3D) embroidery baseball hats by layering two pieces of fabric and stitching them together. You can use any type of fabric, but a cotton blend works well. The key to success is in the stitching; use a wide zigzag stitch so that the layers of fabric adhere securely.
What you will need
-1 White Baseball hat
-1 skein of black embroidery floss
-1 skein of red embroidery floss
-1 skein of yellow embroidery floss
-1 skein of green embroidery floss
-1 skein of blue embroidery floss
-1 skein of purple embroidery floss
-1 tapestry needle
-Scissors
Step 1 – Choose your design
Designs can be freehanded or created using a software program like Adobe Illustrator. If you are using a software program, convert your design into a stitch file format that can be read by your embroidery machine. Placement of your design is important – the front of the hat is typically 3″ to 4″ high, and centered between the left and right seams. The top of the design should be about 1″ below the top seam of the hat.
Step 2 – Trace your design onto the fabric
If you’re using a design that’s already been created, simply trace it onto the fabric with a pencil. If you’re creating your own design, start by sketching it onto a piece of paper. Once you’re happy with your design, use a light box or hold the paper up to a window to trace the design onto the fabric.
Step 3 – Cut out your design
Now that you have your design ready, it’s time to cut it out! If you are using a cutting machine, simply load your design onto the machine and follow the manufacturer’s instructions to cut it out.
If you are cutting your design by hand, use a sharp pair of scissors to carefully cut out each element of your design. You want to be as precise as possible so that your finished product looks professional.
Once you have all of your pieces cut out, it’s time to start stitching!
Step 4 – Embroider your design
This is the fun part! Now that you’ve created your design, it’s time to start embroidering.
To embroider your design onto the baseball hat you will need a few things:
– An embroidery machine
– A stabilizer (this helps keep your fabric from stretching or moving)
– Thread in the colors you want to use for your design
– Bobbins (if your machine uses them)
– A water soluble pen or pencil (this is optional, but helpful for marking your fabric)
– An iron and ironing board (again, optional but helpful)
Once you have all of your supplies gathered, you’re ready to start embroidering! Here are the basic steps:
1. Hoop your stabilizer and fabric. If you’re using a water soluble pen or pencil, mark your design onto the fabric before hoop it. This will help you know where to place your design.
2. Thread your machine with the color thread you want to use first. If you’re using more than one color in your design, you’ll need to change the thread color for each section.
3. Load your design into the machine and follow the prompts to stitch it out.
4. Repeat steps 2-3 until your entire design is stitched out.
5. Carefully remove the hoop from your fabric and trim away any excess stabilizer.
6. If necessary, press your fabric with an iron to remove any wrinkles caused by hooping it.
7
Step 5 – Assemble your hat
Now that you have all of your pieces cut out, it’s time to start assembling your hat. Start by folding the bill in half lengthwise and stitching it down the center. Then take the two side panels and stitch them together along the long sides.
Now take the front and back panels and stitch those together along the short sides. You should now have one big rectangle.
Fold this rectangle in half lengthwise, matching up the front and back panels. Stitch along the long side, leaving an opening at the top of the hat for turning. Trim off any excess thread and turn your hat right-side out.
Now it’s time to put on the finishing touches. Topstitch around the entire edge of the hat, closing up the opening you used for turning. Finally, attach a Velcro closure to either side of the hat so that it can be adjusted to fit any head size.
Step 6 – Wear your hat!
Now that you have completed all the steps, it is time to show off your new hat! You can wear your 3D embroidery baseball hat with pride, knowing that you made it yourself.
Tips and tricks
If you are new to 3D embroidery, there are a few things you should keep in mind when embroidering Baseball Hats Here are some tips and tricks to get you started!
The most important thing to remember when embroidering baseball hats is to use a stabilizer. This will help keep your stitches in place and prevent them from stretching out of shape.
Another thing to keep in mind is the type of thread you use. Polyester thread is a good choice for embroidering baseball hats because it is strong and durable.
Finally, when you are ready to start stitching, be sure to use a smaller needle than you would for regular embroidery. This will help prevent the thread from tangling.
Conclusion
In conclusion, 3D embroidery is a great way to add dimension and interest to your baseball hats By using multiple layers of stitches, you can create a variety of textures and patterns. With a little practice, you’ll be able to create beautiful, unique hats that will be sure to stand out from the crowd.