How to Make an Esports Logo in Photoshop
Contents
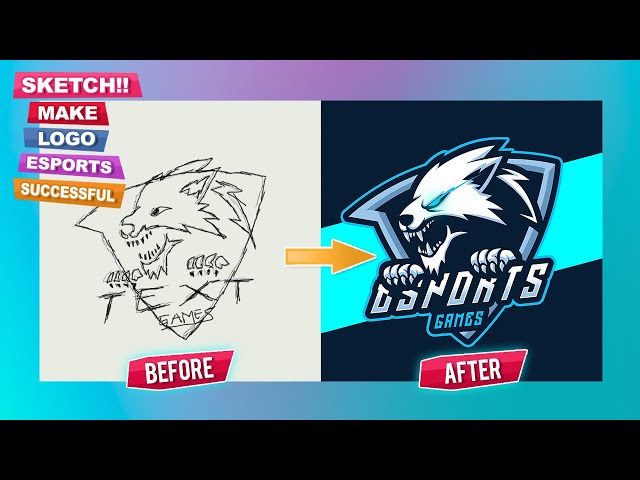
Are you looking to make an esports logo in Photoshop? Check out this tutorial to learn how to create a professional-looking logo for your gaming team or organization.
Open a New Photoshop Document
Open a new Photoshop document by going to File > New. Enter the following settings:
-File name: “esports_logo”
-Document size: 1024x1024px
-Resolution: 300ppi
-Color mode: RGB color
-Background Contents: White
Once you have entered these settings, click OK to continue.
Choose a Background
Once you have your canvas set up, it’s time to start choosing a background. You can create a Background layer by clicking on the New Layer icon in the Layers panel and then filling it with a solid color. You can also use an image as your background, either by placing it on its own layer or using the Image Fill command.
If you want to use an image as your background, make sure it’s high-resolution so that it doesn’t look pixelated when you enlarge it. You can always use the Free Transform tool to resize and reposition your background image.
Pick a Font
When it comes to fonts, you want something that is going to be easily readable but also fits the theme of your team. A lot of esports logos tend to use sans serif fonts, as they are cleaner and easier to read at a distance. However, feel free to experiment with different fonts to see what looks best for your team.
There are a few things you want to keep in mind when picking a font:
– Make sure the font is legible
– Consider the overall theme of your team
– Avoid using more than one or two fonts in your logo
Create a Vector Shape
To start, launch Adobe Photoshop and create a new project. You can do this by going to File > New. Once you’re in the New document window, set the width and height of your project. I’m going to be working with a canvas size of 1000x1000px for this tutorial.
Next, we need to create a vector shape for our logo. A vector shape is a mathematical representation of an image that can be resized without losing quality. To create a vector shape, click on the “Create new shape layer” icon in the Photoshop toolbar (it’s the fourth icon from the left).
Once you’ve created a new layer, use the pen tool (or any otherShape tool) to draw your logo. If you need help creating a custom shape, check out this helpful tutorial from Spoon Graphics.
When you’re happy with your vector shape, Right-click on the layer and select “Convert to Smart Object” from the drop-down menu. Converting your layer to a Smart Object will allow us to apply filters and adjustments non-destructively (meaning we can always go back and change our mind later).
Add Text to Your Esports Logo
Now that you have your basic shape, it’s time to add some text. In most cases, your esports logo will need to include your team name and/or abbreviated initials.
To add text in Photoshop, select the “T” icon from the toolbar or go to Layer > Type > Text on Layer. A new Type layer will be added to your project.
Now simply click anywhere on your canvas to create a text box. Type out your team name or initials and use the character window to adjust the font, size, color, and other attributes of your text layer.
Once you’re happy with your text, you can click the checkmark in the options bar or hit return/enter on your keyboard to confirm the changes.
Export Your Esports Logo
When you’re ready to export your esports logo for use, go to File > Export > Save for Web (Legacy) in the top menu bar. In the new window that opens up, make sure you’re on the PNG-24 preset and check the Transparency box before hitting Save. Now you can use your new esports logo for all your branding needs!


