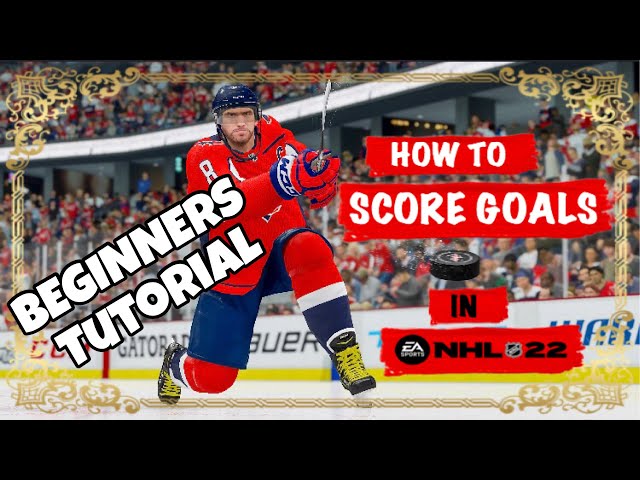
How To Shoot In NHL 22: A Beginner’s Guide
Contents
If you’re new to NHL 22 or just want to brush up on your shooting skills, this beginner’s guide is for you. We’ll go over the basics of how to shoot in the game, including the different types of shots and how to aim them. By the end, you’ll be scoring goals like a pro!
Introduction
In order to score goals in NHL 22, you will need to know how to shoot the puck accurately. This can be difficult for beginners, as the game does not provide much in the way of guidance on how to do this effectively. However, with a bit of practice, you should be able to master the basics of shooting and start putting the puck in the back of the net with relative ease. In this article, we will provide some tips and tricks on how to shoot in NHL 22.
The Basic Rules of Shooting
Shooting is one of the most important skills you need to master in NHL 22. If you can’t shoot, you can’t score goals. It’s that simple. So, in this guide, we’re going to show you the basic rules of shooting. This way, you can start potting some goals and impressing your opponents.
Offsides
In the sport of hockey, there are many rules that can be difficult to understand, but none more so than the rule of offsides. This guide will explain what offsides is in hockey, how it is enforced, and what are some of the exceptions to the rule.
Offsides in hockey occurs when one or more offensive players crosses the opposing team’s blue line before the puck does. The play is whistled dead and a face-off occurs at one of the end zone face-off dots. There are two main ways that a puck can become offsides: by being carried or passed across the blue line by an offensive player, or by being shot across the blue line by an offensive player.
As soon as an offensive player touches the puck while he is across the blue line, offsides is called and play is whistled dead regardless of whether or not the puck crosses the blue line before he does. If an offensive player carries or passes the puck across the blue line and then subsequently falls behind the blue line (known as “retreating”), play will continue as long as no other offensive players were ahead of him when he last touched the puck. However, if an offensive player shoots the puck across the blue line and it does not touch any other players before crossing, offsides will be called regardless of whether or not he was ahead of the puck when he shot it.
There are two main exceptions to this rule: if an offensive player has already established position in front of his own team’s net prior to receiving a pass from a teammate (known as “Net Front Position”), or if an opposing defenseman deliberately plays/shoots the puck out of his own zone (known as “Delayed Offsides”). In both cases, play will continue even if other offensive teammates have not yet crossed into enemy territory.
Icing
In order to icing the puck, a player must shoot the puck all the way from his own side of the red line, past the goal line of the opposing team. If the puck is shot into the offensive zone and then goes out of play before any offensive player touches it, icing is called. During a faceoff, if a defending player shoots the puck from behind his own goal line and it goes all the way down to the other team’s end of the ice, icing is also called. An official will raise his arm to indicate that icing has occurred.
When icing is called, a faceoff will take place in either one of two spots on the ice. If an opposing player was able to touch the puck before it went out of play (even if he wasn’t able to stop it), then the faceoff will take place in that spot on the ice. If no player touched the puck before it went out of play, then the faceoff will take place at one of two spots: either at center ice or at a spot closest to where icing occurred (depending on which league you’re playing in).
Icing can be beneficial for teams who are trying to relieve pressure in their defensive zone or who are trying to slow down an opponent’s fast break. However, there are some drawbacks to icing as well. First, when icing occurs, play is stopped and neither team can make substitutions. Second, if a team ices the puck multiple times in a row, they may be penalized for delay of game.
Types of Shots
There are many different types of shots in NHL 22, each with its own benefits and drawbacks. The most common types are the wrist shot, snap shot, and slap shot. The wrist shot is the most accurate type of shot, while the snap shot is the quickest. The slap shot is the most powerful, but is also the least accurate.
Wrist Shot
The wrist shot is the most common type of shot in hockey, and for good reason. It’s relatively easy to execute, and can be very effective if done correctly.
To take a wrist shot, start by holding the stick in your strong hand with your bottom hand near the end of the stick. The puck should be on your forehand side, and you should be facing the target. Bring the puck back towards your body, and then snap your wrists forward to release the puck. Follow through with your stick towards the target.
One thing to keep in mind with a wrist shot is that you want to keep the puck on your blade as long as possible before releasing it. This will allow you to get more power behind the shot. Another thing to remember is that you want to keep your bottom hand close to the end of the stick – this will give you more control over the puck.
Slap Shot
The Slap Shot is the most powerful shot in hockey, but it’s also the hardest to control. When taking a slap shot, players will wind up their stick before taking a big swing at the puck. The Slap Shot is effective from anywhere on the ice, but it’s especially useful for long-distance shots. To take a Slap Shot, players must first position themselves at the center of the ice. From there, they’ll need to raise their stick above their head and wind up for a big swing. The harder players swing their stick, the faster and more powerful the shot will be. Players can also add extra power to their slap shots by using the “S” button on their controller.
How to Improve Your Shot
The first step to take is to make sure your shot is on point. This means ensuring the puck hits the sweet spot on your stick blade, otherwise known as the “sweet spot.” The sweet spot is the area on the blade just below the center of gravity, which is usually about an inch or two from the top of the blade. If you can get the puck to hit the sweet spot consistently, you’ll be able to shoot with much more accuracy.
Practice
No matter how good you think you are, there’s always room for improvement when it comes to your shooting. That’s why it’s important to practice as often as you can. The more you practice, the better you’ll become at hitting the target.
Here are a few helpful shooting tips that will improve your accuracy:
-Take your time: When you’re in a game, it’s easy to get caught up in the moment and rush your shot. But if you want to score, you need to slow down and take your time. Wait for the perfect opportunity to take your shot.
-Keep your eyes on the puck: This may seem like an obvious one, but it’s important to keep your eyes on the puck at all times. If you take your eyes off the puck, even for a split second, you’re more likely to miss.
-Follow through: After you hit the puck, make sure to follow through with your stick. This will help ensure that the puck goes where you want it to go.
-Practice, practice, practice: Like we said before, practicing is essential if you want to improve your shooting accuracy. Find some time each day to shoot pucks at a net or shoot targets. The more you practice, the better you’ll become.
Proper Form
There are a few key things to keep in mind when working on your shot. First, keep your head up and your eyes on the target. Second, square your shoulders to the target. Third, keep your weight balanced – you don’t want to be too far forward or back on your skates. Fourth, cock your wrists and snap them as you release the puck. Finally, follow through with your shot – you want the puck to end up where you were aiming.
Conclusion
In conclusion, knowing how to shoot in NHL 22 can be a great asset for any player. By following the steps outlined in this guide, you’ll be well on your way to becoming a scoring machine in no time.