How to Make Baseball Perler Beads
Contents
Check out this blog post to learn how to make baseball perler beads. This is a great activity for kids or for anyone who loves baseball.
Introduction
What are Perler Beads?
Perler beads are small, round, plastic beads that can be fused together with an iron to create colorful designs. They are often used to make keychains, magnets, jewelry, and other small decorative items. Baseball-themed Perler bead patterns can be used to make baseball keychains decorations for your home or office, or even unique gifts for friends and family members who are baseball fans
What You’ll Need
-Baseball Perler Beads
-Ironing paper
-An iron
Instructions:
1. Arrange your Perler beads on your ironing paper.
2. Use the tip of the iron to press down on each Perler bead, fusing them together.
3. Once all of the Perler beads are fused together, carefully peel the design off of the ironing paper.
4. Place the design on a flat surface and press down with the iron again to make sure all of the beads are securely fused together.
Step One: Preparing the Perler Beads
To start, you’ll need to gather all of the supplies. For this project, you’ll need a Perler bead tray, Perler beads in the colors of your choice, an ironing board, parchment paper, and an iron. If you don’t have a Perler bead tray, you can use a regular old cookie sheet – just make sure it’s clean!
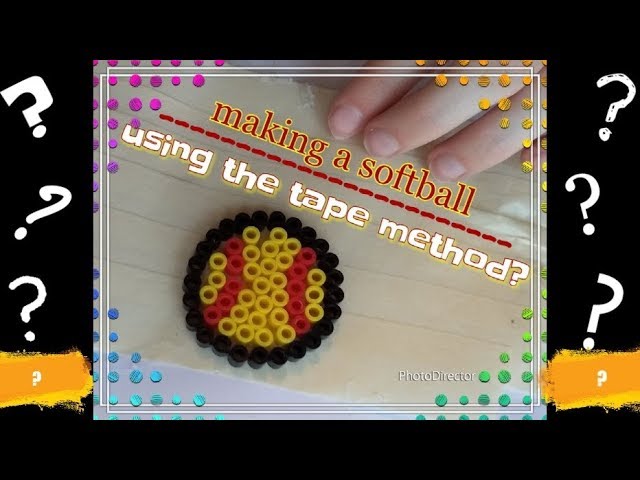
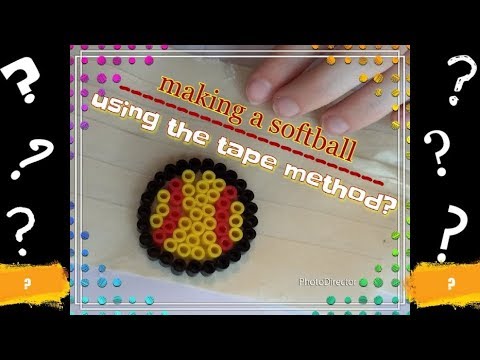
Once you have all of your supplies gathered, it’s time to start prepping the beads. For this project, we used white, black, and red Perler beads. To start, arrange the beads in the design of your choice on the Perler bead tray. We went with a simple baseball diamond design, but feel free to get creative! Once you have your design set up, it’s time to get ironing.
Step Two: Arranging the Perler Beads
After you have gathered all of the supplies that you will need, it is time to start creating your Perler bead Roosevelt. The first step is to choose the color scheme that you want to use for your baseball player Once you have chosen the colors, it is time to start placing the Perler beads onto the pegboard.
There are a few different ways that you can do this. You can either string the Perler beads onto the pegboard one at a time, or you can place them in small piles on top of the pegboard and then press them down with your finger or a blunt object.
If you are using the string method, it is important to make sure that the string is long enough so that you can easily reach all of the beads. You will also need to make sure that the string is tight enough so that the beads do not slip off while you are working with them.
Once all of the beads are in place, it is time to start ironing them. Make sure that you read all of the instructions that came with your Iron Beads before starting this step.
Step Three: Ironing the Perler Beads
The third and final step is to iron the Perler beads. This will fuse the beads together and create a solid piece of fabric. Place a piece of parchment paper over the design and use a warm iron to press down on the design. Hold the iron in place for about 30 seconds to ensure that the beads are fused together. Allow the design to cool completely before removing it from the parchment paper.
Step Four: Adding the Details
Now that you have your basic shape down, it’s time to start adding the details. Perler bead patterns usually have a lot of small pieces, so this is where a tweezer comes in handy. Just remember to place the beads close together so that they fuse together well.
If your pattern has any color changes, now is the time to add them. To change colors, simply string the new color onto the existing thread. You can then start placing beads of the new color onto the design.
Step Five: Finishing Up
Now that you have your baseball field all set up, it’s time to start thinking about how you want to finish it off. One option is to add some borders around the edge of the field. You can do this by simply stringing some beads together and then attaching them to the sides of the field. Another option is to add some stands or bleachers for your players to sit in. This can be done by taking some white beads and gluing them together in arectangle shape. Once you have your stands or bleachers, you can glue them onto the sides of the field.
Tips and Tricks
If you’re looking for a fun and unique craft project, baseball Perler beads are a great option You can use them to make all sorts of decorations, from coasters and ornaments to keychains and magnets. Plus, they make great gifts for baseball fans of all ages.
Here are a few tips and tricks to help you get the most out of your baseball Perler bead project:
– Use a large square or rectangular Perler bead board. This will give you plenty of space to work and will prevent your beads from rolling off the edge.
– Sort your beads into piles by color before you start. This will save you time and frustration later on.
– Use a pair of tweezers to pick up each bead. This will help prevent fingerprints and other smudges from marring your design.
– Experiment with different patterns and colors to create unique designs. There are no rules when it comes to Perler bead art, so have fun and be creative!
Variations
There are many variations that can be made to baseball Perler beads. The most common variation is to add a player’s name and number to the design. Other variations include adding team logos or jersey numbers.
Conclusion
Now that you know all about baseball Perler beads, it’s time to start making your own! Gather your supplies and follow the instructions above to create some fun and unique beads. With a little practice, you’ll be a pro in no time.