How to Make a Baseball Stitch
Contents
Learn how to make a Baseball Stitch with this easy to follow tutorial. You’ll be an expert in no time!
Introduction
A baseball stitch also known as a cross-stitch, is a popular decorative stitching technique used to create intricate patterns on fabric. The stitch is made by working a small X-shaped stitch over two fabric threads.
This type of stitching is commonly used to embellish clothing, such as shirts and dresses, but can also be used to decorate home décor items, such as pillow covers and tablecloths. baseball stitching is a relatively simple stitching technique that can be learned by even the most novice of sewing enthusiasts.
What You’ll Need
To make a baseball stitch, you’ll need a needle, thread, and a piece of cloth. Starting at one end of the cloth, sew a running stitch around the perimeter of the fabric. Make sure to keep your stitches even and consistent. Once you’ve gone all the way around the fabric, knot off your thread and trim any excess.
The Baseball Stitch
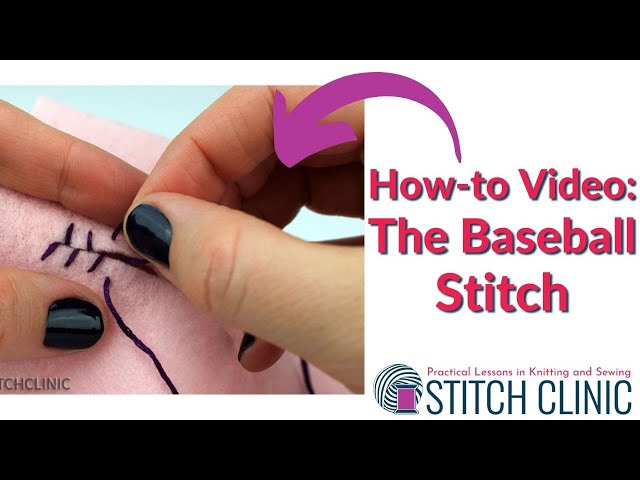
The baseball stitch, also known as the cross-stitch, is one of the most popular stitches used in embroidery. The baseball stitch is a simple stitch that can be used to create a wide variety of patterns and designs.
To make a baseball stitch, start by threading a needle with embroidery thread. Start at the back of the fabric and bring the needle up through the fabric. Make a small stitch in the fabric and then bring the needle back down through the fabric. Next, make a small stitch on the other side of the first stitch. Continue making small stitches on each side of the first stitch until you reach the end of your design.
The Knit Stitch
The knit stitch is the most basic of all stitches and is created by simply knitting each row. You will need to know how to do this stitch before you can move on to more advanced stitches.
To knit a stitch, you will need to insert your needle into the stitch below the one you are currently working on. Then, wrap the yarn around your needle and pull it through the stitch. You will now have two stitches on your needle.
The Purl Stitch
The Purl stitch is one of the most basic Baseball Stitches and is used to create a variety of different patterns. This stitch is made by wrapping the thread around the needle in a clockwise direction and then pulling it through the fabric. The Purl stitch can be worked in either the round or the flat and is often used as a border stitch.
The Slip Stitch
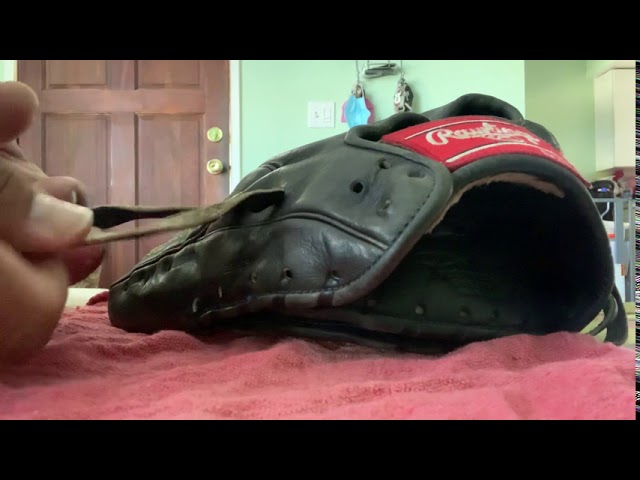
The slip stitch is the most basic baseball stitch. You’ll use this stitch to secure the rawhide lacing to the baseball. To make a slip stitch, insert the needle through the outside of the baseball and come up through one of the tiny holes. Then, insert the needle back down through the same hole and pull tight. You should have a small loop on top of the baseball. Now, insert the needle back down through the hole next to the one you just came up through. Pull tight so that the thread is snug against both sides of the rawhide lacing.
The Yarn Over
The yarn over is the most basic stitch in knitting and crochet. It’s also one of the most important, as it forms the basis for increases, decreases, and a wide variety of other stitches. To do a yarn over, simply wrap the yarn around the needle.
The Decrease
To make a decrease, you will need to remove one stitch from your knitting. There are a few different ways to do this, but the most common is to knit two stitches together (k2tog). This will decrease the total number of stitches on your needle by one. Make sure that you don’t k2tog at the beginning or end of your row, as this will cause your work to pucker.
The Increase
Congress decided that the American people needed a national pastime, so in 1845, they created baseball. The game has come a long way since its inception, but one thing has remained constant: the baseball stitch. The baseball stitch is an essential part of the game, and it’s what gives the ball its distinctive shape. If you’ve ever wondered how to make a baseball stitch, Wonder no more! In this article, we’ll walk you through the process step by step.
The first thing you’ll need to do is make a small hole in the center of the ball. You can use a needle or a sharp object to make the hole. Once you have made the hole, thread your needle with about 18 inches of thread.
Next, you’ll want to make what’s called an “increase.” To do this, insert your needle into the hole from the bottom of the ball and come up through the center. Then, insert your needle into the hole again, but this time come up from the top of the ball. You should now have two loops on your needle. Pull your thread tight so that the loops are close together but not touching. You have now made your first increase!
Now you’ll want to make another increase next to the first one. To do this, insert your needle into the hole from bottom of the ball and come up through the center. Then skip over one loop and insert your needle into the second loop from top of In order to close off this side ofthe ball. You should now have three loops on your needleball, bring your thread around tucking it underneaththe third loop created in this step (as seen in photo). Finally poke yopartially completed stitch on top forcing it through all three loops Now you can pull tautly until this side is snug against already closed edge secure by knotting off excess thread or weave in ends cut flush
##Title: How to Make a Baseball Stitch
##Heading: The Decrease
##Keywords: baseball stitches, decreases , secure edge
##Expansion:
Once you have reachedthe desired circumference for your project it is time to start closing off edge with series of decreases This will result ina more finished looking product as well as help keep live stitches from unraveling over time To complete a decrease simply knit two stitches together as one There are multiple ways to do this but most commonly people will slip slip knit SSK With yarn held in back sl1 knitwise k1 psso With yarn held in front sl1 knitwise p2tog
Finishing Your Baseball Stitch
When you’re finishing your baseball stitch, there are a few things to keep in mind. Make sure that the final stitch is about 1/4 inch from the edge of the leather. You also want to make sure that the needle is going through all three thicknesses of leather – the welt, the backing, and the top layer. Finally, you want to make sure that you’re tight on your stitches so that they don’t come undone easily.