How to Stitch a Baseball
Contents
It’s baseball season and that means it’s time to break out the old mitt and start Playing catch But before you can do that, you need to know how to stitch a baseball.
Gather your materials
In order to stitch a baseball, you will need:
-A baseball
-A needle
-Thread (preferably strong nylon thread)
-Scissors
1. Start by cutting a length of thread that is about 18 inches long.
2. Thread your needle and tie a knot at the end of the thread.
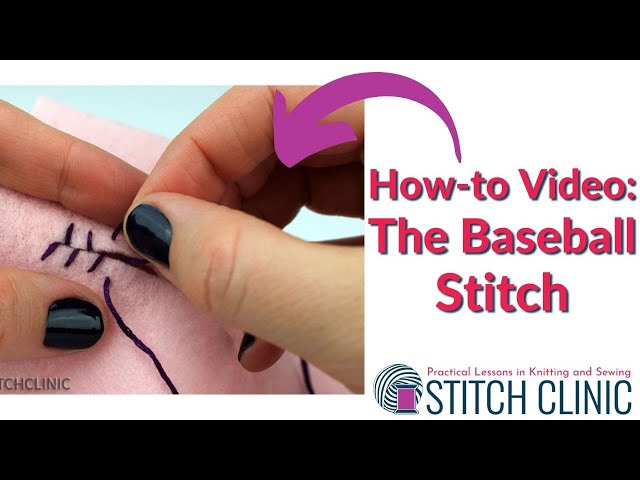
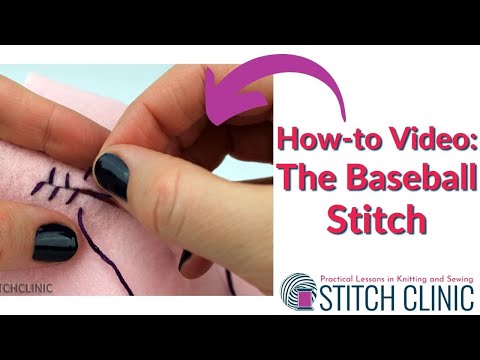
3. Insert the needle through the center of one of the stitches on the baseball and pull it through until the knot stops the thread from going any further.
4. Now, insert the needle into the side of the next stitch, going from left to right. Again, pull the thread all the way through until the knot stops it.
5. Continue this process all the way around the baseball until you have gone all the way around once.
6. To finish, insert the needle into the side of the last stitch and then back through the center of that same stitch. Pull tight and knot off
Cut out your pattern
An old baseball can be repurposed into a fun and unique stitching project. With a few supplies and a little time, you can create a handmade baseball that will last for years.
To get started, you will need to cut out your pattern. You can find a baseball stitching pattern online or in a craft store. Once you have your pattern, trace it onto a piece of cardstock or heavy paper. Then, using sharp scissors, cut out the pattern along the lines.
Sew the panels together
Sew the panels together: Start with the two long side panels, right sides together. Place the two short side panels on top (also right sides together), making sure that the raw edges are all facing in the same direction. Pin the layers together along all four sides, leaving a small opening along one of the long sides so you can turn the baseball right-side out when you’re done sewing.
Using a sewing machine, sew around all four sides of the baseball, starting at one end of a long side and sewing around to the other end. Leave that same small opening un-sewn so you can turn the baseball right-side out when you’re done.
Add the sleeve
To finish the baseball, you will need to add the sleeve. This can be done by hand or machine, but we recommend using a machine for this part of the project.
If you are using a machine, start by threading the needle with white thread. Then, position the sleeve so that it is about 1/4 inch (6 mm) from the edge of the baseball. Sew around the sleeve, making sure to keep the tension even so that the stitches are not too tight or too loose.
If you are stitching by hand, start by threading the needle with white thread. Then, position the sleeve so that it is about 1/4 inch (6 mm) from the edge of the baseball. Use a running stitch to sew around the sleeve, making sure to keep the tension even so that the stitches are not too tight or too loose.
Finish the bottom
Finish the bottom: Fold the baseball in half so that the two rounded ends meet. whipstitch the two rounded ends together using a needle and thread.
Finish the top
To finish the top of the baseball, make a tight whip stitch around the edge of the leather. Start at the seem between the two half circles and work your way around. As you approach the starting point leave a long tail of thread. You will use this later to make a loop for hanging the ball.
Add the trim
After you’ve sewn the baseball panel to the shirt, it’s time to add the trim. You can use any type of trim you want, but we recommend using a ribbon or bias tape. Simply measure the circumference of the baseball and cut a strip of trim that is about 2 inches longer. Center the strip of trim on the baseball and sew it in place with a straight stitch.
Hang your baseball
Before you start stitching your baseball, you’ll need to hang it up so that it’s easier to work with. You can either use astandard sewing hoop or a makeshift one made out of two rulers. If you’re using a sewing hoop, simply place the baseball in the hoop and tighten the screws until the fabric is taut. If you’re using rulers, place the baseball on a flat surface and put the rulers around it, crossing them in the middle so that they form an X. Once your baseball is securely in place, you’re ready to start stitching!