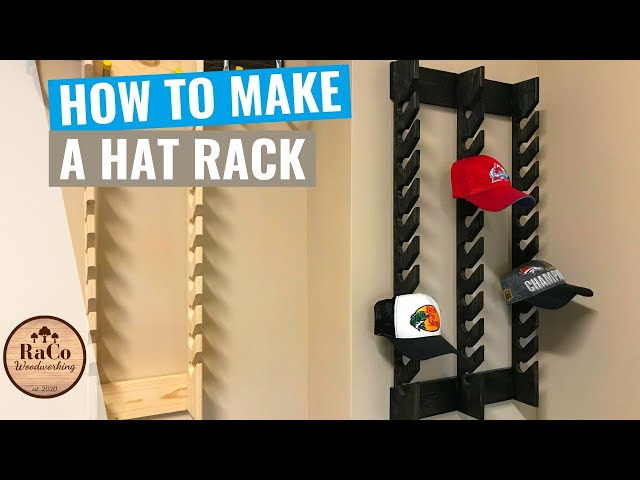
Do It Yourself: DIY Baseball Hat Rack
Have too many baseball hats and no place to put them? Check out this easy tutorial on how to make your own baseball hat rack. Do it yourself and save money!

Introduction
Would you like to learn how to make a versatile and stylish baseball hat rack? This easy to follow guide will show you how! In just a few simple steps, you can create a unique hat rack that is perfect for any room in your house.
This DIY project is perfect for anyone who loves baseball or collects hats. It makes a great gift for the baseball fan in your life, too! Let’s get started!
The Supplies You Will Need
To make this baseball hat rack, you will need the following supplies:
-One wooden dowel, cut to the desired length for your project
-One wooden clothespin
-One large binder clip
-One small binder clip
-Adhesive of your choice (I used Gorilla Glue)
-Paint or stain (optional)
The Steps
1. Gather your supplies: 1 baseball hat, dowel rod, 2 screw hooks, hammer, level.
2. Place the baseball hat upside down on a flat surface.
3. Find the center of the hat brim and mark it with a pen or pencil.
4. Measure 1 inch to the left and right of the center mark and make another mark.
5. Screw one of the screw hooks into each of the marks you just made.
6. Cut the dowel rod to the desired length with a saw (we cut ours to 18 inches).
7. Place the dowel rod on top of the screw hooks so that it is flush with the front brim of the hat (the part that would sit on your head).
8. Hammer each side of the dowel rod until it is securely attached to the screw hooks.
9. Hang your DIY baseball hat rack on a nail or screw in the wall and place your hats on it!
Finishing Up
Now that you have your hats all stored away neatly on your new baseball hat rack, you can sit back and enjoy the fruits of your labor. This is a great project for anyone, whether you are a beginner or an experienced woodworker. And, it makes a great addition to any home, garage, or man cave. So, get out there and start building!