How to Make a Felt Baseball Cap
Contents
Make your own Baseball Cap out of felt to show your team spirit on game day! This project is simple and only requires a few materials.

Introduction
This article will show you how to make a baseball cap out of felt. You will need a piece of felt, scissors, a needle and thread, and a hot glue gun.
What You’ll Need
To make your own baseball cap out of felt, you’ll need the following materials:
– 1 sheet of stiffened felt in the color of your choice
– A ruler or measuring tape
– A pencil
– Scissors
– A hot glue gun and glue sticks
– Embellishments (optional)
With just a few supplies, you can easily whip up a custom baseball cap that’s perfect for any occasion.
Cutting Out the Pieces
Using a felt baseball cap template, cut out the following pieces:
-a front panel
-a back panel
-a brim
-a band
You will also need to cut a small hole in the center of the front panel for the brim to peak through.
Assembling the Cap
To assemble the Baseball Cap you will need the following supplies:
-1/4 yard of felt in main color
-1/4 yard of felt in contrasting color
-Matching thread
-Scissors
-Ruler or measuring tape
-Pencil or fabric marker
-Optional: sewing machine
Instructions:
1. Cut four 5″ wide strips of main color felt, and two 3″ wide strips of contrasting color felt. If using a sewing machine, serge or zigzag the raw edges of the strips to prevent fraying.
2. Sew the strips together end to end, alternating between main and contrasting colors, until you have one long strip measuring about 60″ long. Again, if using a sewing machine, serge or zigzag the raw edges of the strip to prevent fraying.
3. Fold the strip in half lengthwise, wrong sides together, and sew down the long side with a 1/4″ seam allowance. If using a sewing machine, you can use a straight stitch or a decorative stitch. Be sure to backstitch at the beginning and end of the seam to secure it.
4. Trim any excess thread and turn the tube right side out so that the seam is now on the inside. Use a point turning tool or chopstick to help push out the corners so they are nice and sharp. Press flat with your hands if necessary. The tube should now measure about 30″ long and 5″ wide when laid flat.
Attaching the Bill
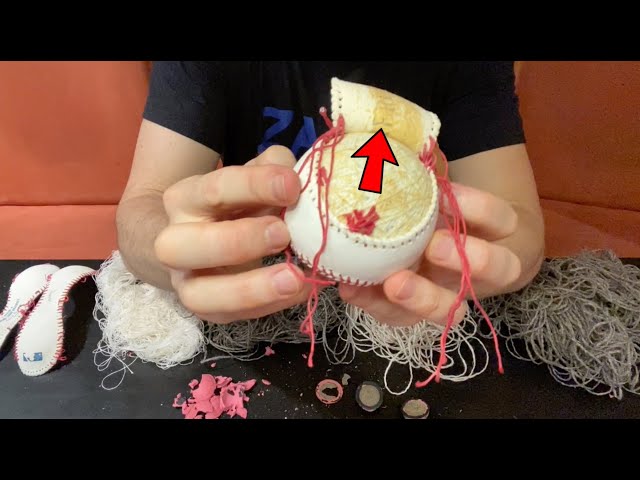
To make a felt baseball cap you will need two pieces of felt in the same color, a hot glue gun, scissors, and thread.
Start by cutting a circular piece out of one of the pieces of felt. This will be the top of the baseball cap Cut a smaller circle out of the center of this piece, and then set it aside.
Next, take the other piece of felt and cut a long strip that is about 3 inches wide. This will be used to make the brim (or bill) of the Baseball Cap Fold the strip in half lengthwise and hot glue it together.
Now take the circle that you cut out in Step 1 and place it on top of the brim. Hot glue it in place and then trim off any excess felt.
Finally, hot glue the brim to the back side of the top piece of felt. And that’s it! Your felt baseball cap is now complete.
Adding the Finishing Touches
The final step in making your felt baseball cap is to add the finishing touches. You can do this by stitching on a brim, adding a sweatband, or attaching a decorative button or patch. Once you’ve added the finishing touches, your Baseball Cap is ready to wear!
Wearing Your Felt Baseball Cap
Felt baseball caps are a great way to show your team spirit and they can also help keep the sun out of your eyes. Here’s how to wear one:
-Place the cap on your head so that the bill is facing forward.
-Adjust the fit of the cap by adjusting the Velcro strap in the back.
-Enjoy showing your team spirit!
Caring for Your Felt Baseball Cap
felt baseball caps can last for many years if they are properly cared for. In between seasons, it is important to store your felt baseball cap in a cool, dry place. Avoid exposure to sunlight and heat, as this can cause the sweatband to dry out and the brim to warp. When you are ready to wear your felt baseball cap again, simply brush off any dust or dirt with a soft cloth. If your felt Baseball Cap becomes wet, do not wring it out – instead, blot it dry with a clean towel and allow it to air dry.
Troubleshooting
If you are having trouble making your felt baseball cap here are some troubleshooting tips.
– If your needle is not going through the felt, try using a thinner needle.
– If your stitching is too loose, try using a smaller stitch size.
– If your stitching is too tight, try using a larger stitch size.
– If your baseball cap is not the right size, try trimming the excess felt from the sides.
Related Articles
How to Make a Felt Baseball Cap
If you love baseball and want to show your support for your team, make a felt baseball cap! This project is perfect for beginners. All you need is some felt, a needle and thread, and some basic sewing skills.
Follow these steps to make your own felt Baseball Cap
1. Cut two pieces of felt in the shape of a baseball cap Make sure the pieces are mirror images of each other.
2. Sew the two pieces of felt together along the brim and sides of the cap. Leave the top open.
3. Trim any excess thread from your seams.
4. Turn the baseball cap right-side out.
5. Wear your new baseball cap with pride!