How Do You Draw A Tennis Racket?
Contents
If you’re looking to learn how to draw a tennis racket, you’ve come to the right place! This blog post will provide you with all the information and resources you need to get started.
Introduction
In this quick tutorial you’ll learn how to draw a tennis racket in just a few quick steps, but first…
Rackets are used in the sport of tennis. They come in all shapes and sizes, but all rackets have one common goal – to hit the tennis ball over the net and into your opponent’s court.
The strings on a racket are actually much thinner than they look. They’re usually made of nylon or Kevlar, and they’re strung tightly across the frame of the racket. The main part of the racket is called the head, and it’s where most of the weight is concentrated.
Now that you know a little bit about rackets, let’s get started on learning how to draw one!
The Basics of Drawing a Tennis Racket
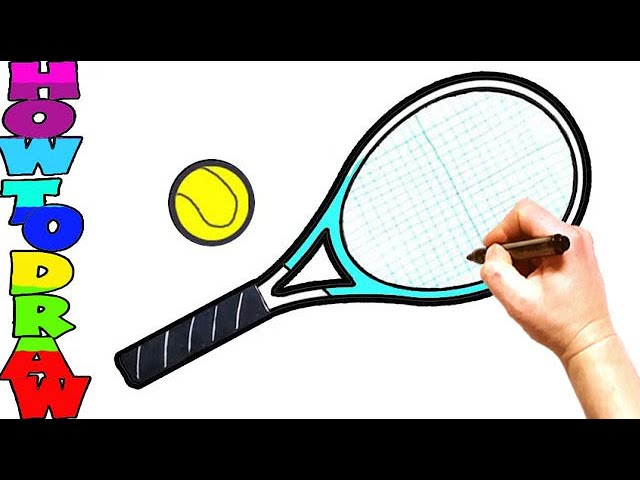
A tennis racket is not difficult to draw. You can start by drawing a rectangle. This will be the frame of the racket. Then, you can add the strings to the rectangle. The strings should be parallel to each other and perpendicular to the frame. Finally, you can add the grip to the racket.
Step 1: Sketch the general shape of the racket.
To start, lightly sketch the basic shape of the racket. Use a pencil so you can easily erase if necessary. Include a curved handle and strings stretched across a slightly oval frame. Remember that the strings should angle in towards the center of the racket face.
Step 2: Draw the strings of the racket.
To make the racket’s strings, start by drawing a curved line at the top of the racket’s head. Then, draw a second curved line below it. Make these lines as close together or as far apart as you like. Once you’re happy with the placement of the strings, draw a third, slightly curved line connecting the two lines you just drew. This will complete the basic shape of the racket’s strings.
Step 3: Draw the frame of the racket.
Now that you have the basic shape of the racket, it’s time to draw the frame. This is the metal part that surrounds the strings.
Start by drawing a curved line across the top of the racket. Then, draw a similar curve below it. These lines should be close together in the middle and further apart at the edges.
Next, draw 2 vertical lines coming down from the top curve. These will be the sides of the racket frame. Then, connect the bottom of these lines to the bottom curve.
Finally, add 2 more vertical lines in the middle of the racket. These will be the cross-strings that hold together the main strings.
Step 4: Draw the handle of the racket.
Now that you have the frame of the racket complete, it’s time to draw the handle. Start by drawing a curved line extending from the top of the frame. Then, draw a series of curved lines extending from the bottom of the frame. These lines should be closer together at the top and further apart at the bottom. Finally, connect the lines using a curved line.
Conclusion
In conclusion, there are a few different ways that you can draw a tennis racket. You can use a ruler and draw the lines straight, or you can freehand it and get creative with the shapes. The important thing is to have fun and experiment until you find a style that you like.