How Do You Make A Baseball Glove Soft?
Contents
Looking to make your baseball glove softer? Here are a few methods that can help.
Introduction
One way to make a baseball glove soft is to use mink oil. Mink oil is a natural lubricant that helps to preserve the leather. It is applied with a cloth and worked into the glove. Another way to make a baseball glove soft is to use neetsfoot oil. Neetsfoot oil is also a natural lubricant that helps to preserve the leather. It is applied with a cloth and worked into the glove.
What You Will Need
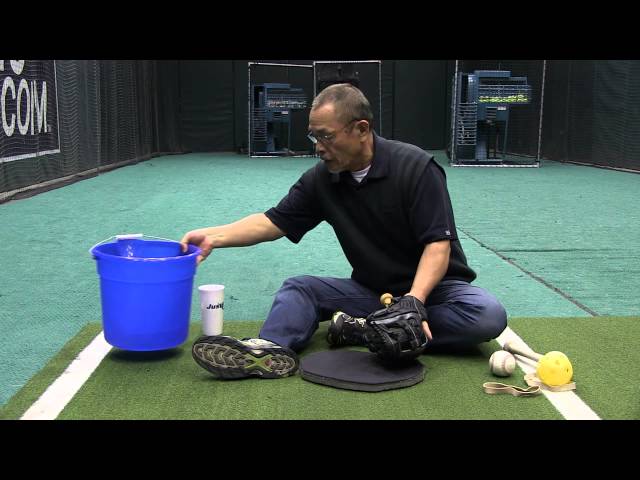
-1 baseball glove
-1 softball
-1 can of shaving cream
-1 soft cloth
Instructions
1. Put on the baseball glove.
2. Apply a generous amount of shaving cream to the inside of the glove.
3. Rub the shaving cream into the leather with your fingers.
4. Wipe away any excess shaving cream with the soft cloth.
5. Play catch with a softball to break in the glove.
Step One: Soaking the Glove
The first step is to soak the glove in water for about 15 minutes. This will help to soften the leather and make it more pliable. You can use cold or warm water for this step, but avoid using hot water as it can damage the leather.
Once the glove has soaked, remove it from the water and squeeze out any excess. Then, fold the glove in half so that the palm and back of the glove are touching. Apply pressure to the folded glove to help work out any remaining water.
Step Two: Applying a Conditioner
Once the baseball glove is dry, it’s time to start breaking it in. This process usually involves softening the leather so that it’s more comfortable to wear and use.
There are a few ways that you can do this, but one of the simplest is to apply a leather conditioner. This will help to moisturize the leather and make it more supple.
Apply the conditioner to a clean cloth and rub it into the glove in small circles. Be sure to cover the entire glove, including all of the nooks and crannies. Once you’ve applied the conditioner, put on a pair of old gloves or socks over top of the baseball glove. This will help to hold in the moisture and speed up the breaking-in process.
Step Three: Stretching the Glove
Once the oven has heated up, put on a pair of gloves to protect your hands. Reach into the oven and carefullygrab hold of the baseball glove. Be careful not to touch any other part of the glove with your bare hand, as this willcause burns. Stretch the baseball glove out as much as possible in all directions. You may want to ask a friend orfamily member to help you with this step.
After a minute or so, take the baseball glove out of the oven and try it on. If it feels too tight, stretch it out onceagain. Once you are satisfied with how the glove fits, you can start using it in games.
Step Four: Breaking In the Glove
Once you have your new baseball glove, it’s time to break it in so it will be game-ready. This process can take some time, but it’s important to do it properly so your glove will last for years. Here is a step-by-step guide to breaking in your new baseball glove.
Step One: Soak the Glove
To start the process, you will need to soak your glove in water overnight. This will help soften the leather and make it more pliable. You can use a basin or bucket large enough to submerge the glove, or you can place the glove under a faucet and let the water run over it until it is saturated.
Once the glove is soaked, wring out any excess water and let it air dry overnight.
Step Two: Forming the Pocket
The next day, you will need to start forming the pocket of the glove. To do this, place a ball in the palm of the glove and close your hand around it tightly. You can also use a baseball that has been wrapped in a cloth or towel. Once you have closed your hand around the ball, use your other hand to mold the pocket into shape by pushing and prodding at the leather.
You will want to spend some time on this step to make sure that the pocket is deep enough and has a good shape for catching balls. Once you are happy with the shape of the pocket, set the ball aside and let the glove dry overnight.
Step Three: Lacing Up The Glove
The next day, it’s time to lace up your glove. Start by threading a length of lace through one of the eyelets on one side of the glove opening. Then thread the lace through all of the eyelets on that side of the opening before moving on to the other side. When you reach the last eyelet on that side, tie off the lace with a double knot so it doesn’t come undone.
Once you have laced up one side of the glove, repeat on the other side. Once both sides are laced up, tie off any excess lace so it doesn’t get caught on anything while you are playing. Let your laces dry overnight before using your glove again.
Step Four: Breaking In The Glove
Now that your glove is all laced up, it’s time to start breaking it in so it will be game-ready. To do this, you will need to catch balls with it regularly over a period of weeks or even months. The more you use your glove,the softer and more pliable The best way to break in your new baseball gloves is to play catch with someone else as often as possible until it feels comfortable and natural to use
Conclusion
In conclusion, a baseball glove can be made soft by using a number of methods. The most popular method is to treat the leather with oil, which will help to soften it and make it more pliable. Other methods include using conditioners and waxes, or even breaking the glove in by playing catch with it. Whichever method you choose, make sure to follow the manufacturer’s instructions carefully to avoid damaging your glove.