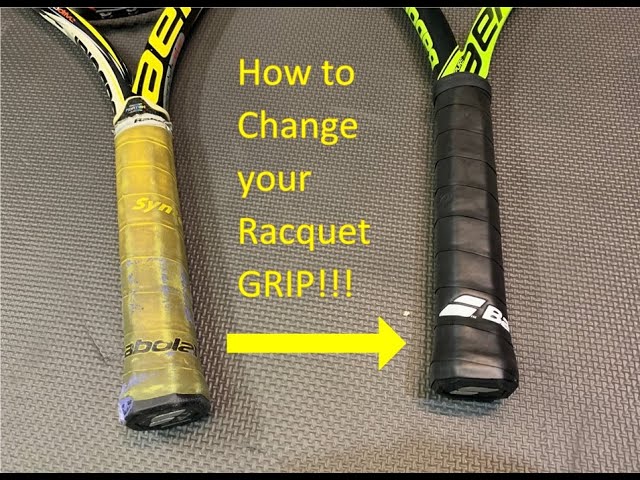
How To Apply Grip Tape To Tennis Racket?
How to Apply Grip Tape to Tennis Racket? In this quick tutorial, we’ll show you the proper way to apply grip tape to your tennis racket.
Introduction
In tennis, grip tape is applied to the racket in order to improve the player’s grip on the racket. The game of tennis is an outdoor activity, so the weather can be a factor in how well a player can grip the racket. By applied grip tape to the racket, it will provide extra traction for the player’s hand so they can keep a firm grip on the racket.
Grip tape is easy to apply and only takes a few minutes. Follow these instructions and you’ll have your racket taped in no time!
What You Need
-Pencil
-Scissors
-Grip tape (If you don’t have already have it, you can purchase it here)
-Ruler or measuring tape
-Lighter
Steps
There are a few things you need to do before you start taping your racket. First, you need to make sure the racket is clean and dry. Any dirt or moisture will make it harder for the tape to adhere. Second, you need to find the center of the handle. This is where you will start applying the tape.
Once you have your supplies ready, follow these steps:
1. Start by cutting a piece of grip tape that is about 8 inches long.
2. Peel off the backing of the tape and stick it to the handle of the racket, making sure that it is centered.
3. Wrap the grip tape around the handle, stretching it as you go so that it covers the entire surface evenly.
4. Trim off any excess tape with a sharp knife or scissors.
Conclusion
In conclusion, it is important to remember a few key points when applying grip tape to your tennis racket. Make sure the surface is clean and dry, use a liberal amount of adhesive, and be sure to smooth out any air bubbles. Following these simple tips will ensure that your grip tape lasts as long as possible