How To Build A Baseball Display Case?
Contents
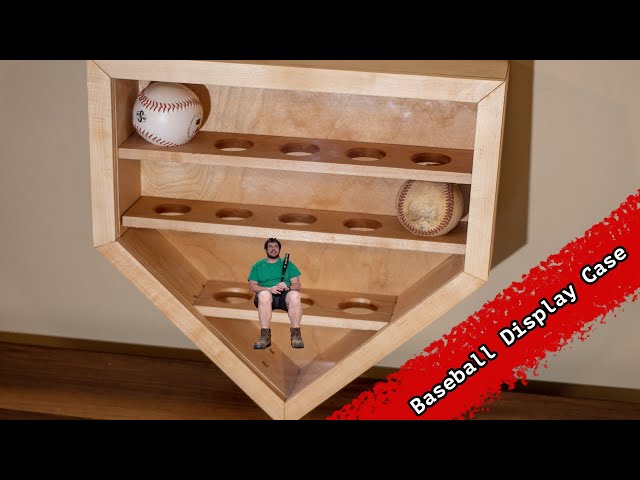
If you have some extra baseballs lying around, or if you’ve been meaning to start a collection, you might be wondering how to build a baseball display case. Displaying your baseballs can be a great way to show off your love for the game, and it can also be a conversation starter for guests in your home. Whether you’re looking for a simple display case or something more elaborate, we’ll show you how to build a baseball display case that fits your needs.
Introduction
A baseball display case is a great way to show off your treasured baseball collection. Whether you have a few prized balls or an entire set, a display case will keep your balls safe and free from dust and dirt. Plus, it makes a great conversation piece for any room in your home!
Building a baseball display case is a relatively simple woodworking project that can be completed in just a few hours. All you need are some basic tools and materials, and you can have your own custom case in no time.
Follow the steps below to learn how to build a baseball display case.
Materials
You will need the following materials:
-1/8 inch thick plexiglass or tempered glass
-Ruler or measuring tape
-Pencil
-Utility knife
-Sandpaper
-Clamps
-Drill with 1/8 inch drill bit
-1 inch hole saw (optional)
-5 minute epoxy
-4 small felt furniture pads or circular bumpers
Tools
Before you start any woodworking project, you will need some basic tools. If you do not already have them, you will need to purchase or borrow them. Here is a list of the tools that you will need:
-Tape measure
-Circular saw
-Hammer
-Nail Gun
-Pry bar
-Chisels
-Rasp
-Files
-Clamps
Steps
Building a baseball display case is a fun and rewarding project that can be completed in just a few hours. You’ll need some basic supplies, including a piece of plexiglass, a few screws, and some L-brackets. Once you have all of your materials, follow these simple instructions to assemble your case.
1. Cut the plexiglass to size using a jigsaw or utility knife. The plexiglass should be slightly larger than the baseballs you’ll be displaying.
2. Drilling pilot holes in the plexiglass will make it easier to screw in the L-brackets. Place the L-brackets in each corner of the plexiglass, and mark where you’ll need to drill holes for the screws.
3. Use a drill to create pilot holes at each mark. Then, screw the L-brackets into place.
4. Your baseball display case is now complete! Simply place your baseballs on the plexiglass shelf, and enjoy your handiwork.
Conclusion
In conclusion, building a baseball display case is a fun and rewarding project that can be enjoyed by the whole family. With a little bit of planning and some basic woodworking skills, you can create a beautiful display case that will be enjoyed for years to come.