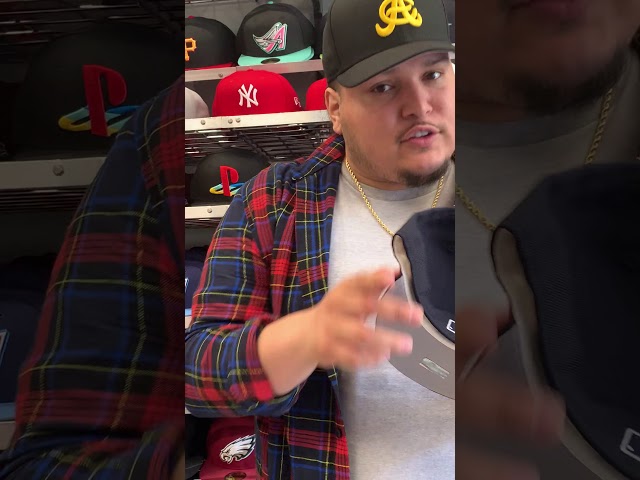
How to Curve a Baseball Cap the Right Way
You’ve seen it before. A baseball cap that’s been curved just right, and it looks amazing. How did they do it?
Here’s a quick guide on how to curve a baseball cap the right way, so you can achieve that perfect look.

Introduction
Whether you’re a baseball player looking to improve your game or just want to keep the sun out of your eyes, a curved baseball cap can help. But how do you curve a baseball cap without ruining it?
There are a few different methods you can use to curve a baseball cap, but the best way is to use boiling water. This method is quick and easy, and it won’t damage your cap.
Here’s how to do it:
-Fill a pot with water and bring it to a boil.
-Place the bill of the cap over the pot of boiling water.
– Use your fingers to hold down the bill of the cap so that it curves into the shape you want.
– Hold the bill in place for 30 seconds to 1 minute.
– Remove the cap from the pot of boiling water and let it cool.
Materials Needed
-A baseball cap
-A bowl
-Hot water
-A pot
-Tongs
Instructions:
1) Place the baseball cap on the head of the person who will be wearing it. Using a bowl, trace the head circumference onto the inside of the baseball cap. Remove the baseball cap and cut out the tracing.
2) Fill a pot with hot water and place it on the stove. Place the bowl on top of the pot, making sure that it does not touch the water. Put the baseball cap in the bowl and let it soak for 30 seconds.
3) Remove the baseball cap from the bowl using tongs and place it on a flat surface. Smooth out any wrinkles with your hands. Allow the baseball cap to dry completely.
Step One
Turn your baseball cap inside out. This will help you to avoid getting any lint or fuzz on the outside of your hat as you work. It will also make it easier to see what you’re doing.
Step Two
Now that you have your materials, it’s time to start curving your baseball cap. Lay your baseball cap flat on the surface in front of you. If your bill is curved, make sure to curve it in the opposite direction that you want it to go when you’re finished. You might want to place a heavy book or can on the brim to help keep it flat while you’re working.
Step Three
Now that the bill is shaped the way you want it, it’s time to fix it in place. Apply a small amount of adhesive to the seam where the top and bottom bill meet. You can use a fabric glue or even clear nail polish for this step. Allow the adhesive to dry completely before continuing.
Step Four
Now that you’ve determined how much fabric you need to cut, it’s time to start cutting. First, find the center of the bill and mark it. Then, using a ruler or a straight edge, draw a line from the center of the bill to the edge of the fabric. This will be your curved cutting line.
Next, cut along your curved cutting line. Be sure to cut slowly and carefully so that you don’t end up with a jagged edge. Once you’ve finished cutting, you should have a nicely curved piece of fabric that’s ready to be sewn onto your baseball cap.
Step Five
Now that you’ve smoothed out the fabric and aligned the hat bill, it’s time to place the baseball cap into the mold. Make sure to line up the sweatband of the hat with the edge of the mold so that it’s central and even all around. If everything is in place, slowly close the mold until the two halves meet in the middle and press firmly to secure.
Conclusion
There are a few different ways that you can curve your baseball cap, but the best way is to use a hair dryer. Simply put the cap on and then use the hair dryer to curve the brim. You can also use a baseball cap mold, but this can be more difficult to get the desired effect.