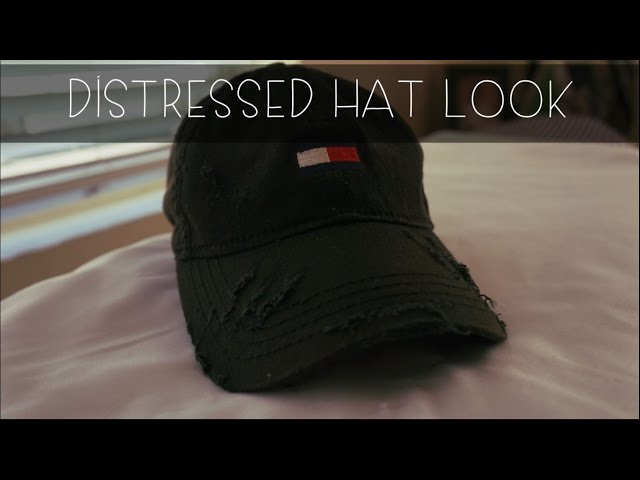
How to Distress a Baseball Cap the Right Way
Contents
If you want to add some personality to your favorite baseball cap, why not try distressing it? Follow these simple steps to create a unique and stylish look.
Introduction
There are many ways to distress a baseball cap. In this guide, we will show you the best way to do it so that your cap looks great and lasts long.
First, you need to gather your supplies. You will need a baseball cap, a pair of scissors, and a pencil or pen. You will also need some sandpaper. If you do not have sandpaper, you can use a nail file or emery board.
Next, you need to decide how you want to distressed your baseball cap. There are two main methods: cutting and sanding. We will discuss both methods in this guide.
What You’ll Need
-Baseball cap
-Distressing tools (optional)
-Lighter
-Hair dryer (optional)
1. Start with a clean, dry baseball cap. If your baseball cap is new, you may want to pre-wash it to soften the fabric and make it easier to work with.
2. Decide where you want the distressing to occur. The most common areas are the bill, crown, and brim of the baseball cap. Keep in mind that distressed areas will appear more worn than the rest of the baseball cap, so plan accordingly.
3. Begin distressing the baseball cap by using a distressing tool to create small holes or tears in the fabric. If you don’t have a distressing tool, you can also use a pair of scissors or a razor blade. Work slowly and carefully so you don’t accidentally cut or tear too much fabric.
4. Once you’ve created some holes or tears in the fabric, use a lighter to singe the edges of the holes. This will give them a more distressed look. Be careful not to hold the flame too close to the fabric or you could end up melting it.
5. If you want, you can use a hair dryer to heat up the holes and further distress them. Be sure not to hold the hair dryer too close to the fabric or you could end up melting it.
6. Allow the baseball cap to cool before wearing it.
Preparing the Cap
Wash the baseball cap in the washing machine using hot water and detergent. This will remove any dirt or sweat from the fabric and make it easier to distress.
If you’re planning on distressing the brim of the cap, bend it a few times before you start distressing to make it more pliable.
Applying the Distressing Techniques
Now that you have your baseball cap, it’s time to start distressing it. Work in a well-ventilated area, and if possible, wear gloves to protect your hands from the chemicals.
There are a few different ways that you can distress a baseball cap, but we’re going to focus on two of the most popular methods: using bleach and using sandpaper.
Bleach Method:
1. Start by mixing equal parts bleach and water in a bowl.
2. Soak a cotton ball in the mixture and then dab it onto the areas of the cap that you want to distress.
3. Let the bleach sit on the fabric for 1-2 minutes before rinsing it off with cold water.
4. Repeat this process until you’re happy with the amount of distressing on the fabric.
5. Finally, wash the cap in your washing machine on a gentle cycle to remove any lingering bleaching chemicals.
Sandpaper Method:
1. Start by wetting down the areas of the cap that you want to distress with a spray bottle filled with water. This will help to prevent the fabric from tearing when you sand it later on.
2. Next, take a piece of medium-grit sandpaper and lightly sand over the wet fabric in a back-and-forth motion.
3
Finishing Up
Now that you’ve distressed your baseball cap, it’s time to finish it off. You can do this by either sewing on a new band or patch, or by simply adding a few rivets. This will help to hold the fabric in place and make it look more professional.