How To Draw A Baseball Hat On A Person?
Contents
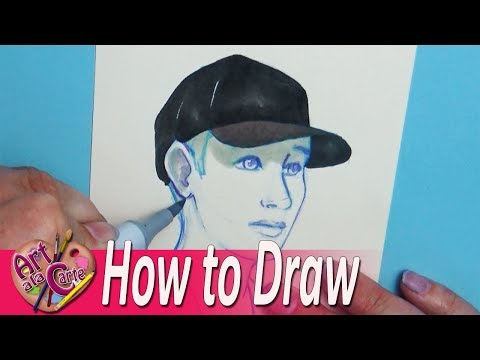
Learn how to draw a baseball hat on a person in this step-by-step tutorial.
Introduction
In this tutorial, we will show you how to draw a baseball hat on a person. We will first start by drawing the outline of the head and then sketching the hat. Next, we will add the details of the baseball hat. Finally, we will color in the drawing.
What You Will Need
-Pencil
-Paper
-Eraser
-Ruler (optional)
Instructions:
1. Sketch a rectangle that will serve as the hat’s brim. This can be done freehand or by using a ruler to draw lightly penciled lines. The rectangle should be about as wide as the head and about twice as long.
2. Curve the bottom edge of the brim upward to give the hat a rounded shape.
3. sketch a second, smaller rectangle on top of the first. This will be the hat’s crown. The crown should be about half the width of the brim and half its length.
4. Add a curved line above the crown to complete the hat’s basic shape. Make this line curvy or jagged to give the hat personality.
5. Erase any guideline lines that are no longer needed, then add details to your drawing such as stitches, a logo, or embellishments on the brim or crown.
6. When you are finished, trace over your drawing with a pen or marker to make it permanent, then erase any remaining pencil marks
Step One – Sketching The Hat
Begin by lightly sketching the general shape of the baseball hat. If you’re not sure how to do this, look at a picture of a baseball hat for reference. Once you have the basic shape down, you can start to add in the details. Remember to keep your lines light – these are just guidelines that you will eventually erase.
Next, add a curved line across the front of the hat. This will be where the brim of the hat will attach. Then, sketch in two diagonal lines that come down from the brim. These will be used to create the sides of the hat.
Now it’s time to start working on the details of the hat. Start by adding a small circle at the tip of each diagonal line. These will be used to create the buttons that hold the brim in place. Then, add a curved line above each button – this will be the top part of the brim.
Finally, add some small details to make your hat look more realistic. Draw some stitches around the edge of the brim, and add a small diamond-shaped logo in the center front of the hat. Erase any lines that you don’t need anymore, and your baseball hat is complete!
Step Two – Drawing The Bill
After you have the basic shape of the hat drawn out, it’s time to start working on the details. The first thing we will do is draw the bill or visor of the baseball hat. Begin by drawing a curved line coming down from the front of the hat. Then, add a smaller curved line inside of that one. This will be the edge of the bill. Finally, fill in the bill by drawing a series of curved lines across it.
Step Three – Adding The Strap
Once you have the basic shape of the hat down, it’s time to add the strap. This is a simple line that goes from one side of the hat to the other, passing under the brim. Make it as wide or narrow as you like, and feel free to experiment with different lengths.
Step Four – Completing The Hat
The next step is to finish the baseball hat by drawing the brim of the hat. Start by drawing a curved line from the back of the hat, around the front, and then back to the back again. Then, draw a straight line across the brim of the hat. Finally, draw two curved lines around the bottom of the hat to complete the brim.
Conclusion
In conclusion, drawing a baseball hat on a person is not as difficult as it may seem. With a little bit of practice and some basic knowledge of human anatomy, anyone can learn how to draw a baseball hat on a person.