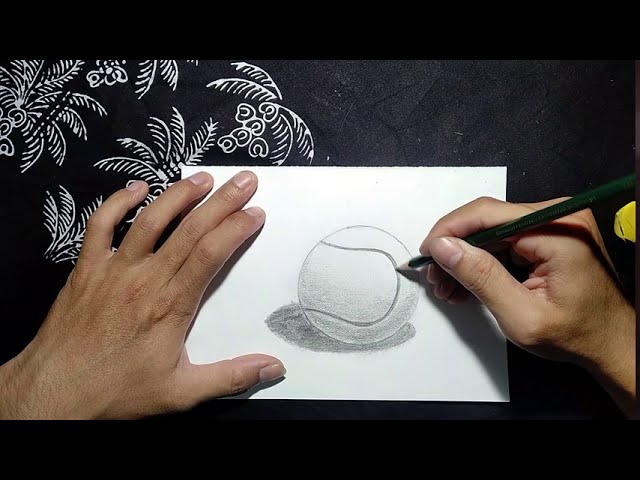
How to Draw a Tennis Ball
Learn how to draw a tennis ball with easy step by step instructions. This tutorial is perfect for beginners.
Introduction
In this lesson, you will learn how to draw a tennis ball. This can be a difficult object to draw, but by following these simple steps you will be able to draw one correctly.
First, start by drawing a small circle. This will be the top of the ball. Next, add a slightly larger circle below it. This will be the middle of the ball. Finally, add a third and final circle that is slightly larger than the others. This will be the bottom of the ball.
Now that you have the basic shape of the ball, it is time to add some details. Start by drawing a horizontal line across the top of the ball. This will be the seam of the ball. Next, add some small circles around the ball. These will be the dimples on the surface of the ball.
You can now color in your tennis ball using any color you like!
What You Will Need
To draw a tennis ball, you will need the following supplies:
-Pencil
-Paper
-Ruler or a compass (optional)
-Eraser (optional)
-Colored pencils, markers, or crayons (optional)
Once you have gathered all of your supplies, you are ready to begin drawing your tennis ball.
Step One
Start by sketching a small circle in the center of your paper. This will be the ball’s core. Then, draw a slightly larger circle around it. The lines doesn’t have to be perfect – remember, we’re just sketching at this stage. Finally, add two slightly curved lines extending from the sides of the ball to complete the outline.
Step Two
Now that you have your basic shape down, it’s time to start thinking about the details. Start by drawing a line down the center of the ball. This will help you keep your proportions in check as you start adding the other details.
Next, start fleshing out the ball by drawing the sections that are divided by the lines you just drew. Remember to make each section a different size – this will give your ball a more realistic look.
Once you have the sections drawn in, start working on the details like the seams and stitches. For this part, it’s helpful to look at a real tennis ball for reference. Pay attention to how the seams are positioned and how they curve around the ball.
Once you’re happy with your ball, erase any lines that are still showing through and give it a final once-over to make sure everything looks good. Then you’re done!
Step Three
Now that the top half of your ball is complete, it’s time to draw the lower half. Start by drawing a curved line that dips down in the middle, then comes back up and to the left. This will be the lower edge of your ball. Next, draw a series of curved lines that connect the lower edge of your ball to the upper edge. These lines should be spaced evenly apart and should get progressively smaller as they near the center of the ball. Finally, use a series of small curved lines to connect the outside edges of each pair of lines you’ve drawn.
Step Four
Now that you have the basic shape of the ball down, you can start to add some small details to give it more dimension and make it look more like a real tennis ball. With a light brown pencil, lightly sketch in some diagonal lines across the surface of the ball, following the contours of the sphere. These lines will create a subtle cross-hatching effect that will give the ball more depth and realism. Next, use a dark brown pencil to draw in a series of short, curved lines around the edge of the ball. These lines should get progressively darker as they wrap around the edge of the ball, creating a shadow effect. Finally, use a white pencil or gel pen to add some small highlights to the surface of the ball. You can do this by drawing small dots or by drawing curved lines that follow the contours of the sphere.
Step Five
The final step is to add the finishing touches to your tennis ball. Start by drawing a series of curved lines across the surface of the ball. Then, use a dark color to fill in the center of the ball. Finally, add a few lines around the edge of the ball to give it some texture.
Conclusion
In conclusion, drawing a tennis ball is not as difficult as it may seem at first. With a little bit of practice and patience, anyone can achieve satisfactory results. Keep in mind the simple tips and suggestions outlined in this guide, and have fun!