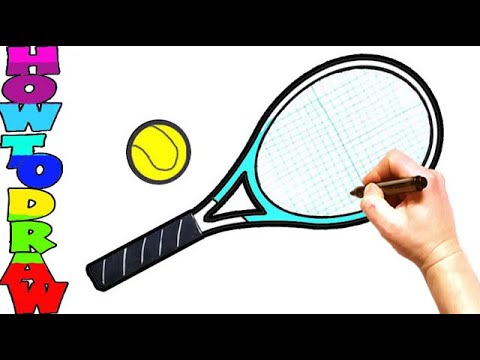
How to Draw a Tennis Racket in 5 Easy Steps
Follow these five easy steps to draw your own tennis racket. This simple tutorial is perfect for beginners.
Introduction
Drawing a tennis racket is easy and only requires a few supplies. Anyone can do it, regardless of their skill level. Just follow these five simple steps.
What You Will Need
-A pencil
-A piece of paper
-A sharpener
First, start by drawing a rectangle in the middle of your paper. This will be the main frame of the racket. Next, draw two smaller rectangles on the top and bottom of the main rectangle. These will be the handles of the racket. Then, to finish off the frame of the racket, draw a curved line connecting the two handles at the top.
Now it’s time to add the strings! Start by drawing a horizontal line across the middle of the racket’s frame. Then, draw vertical lines spaced evenly apart coming down from this line. Finally, draw lines connecting each of these vertical lines to form a crosshatch pattern. And that’s it! Your tennis racket is now complete.
Step One
Start by drawing the strings of the racket. These will be short, horizontal lines that intersect in the middle of your racket. Make sure that the lines are evenly spaced and parallel to each other.
Step Two
2. Now that you have your basic shape, it’s time to start drawing the strings of the racket. Start by drawing a curved line across the middle of the racket. Then, draw a series of curved lines connecting the top and bottom of the racket. Finally, add some details to the strings by drawing small lines perpendicular to the larger curves.
Step Three
Now that the basic shape of the racket is complete, it’s time to start thinking about the details. In this step, we’ll add the strings to the racket.
First, use a light pencil to draw a horizontal line across the center of the racket. This will be the top of the strings. Then, use a light pencil to draw vertical lines spaced evenly apart down the length of the racket. These lines will be the sides of the strings.
Next, use a dark pencil to draw thin lines connecting the top and side lines of the strings. Start in the middle and work your way out to the edges. Once you’re finished, your racket should look something like this:
Step Four
Now that the strings and frame are in place, it’s time to add the grip. Start by drawing a small rectangle at the top of the racket. Then, draw a curved line coming down from each side of the rectangle. Finally, add a few small lines inside the grip for detail.
Step Five
Draw the strings inside the racket’s head using curved lines. Then, use a long, curved line to enclose the oval-shaped grip. Finally, enclose a small rectangle at the top of the grip to indicate where your hand will hold the racket. Extend two curved lines from the bottom of the grip, crossing in the middle to enclose an oval-shaped space. This indicates the beginning of the racket’s handle.
Conclusion
Thanks for taking the time to read this guide on how to draw a tennis racket in 5 easy steps. I hope you found it helpful and that you’re now confident enough to try it yourself. Remember to practice and have fun!