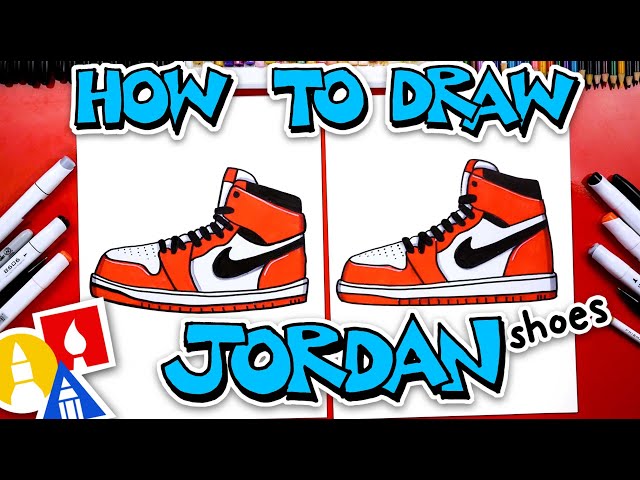
How to Draw Tennis Shoes
Contents
Drawing Tennis Shoes can be easy with the help of this step by step tutorial. You will learn how to draw Tennis Shoes with easy to follow instructions.

Introduction
In this tutorial you will learn how to draw a pair of tennis shoes. Even though they look complicated, they are actually quite simple todraw. Just follow the step by step instructions and you will be drawing them in no time.
##Materials Needed:
-Pencil
-Paper
-Ruler or a straight edge
-Eraser
##Instructions:
1.Start by drawing a rectangle. This will be the sole of the shoe. Make sure it is as wide as you want the shoe to be. The length is not too important, since we will be changing it later.
2.Next, draw two curved lines coming up from the sides of the rectangle. These will be the sides of the shoe.
3.Now draw another rectangle on top of the first one. This will be the tongue of the shoe.
4.From the tongue, draw two more curved lines going up to meet the lines you drew in step 2.
5.Now finish off the shoe by drawing a line across the top connecting all of the lines you have drawn so far
Sketch the outline of the shoe.
Start by sketching the outline of the shoe. If you are drawing a right shoe, start on the right side of the paper. If you are drawing a left shoe, start on the left side of the paper. Use light pencil strokes at first so that you can erase them later if necessary. Sketch the outline of the toe, heel, sides and tongue of the shoe.
Draw the laces.
Start by drawing the laces. The laces should be two parallel lines that start at the bottom of the shoe and end at the top. At the top, the laces should come to a point.
Draw the tongue.
The tongue is a rectangle that comes to a point at the end. It’s usually made of a different color fabric than the shoe itself. In our case, we will keep it white. Just like with the laces, start by drawing two horizontal lines for the side edges of the tongue. Then add the vertical line in the middle and finish by drawing a horizontal line for the bottom edge of the tongue. Now add two small rectangle shapes at the top for the aglets (the plastic or metal tips on the ends of the laces).
Draw the shoe’s body.
Start by drawing a curved line for the shoe’s body. This line will be similar to the letter “U”. Next, add a curved line at the top of the shoe for the tongue. Then, add two lines extending from the bottom of the shoe for the laces. Finally, draw two small lines at the front of the shoe for the toe area.
Draw the sole of the shoe.
Start by drawing the sole of the shoe. This will be a curved line that starts at the back of the heel and goes all the way around to the toe. If you want, you can add a small rectangle in the middle for extra detail.
Draw the details.
Now that the basic shape of the shoe is complete, it’s time to add in the details. Begin by drawing a line across the top of the shoe to indicate where the laces will go. Then, add two small rectangles on either side of the shoe for the eyelets.
Next, draw a curved line around the bottom of the shoe to create the sole. Be sure to make this line nice and thick so that it stands out. Finally, add some lines on the bottom of the sole for traction.
Your tennis shoes are now complete! You can color them in or leave them as is.
Conclusion
In conclusion, knowing how to draw tennis shoes is a skill that every artist should have. With a few simple tips, you can create a realistic and detailed drawing of this popular footwear. With practice, you will be able to add your own unique style to your drawings.