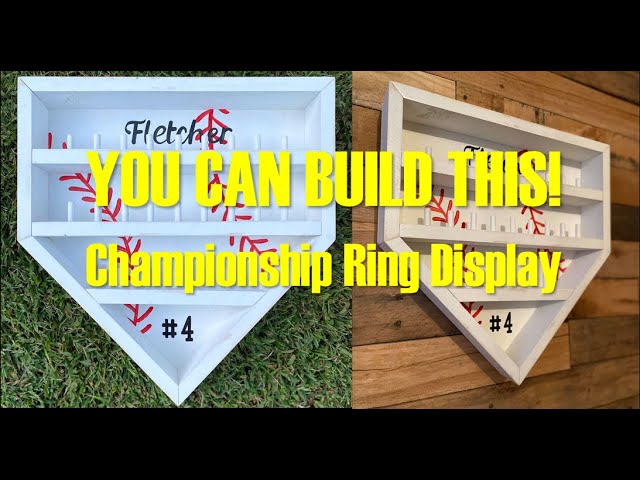
How to Make a Baseball Ring Holder
Check out this blog post to learn how to make a baseball ring holder to keep your favorite player’s jersey looking sharp!
Introduction
In this guide, we will show you how to make a baseball ring holder. This holder can be used to keep your baseball rings organized and safe. It is a great project for any baseball fan who wants to display their collection.
Materials
-1/2 inch Baseball
-Drill with a 1/4 inch bit
-Ruler or Measuring Tape
-Pencil
-Dremel Tool with cutoff wheel (optional)
-Superglue
– Sandpaper
Steps
You will need:
-1 baseball
-A drill with a 3/32″ drill bit
-A 1 1/2″ spade bit
-Super glue
-Spray paint (optional)
To make the baseball ring holder, start by drilling a hole in the center of the baseball with the 3/32″ drill bit. Next, use the spade bit to drill a hole around the edge of the baseball, about 1/2″ from the edge. Once both holes are drilled, glue the base of the holder into the small hole in the center of the baseball. Let the glue dry for 24 hours. Once dry, you can optional spray paint the baseball ring holder to match your décor.
Finishing touches
Now that your baseball ring holder is complete, it’s time to add the finishing touches. First, insert the dowel into the top of the baseball. Then, add a small amount of glue to the top of the dowel and insert the foam disk. Allow the glue to dry completely.
Finally, add a small amount of glue to the bottom of the baseball and adhere it to the wooden base. Allow the glue to dry completely before display your new baseball ring holder!