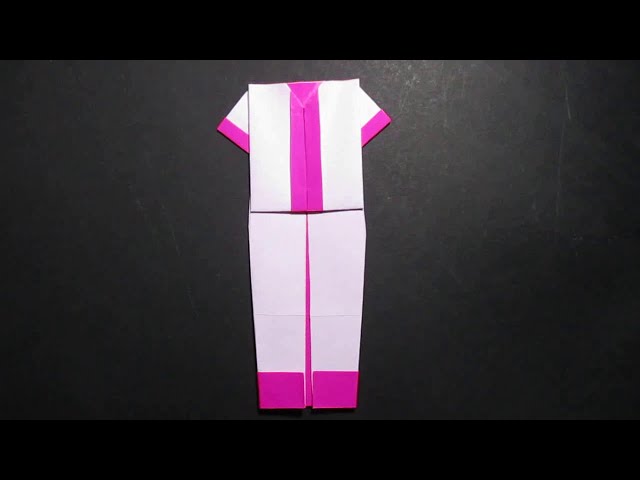
How To Make A Baseball Uniform?
You can make a baseball uniform by following these simple steps. First, you need to purchase the necessary supplies. Next, you will cut and sew the fabric to create the shirt, pants, and hat. Finally, you will add the team’s logo to the uniform.

Introduction
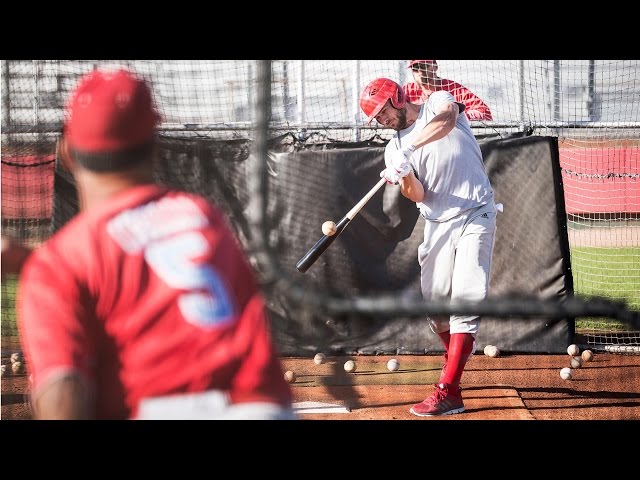
A baseball uniform is a type of uniform worn by baseball players, and by some non-playing personnel, such as groundskeepers, umpires, and team managers. It is worn to indicate the person’s role in the game and to show team loyalty.
Baseball uniforms are most often made of button-up shirts with long sleeves, trousers with an elastic waistband, and shoes with cleats. The shirt may have a V-neck or a round neck . The pants are typically white but can also be gray or another color depending on the team’s preference. The shoes are black or another dark color and have metal cleats on the bottom to help traction on the field.
Materials
You’ll need the following materials to make a baseball uniform:
-A jersey or shirt in the team’s colors
-Pants in the team’s colors
-A baseball cap or hat in the team’s colors
-A pair of baseball socks in the team’s colors
-Baseball cleats (optional)
You may also want to include a belt and/or jacket in the team’s colors, but these are not strictly necessary.
The Shirt
You will need a few supplies before you start. Gather a tee shirt, some scissors, a stapler and some clear tape. You will also need some cording or ribbon, and a needle and thread (or a sewing machine). If you want to get really creative, you can add some fray block to the edges of your ribbon or cord.
Start by cutting the sleeves off of your tee shirt. Cut straight across at the armpit, and then cut along the seam of the sleeve to remove it entirely. Next, cut a small slit in the center of the neckline of your shirt. This will be where you thread your cording or ribbon later.
Next, take your stapler and begin gather fabric along the bottom edge of your shirt. Gather the fabric until it is about half an inch wide, and then staple it in place. Once you have gathered and stapled the entire bottom edge, do the same thing with each side seam. When you are finished gathering and stapling, your shirt should look like a long tube.
Now it is time to begin threading your cord or ribbon through the neckline slit. Start at one side of the slit and pull the cord through until it comes out the other side. Then, tie a knot in each end of the cord so that it stays in place. Trim any excess cord (or ribbon) so that there are no loose ends hanging down inside your shirt.
Now that your cording is in place, you can finish up the raw edges around the arms and neckline with clear tape. Be sure to smooth out any wrinkles or folds in the fabric before you apply the tape so that you end up with a nice, clean edge when you are finished.
The Pants
Cut a strip of fabric 2-1/2 inches wide and long enough to go around your waist. Fold the strip in half lengthwise, right sides together, and stitch the long side and one end closed. Turn the pants right side out. mark the center front of the pants at the crotch seam. try on the pants and, using a fabric pencil, make marks 5 inches apart at the side seams. these marks will indicate where to place the gussets.
The Socks
The socks are probably the most important part of the uniform. They go all the way up to the knee and have stripes on the top. The team’s colors are always represented in the socks. For example, if the team’s colors are blue and white, the socks will be blue with white stripes.
The Cleats
The first step is to find the right type of cleats. There are three main types of cleats: metal, molded and turf. Metal cleats are the best choice if you’re playing on a field with natural grass, as they provide good traction and allow you to change directions quickly. Molded cleats are best for turf fields, as they provide good traction without damaging the playing surface. Turf shoes have small rubber or plasticstuds that provide traction without damaging the playing surface.
Next, you’ll need to choose the right size. Cleats come in a variety of sizes for both men and women. The size will be listed in both U.S. and European sizes. If you’re unsure of your size, it’s best to try the cleats on before purchasing them.
Once you’ve found the right size and type of cleat, it’s time to start lacing them up! Start by threading the lace through the bottom hole on the left side of the shoe. Then, bring the lace up through the next hole and over the top of the shoe. Continue this pattern until you reach the top hole on the left side of the shoe. Now, do the same thing on the right side of the shoe. When you reachthe top hole on the right side, tie a knot in order to keep the laces secure.
Now that your cleats are all laced up, it’s time to put on your socks! Baseball socks come in a variety of colors and styles. Choose a style that matches your team’s uniform or one that you simply like! Once you’ve found some socks that you like, put them on over your pants and then pull your pants up over them. Make sure that your socks are pulled up allthe way so that there is no skin showing between your pant leg and sock.
Now that you’re all dressed and ready to go, it’s time to hitthe field! Remember to have fun and always play fair!
The Hat
One of the most important parts of a baseball uniform is the hat. Hats not only help protect players from the sun, but they also help to identify which team a player is on. There are two main types of baseball hats: fitted and adjustable. Fitted hats are sized to fit a specific head size, while adjustable hats have a strap in the back that can be adjusted to fit different head sizes.
Conclusion
To conclude, making your own baseball uniform is a great way to get involved in the sport and support your favorite team. It is also a fun activity that can be done with friends or family members. With a little bit of time and effort, you can create a uniform that will be sure to impress.