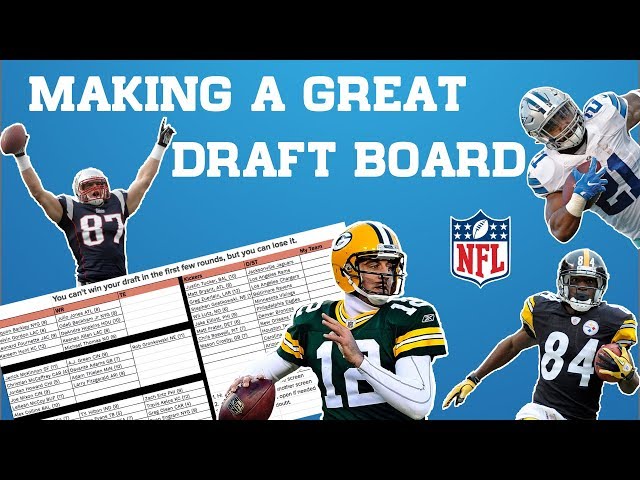
How To Make A NFL Fantasy Draft Board
Contents
If you are looking for how to make a NFL fantasy draft board, look no further. This blog will show you step by step how to create a board that will help make your draft a success.
Introduction
Making a NFL Fantasy Draft Board is a great way to keep track of your favorite team’s progress during the NFL season. You can use this board to help you make trades, manage your team, and set lineups. Here’s how to make one for your own team.
1. To make your board, you will need:
-A large piece of cardboard
-A pen or pencil
-Scissors
-Tape
-Markers or crayons
2. Cut the cardboard into a rectangle that is about 3 feet wide and 4 feet long.
3. On one side of the rectangle, draw a big X with a pen or pencil. This will be the center of your board.
4. On each side of the X, draw 10 small rectangles. These will be spaces for you to write in the names of each NFL team.
5. Decorate your board with markers or crayons. You can add the logos of your favorite team, or any other designs that you like.
6. Hang the board up in a place where you can see it easily, such as on a wall in your bedroom or office.
7. To use your board, find the space for the team that you are currently following and put a check mark next to their name each time they win a game. At the end of the season, the team with the most wins will be crowned champion!
What You Will Need
In order to make your own NFL Fantasy Draft Board, you will need the following materials:
-Large poster board
-Markers
-Sticky notes or small pieces of paper
-Tape
Instructions:
1. Begin by creating a header for your board. On the top of the poster board, write “NFL Fantasy Draft Board” in large letters.
2. Next, you will need to create columns for each team. At the top of each column, write the name of an NFL team. You can do this in alphabetical order or randomly.
3. Now, you will begin filling in the drafted players for each team. As players are drafted by a team, write their name on a sticky note or small piece of paper and tape it to the corresponding team’s column.
4. Continue until all players have been drafted!
Step One: Decide On Your Board Size
The size of your board will depend on how many people are in your league and how much room you have to hang it up. Most boards are between 2 and 4 feet wide, and 6 to 8 feet tall.
Step Two: Get Your Supplies
You’ll need a piece of poster board or foam core (available at any craft store), tacky glue, scissors, a black sharpie, and a ruler. You may also want to get some file folders or cardboard to make stands for each player’s card.
Step Three: Make A Grid
Using your ruler and black sharpie, divide your poster board into as many squares as you have players in your league. Make sure the squares are big enough to fit a player’s card with room to spare. For example, if you have 16 players in your league, your board should be divided into 4 rows of 4 squares each.
Step Four: Label The Board
Using the same black sharpie, label each square with the name or initials of the player who will occupy that space. For example, if you have Adrian Peterson as the first pick in your league, you would label the first square “AP”. This will make it easy for you to find each player’s card when it’s time to draft them.
Step Five: Glue On The Cards
Once all of the squares are labeled, it’s time to glue on the cards. You can use regular old playing cards, or get specialty cards made specifically for fantasy football draft boards (available at most sporting goods stores). If you go with playing cards, just make sure they’re all facing the same direction before you start gluing them down. Once they’re all glued on, let the board dry overnight before moving on to step six.
Step Six: Add The Stands
If you want to make things even easier on yourself (and your drafters), add stands to each square so the cards can stand up on their own. This way everyone can easily see who has been drafted and who is still available. To make stands, just cut small triangles out of file folders or cardboard and glue them to the back of each square. Let the glue dry completely before moving the board anywhere.
Step Two: Choose Your Board Layout
Now that you have all of your supplies, it’s time to start planning out your board. This is where you’ll decide on how many players you want on your team, what information you want to include about each player, and how you want it all to fit together.
There are a few different ways you can go about this. You can use a standard piece of poster board and draw everything out by hand, or you can use a computer program to design and print your board. There are also a few commercial products available that will do most of the work for you.
If you’re going with the standard poster board route, start by sketching out a rough idea of what you want your board to look like. Decide how many players you want on your team and how much space you need for each one. Then start filling in the details like player name, position, team, bye week, etc.
If you’re using a computer program, there are a few different options available. Microsoft Word has some decent built-in templates that can be easily customized for your needs. Or you can check out one of the many football-specific draft board programs that are available online.
Step Three: Create Your Board
Now that you have collected all the information about your league, it’s time to make your board. This is where you will put all of your player’s information so you can see who is available and when it is your turn to draft.
You can use a program like Excel or Word to create your board, or you can use a physical whiteboard and markers. Whichever way you choose to make your board, be sure to leave enough space for all the information you need and use a large font so it is easy to see from across the room.
Here is a list of information you will need for each player:
-Name
-Position
-Team
-Average Draft Position (ADP)
Step Four: Add Your Player Labels
Now that you have your draft board all set up, it’s time to start adding in your player labels! To do this, simply print out your player labels on adhesive label paper and then cut them out. Once you have all of your player labels cut out, peel the backing off and stick them onto your draft board in the correct order.
Now you are ready to start your draft!
Step Five: Hang Your Board
The final step is to hang your board. You can use push pins, tacks, or even Velcro to attach your board to the wall. Just make sure that it is secure and will not fall and injure anyone.
Now you know how to make a NFL fantasy draft board. This is a great way to keep track of all the players in the league and their stats. It is also a great way to follow your favorite team throughout the season.
Conclusion
Now that you know how to make a NFL fantasy draft board, you can get started on your very own draft board today! All you need is a printer, some paper, and some imagination. When it comes to making your own fantasy draft board, the sky is the limit! So get creative, and have fun creating your own unique draft board.