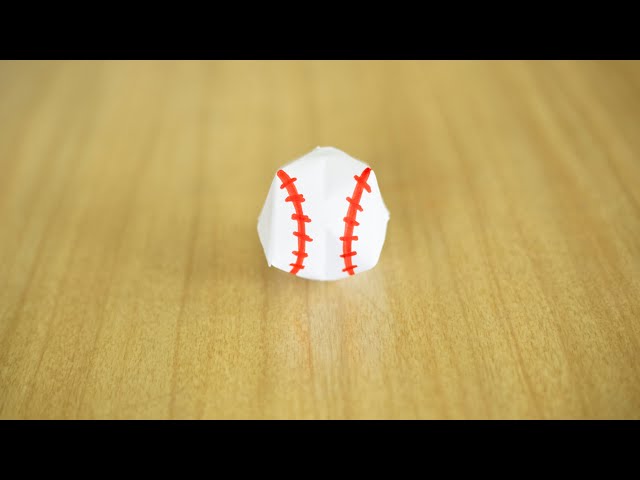
How To Make A Paper Baseball Ball?
Contents
You can make a paper baseball ball following these simple steps. With a little bit of origami, you can create your own baseball ball.
Introduction
A baseball is a round, hard ball used in the sport of baseball. The baseball is slightly smaller than a regulation tennis ball and is usually white with red stitching. It is made of two main parts: the outer covering or “shell” and the inner core. The shell is made of wound string, covered with leather, and stuffed with cork. The core of the baseball consists of a small rubber ball, wrapped in yarn, which is then wound with string.
Materials
To make a paper baseball ball you will need the following materials:
-A square piece of paper
-Scissors
-Tape
-A pencil
Step One
To make a paper baseball ball, you will need:
-a sheet of white paper
-scissors
-a pen or pencil
-a stapler
-tape (optional)
First, fold your sheet of paper in half lengthwise. Then, fold it in half again. Cut along the folds to create four equal rectangles. Next, take two of the rectangles and fold them in half lengthwise. Fold each one in half again, and then cut along the folds to create eight equal rectangles. Repeat this step with the remaining two rectangles. You should now have 16 equal rectangles.
Step Two
Cut a small circle out of one corner of the paper. This will be the baseball’s stitching.
Step Three
Now that the ball is complete, it’s time to finish it off by adding some laces. Cut a small strip of paper about 1/4″ wide and 3″ long. Fold it in half lengthwise and glue it to the side of the ball. Do this twice more, spacing the laces evenly around the ball. Once the glue has dried, your paper baseball is complete!
Step Four
Now it is time to give the baseball a seam. Take your white string and glue one end to the very top of the baseball. Then, holding the string taut, go around the circumference of the baseball, making sure to keep the string as close to the edge of the ball as possible. Once you have gone all the way around, cut the string and glue the end to the top of the ball.
Step Five
The next thing you will want to do is make the crease in the middle of the baseball. This will give it more stability and make it look more like a real baseball. For this step, you will want to use a ruler or something else that has a straight edge to help you make a nice, clean crease. Once you have made the crease, go ahead and unfold the paper.
Step Six
Now that you have your supplies, it’s time to get started! Begin by tracing a baseball onto your paper. You can use a pencil or a pen, but be sure to use a light touch so you can easily erase any mistakes. Once you have the baseball traced out, cut it out along the lines.
Step Seven
Now that you have all six baseballs, it’s time to put them together. Take the first baseball and push it through the hole in the center of the second baseball. Next, take the third baseball and push it through the hole in the center of the fourth baseball. Finally, take the fifth baseball and push it through the hole in the center of the sixth baseball.
Conclusion
Now that you know how to make a paper baseball ball, you can use this same method to create other sports balls, such as a basketball or soccer ball. You can also use this same method to create other objects, such as a paperweight or a globe. With a little creativity, the possibilities are endless!