How To Make A Tennis Bracelet Smaller?
Contents
If your tennis bracelet is too big or loose, don’t worry! In this blog post, we’ll show you how to make a tennis bracelet smaller without taking it to a jeweler.
Introduction
A tennis bracelet is a type of bracelet that consists of a string of beads, gemstones, or diamonds. The name “tennis bracelet” comes from the fact that it is a popular choice of jewelry to wear when playing tennis. While tennis bracelets are not necessarily unique to tennis, they are often associated with the sport.
Tennis bracelets are typically made with precious metals such as gold or silver, and they can be adorned with any type of gemstone. Diamonds are the most popular choice for tennis bracelets, but any type of stone can be used. Tennis bracelets can range in price from a few hundred dollars to tens of thousands of dollars, depending on the materials used and the quality of the craftsmanship.
If you have a tennis bracelet that is too loose or you simply want it to be smaller, there are a few easy ways to adjust the size at home. With just a few household tools, you can make your tennis bracelet smaller in just minutes.
What You Need
-scissors
-tape measure
-butterfly clasp
-needle nose pliers
-flat nose pliers
-round nose pliers
-headpins
-wire cutters
Instructions
1. Start by measuring your wrist with a tape measure. Add 1 inch to that measurement to get the length you need for your bracelet.
2. Cut a piece of beading wire to that measurement.
3. String the beads onto the wire in the pattern of your choice, leaving about 3 inches of wire at the end.
4. Thread on a butterfly clasp and make a simple loop, using the needle nose pliers, to secure it in place. Trim off any excess wire with the wire cutters.
Step One: Measuring Your Wrist
Before you begin, you’ll need to know the size of your wrist so that you can determine how many links to remove from the bracelet. You can do this by wrapping a flexible measuring tape around your wrist, or by using a strip of paper or string and then holding it up to a ruler. Once you have your measurement, add about ½ inch to account for the clasp. This is the maximum number of links you should remove from the bracelet.
Step Two: Removing The Links
Once you have determined how many links to remove, use a small screwdriver to remove the pins that hold the links in place. If you don’t have a screwdriver, a toothpick or paperclip will work as well. Be careful not to lose the small pins, as they are essential for reattaching the links later on.
If you are removing multiple links, it may be helpful to label them so that you can easily put them back in the correct order later. Once all of the necessary links have been removed, use pliers to gently bend open the clasp so that it can be easily slid off of the end of the bracelet.
Step Three: Shortening The Bracelet
Now that the bracelet is unclasped and all of the extra links have been removed, it’s time to shorten it to the correct size. Begin by holding one end of the bracelet in your hand and then gently bending it until it forms a loop. Make sure that the loop is small enough so that it can be easily clasped once it’s been reconnected.
Next, take hold of the other end of the bracelet and thread it through the loop until both ends meet in the middle. Once both ends are positioned correctly, use pliers to compress The two wires together until they are flush against each other. This will ensure that your bracelet stays secure and doesn’t come undone while you’re wearing it.
Step Four: Reattaching The Clasp And Links
Now all that’s left to do is reattach The clasp and any links that were removed earlier on. Start by slipping The end of The bracelet through The clasp until both sides are poking out from opposite sides. Next, take hold of a link with pliers and line up The small hole with one side of The wire poking out from The bracelet.
Use your other hand to guide The pin back through The hole until it pokes out from The other side. Then, use pliers to gently bend The pin over so that it lays flat against The link – this will keep it secure. Repeat this process for any remaining links before trying on your newly sized tennis bracelet!
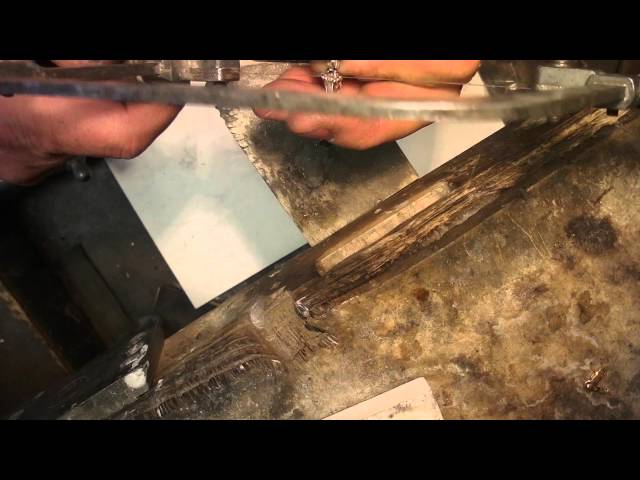
Step Two: Cutting The Chain
Now that you have your tools, it’s time to cut the chain. You will want to make sure that you are cutting the chain in a straight line, so that it can be reconnected properly later. You will also want to make sure that you are cutting as close to the clasp as possible, so that there is as little excess chain as possible.
Once you have cut the chain, you will need to separate the two ends of the chain. You can do this by gently pulling on each end until the links start to come apart. Once the links are separated, you will need to use your pliers to gently bend each link open. Once all of the links are open, you will be able to remove the clasp from the end of the chain.
Step Three: Reattaching The Clasp
1. Locate the end of the bracelet that has the clasp.
2. Remove any knots in the thread by gently pushing them through with your needle.
3. Thread your needle with a new piece of thread, making sure that it is long enough to go around the entire bracelet.
4. Tie a small knot at the end of the thread.
5. Push the needle through one of the beads nearest the clasp.
6. Continue threading the beads onto the needle until you have reached the desired length.
7. To secure the bracelet, push the needle back through several beads and tie a knot at the end of the thread.
8. Cut off any excess thread and wear your bracelet!
Step Four: Wearing Your Tennis Bracelet
Now that you have your beautiful, new tennis bracelet, it is time to show it off! Here are a few tips on how to wear your bracelet so that it looks its best:
-Wear your tennis bracelet on your non-dominant hand. This will help keep it from getting caught on things and will also make it easier to put on and take off.
-If you have a particularly small wrist, you may need to wear your tennis bracelet on the inside of your wrist. This will help keep it from sliding around.
-To put on your tennis bracelet, hold one end in each hand and gently twist it over your wrist. Do not pull too hard, or the bracelet may stretch out.
-To take off your tennis bracelet, hold one end in each hand and gently twist it over your wrist. Again, do not pull too hard or the bracelet may stretch out.