How to Make a Tennis Dampener?
A tennis dampener is a small device that is placed between the main and cross strings of a tennis racket. It is designed to deaden the vibration of the strings and reduce the “ping” sound that is produced when the ball hits the strings.
Introduction
A tennis dampener is a small accessory that attaches to the strings of a tennis racket and helps to deaden the vibration of the strings. This can help to improve the feel of the racket and make it easier to control. Tennis dampeners are usually made from silicone or gel, and they come in a variety of shapes and sizes.Adding a tennis dampener to your racket is a relatively simple process, and it can be done in just a few minutes.
What is a Tennis Dampener?
A tennis dampener is a small device that is placed between the main and cross strings of a tennis racket to “dampen” (or reduce) the vibrations produced when the ball hits the strings. Dampeners come in a variety of shapes and sizes, but most are simply small pieces of foam or rubber that can be easily placed on the strings.
While many players believe that dampeners improve the feel of their racket and help to reduce arm fatigue, there is no scientific evidence to support these claims. In fact, some studies have shown that dampeners actually make very little difference in terms of vibration reduction.
Despite this, dampeners remain a popular accessory for many players, and if used properly, can help to extend the life of your strings by preventing them from vibrating too much.
How to Make a Tennis Dampener?
A tennis dampener is a small device that attaches to the strings of a tennis racket and absorbs unwanted vibrations. The dampener also acts as a slight weight, which can help to increase power and control. Although many players use commercial dampeners, it is easy to make your own with items that can be found around the house.
Materials:
-Drill
-1/4 inch drill bit
-Scissors
-Rubberband
-Tennis ball
-Sponge
-Super glue
-Paperclip
Instructions:
1. Cut a small X into the center of the tennis ball with scissors. The X should be big enough to fit the drill bit through.
2. Attach the drill bit to the drill and insert it through the X into the center of the tennis ball.
3. Drill out a small hole in the center of the tennis ball. Be careful not to drilling too deeply or else you will puncture the other side of the ball.
4. Remove the drill bit andball from the drill.
5. Cut a small square out of sponge big enough to fit snugly into the hole you just drilled.
6. Insert sponge square into hole in tennis ball snugly, using super glue if necessary to hold it in place . Sponge should fit snugly but not be forced in; if necessary, trim excess sponge from around edges until it fits well without being forced .
7 7 . Allow glue to dry completely before using dampener . If using super glue, this usually takes about 24 hours . If using another type of adhesive , check package instructions for drying time required .
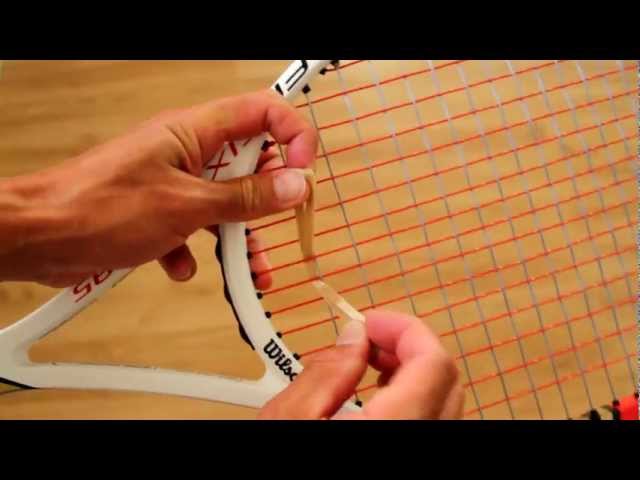
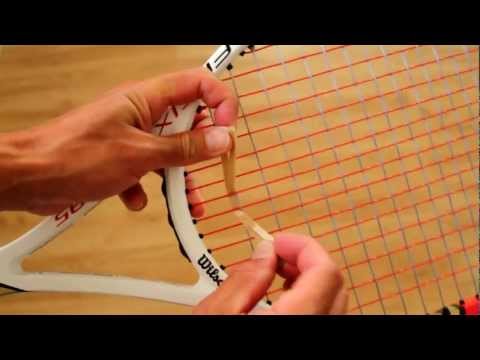
8 8 . To attach dampener to racket , thread rubber band through hole in sponge and tie securely around racket strings near top of handle . Trim excess rubber band if necessary . Place paperclip through loop in rubber band for added security , if desired
Conclusion
A tennis dampener is a small device that is placed between the strings of a tennis racket to reduce the vibrations caused by hitting the ball. This can help improve the feel of the racket and make it easier to control. While there are many commercial dampeners available, it is also possible to make your own from materials that can be found around the house.
To make a tennis dampener, start by cutting a small piece of rubber or foam into a disk that is about 2 inches in diameter. Then, use a sharp knife to cut a slit into the center of the disk so that it can be placed over the crossbar of the racket. Once in place, secure the dampener by wrapping a piece of tape around it or tying it with string. If you want, you can also decorate your dampener with paint or markers.