How to Make Baseball Cards?
Contents
You can make your own baseball cards using a variety of online tools. Find out how to make baseball cards that look professional and are fun to create.

Introduction
Making your own baseball cards is a great way to show your support for your favorite team, or to create a unique gift for a friend or family member. You can also use them as part of a scrapbook or photo album. With a little bit of time and effort, you can easily create your own custom baseball cards.
What You Will Need
To make your own baseball cards, you will need the following materials:
-Cardstock
-Printer
-Paper cutter or scissors
-Ruler
-Pencil
-Computer and printer
-Internet access (optional)
-Photo editing software (optional)
-Sports statistics (optional)
With just a few supplies, you can create professional looking baseball cards that are sure to impress your friends and family. If you want to include statistics on your cards, you can find plenty of resources online or in sports magazines.
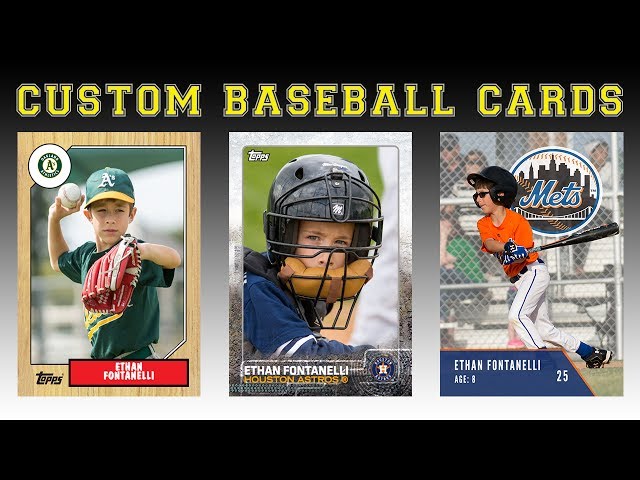
Step One: Choose a Card Design
The first step in making baseball cards is to decide on the design of the card. There are many different ways to design a baseball card, so it is important to choose a design that will fit the needs of the project. For example, if the goal is to make a baseball card for a specific player, then a design that features that player’s photo and statistics would be ideal. If the goal of the project is to make a general baseball card set, then a more general design would be better. Once the basic design of the card has been decided upon, it is time to move on to step two: choosing the right paper.
Step Two: Find Pictures of the Player
The easiest way to find pictures of the player is to do a Google image search. You can also try searching baseball-related websites or the player’s own website, if he has one. Once you have found some potential pictures, print them out on photo paper or cardstock.
Step Three: Find Statistics for the Player
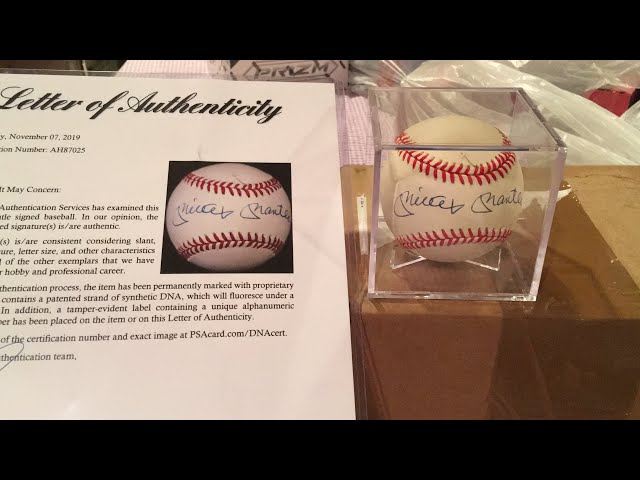
The third step to make your baseball cards is to find statistics for the player. You can find this information on the back of the card. If you are making a card for a player who has not played in a while, you can find this information online or in a baseball almanac. You will need to know the player’s batting average, home run total, and RBI total. You will also need to know how many strikeouts the player had, as well as their position on the team.
Step Four: Choose a Background
Assuming you have your picture(s) and team logos, it’s time to start thinking about the design of your card. One way to make your card look more professional is to add a background.
You can use a real picture of a stadium, or find a nice image online. Be sure to resize and crop the image so it fits nicely on your card. You may also want to use Photoshop or another program to add a color filter, like Sepia, to give your image an old-time feel.
Step Five: Put It All Together
Now that you have everything you need, it’s time to put it all together. Depending on the type of baseball card you want to make, there are different ways to go about this. For example, if you are making a conventional card with stats on the back, you will want to use a template. You can find many templates online or in design software.
If you are making a more creative card, such as a promotional card for a baseball team, you will have more freedom in terms of design. However, it is still a good idea to use some sort of template so that your card is the correct size and has bleed (the extra margin around the edge of the card).
Once you have your design ready, print it out on heavy stock paper or photo paper. If you are printing at home, use the highest quality setting on your printer. Once your cards are printed, cut them out and enjoy!
Step Six: Save and Print Your Card
Once you have made all of your changes and are happy with your card, it is time to save it. Hit the “File” menu and then “Save As.” Choose a place on your computer to save the file and name it something you will remember. Make sure you know where you saved it, because you will need to find it again later.
The next step is printing your card. You could take your file to a commercial printer, but that would be expensive. A better option is to print your card at home using your own printer. Just make sure you have some good photo paper and ink before you start printing.
Conclusion
Now that you know the basics of making baseball cards, it’s time to get creative and add your own personal touch. Remember to have fun and experiment until you find a method that works best for you.