How to Make Your Own WWE Action Figure Belt
Contents
Are you a WWE fan? Do you want to make your own WWE action figure belt? Check out this tutorial to learn how!

Introduction
In this activity, you’ll learn how to make a WWE action figure belt. You’ll need a few supplies, but it’s a relatively easy project that you can complete in an afternoon. The end result will be a realistic-looking belt that you can use to display your action figures or to play with.
What You’ll Need
-1/2 yard of 1″ wide leather
-leather punch
-hammer
-needle and thread or sewing machine
-fabric glue
-x-acto knife or box cutter
-ruler or measuring tape
-old WWE action figure belt (for size reference)
-pencil or pen
The Belt
You will need the following supplies:
-Tape measure
-Leather or pleather
-Scissors
-Featherweight champion Action Figure belt buckle (available on eBay)
-1/8 inch hole punch
-Ruler or yardstick
-Superglue or fabric glue
Instructions:
1. Measure your waist and add 10 inches. This is the length of pleather you will need to cut.
2. Cut the pleather to this length.
3. Find the center of the strip of leather and mark it with a pen. Then, using the scissors, make a slit down the center of the strip, stopping about an inch from each end.
4. Place the belt buckle in the middle of the strip so that the two ends of the slit are facing up, and use superglue or fabric glue to attach it in place. Allow to dry completely.
5. Once dry, thread one end of the strip through the back of the buckle and pull it through until it is tight against your waist. Then, make a mark on this end of the strip where it meets the front of the buckle. This is where you will punch your hole to thread your belt through.
6. Using the hole punch, make a hole at this mark.
7. Now thread both ends of your belt through this hole, and you’re done!
The Buckle
You will need the following supplies to make your own WWE action figure belt:
-1/8 inch thick sheet of craft foam
-1/2 inch wide velcro
-X-acto knife
-Clear packing tape
-Ruler or measuring tape
-Pencil
First, use the ruler or measuring tape to measure out a rectangle on the craft foam that is 6 inches long and 3 inches wide. Cut out the rectangle with the X-acto knife. Next, use the pencil to draw a line down the center of the rectangle, lengthwise. This will be where you will fold the belt in half later.
Now, take one of the short sides of the rectangle and cut a small triangle out of it. This triangle will be used as the point of the buckle. Next, use the X-acto knife to cut 2 slits into the long side of the belt that is opposite of the triangle (the slits should be about 1/2 inch apart). These slits will be used to thread the velcro through later.
To make the belt look more like an actual WWE belt, you can add some details to it now. Use the X-acto knife to cut any shapes or designs into the belt that you want. Once you are happy with how your belt looks, it’s time to move on to assembly.
Take one piece of velcro and adhere it to one side of one slit (it doesn’t matter which side of the slit you choose). Then, take the other piece of velcro and adhere it to one side of the other slit. Make sure that both pieces of velcro are placed so that they are facing inwards (towards each other) when looking at the belt from top down.
Now, thread one side of each velcro strip through its respective slit so that both strips are now on opposite sides of The belt buckle should now be able to open and close. Finally, use a small piece of clear packing tape to secure each end of both velcro strips to prevent them from fraying over time. Your WWE action figure belt is now complete!
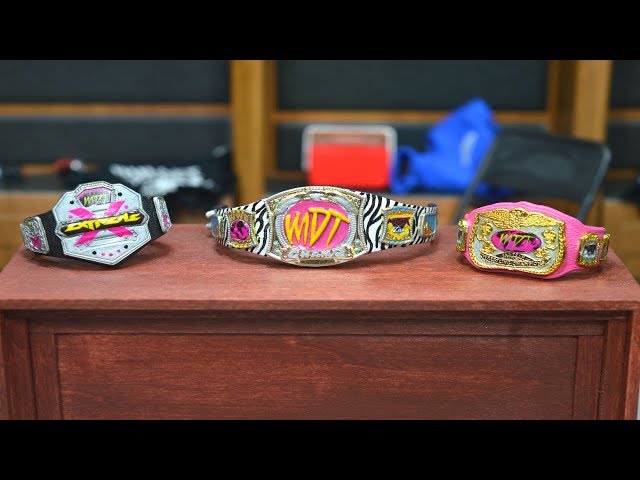
The Plates
You will need 3 plates to make your belt. Two of them will be the belt itself, and one will be the belt’s buckle. The two plates that will make up the body of the belt can be any size you want, but they must be exactly the same size. The third plate, which will be the buckle, can be any size you want as well.
Putting It All Together
Now that you have all the necessary materials, it’s time to put your WWE action figure belt together! With a little bit of effort and patience, you’ll have a fantastic-looking belt in no time.
1.Using the scissors, cut a length of elastic that is long enough to go around your waist comfortably with a bit of extra room.
2.Next, cut two strips of velcro that are each about 3 inches long.
3.Attach one end of the elastic to one of the velcro strips using hot glue or fabric glue. Make sure that the adhesive is strong and secure.
4.Wrap the elastic around your waist and attach the other end to the remaining velcro strip in the same manner.
5.Now it’s time to add the trim! Start by cutting two lengths of ribbon that are each about 2 feet long.
6.Attach one end of each ribbon to the elastic waistband using hot glue or fabric glue, positioning them so that they are evenly spaced apart.
7.Wrap the ribbon around your waist, overlapping as you go, and attach the other end of each piece in the same manner.
Conclusion
In conclusion, making your own WWE action figure belt is a fun project that can be completed in an afternoon. With a few inexpensive supplies and some basic sewing skills, you can create a unique belt that will be the envy of all your friends. So get creative and have fun!