How to Paint a Tennis Racquet
Contents
Get your old tennis racquet and give it a new coat of paint to make it look like new again. This project is easy and only requires a few supplies that you may already have at home.
Introduction
In this guide, we will show you how to paint a tennis racquet. You will need some basic supplies including a racket, a can of primer, a can of spray paint, and painters tape. You will also need a well-ventilated area to work in. Follow these simple steps and your racket will be as good as new!
Materials Needed
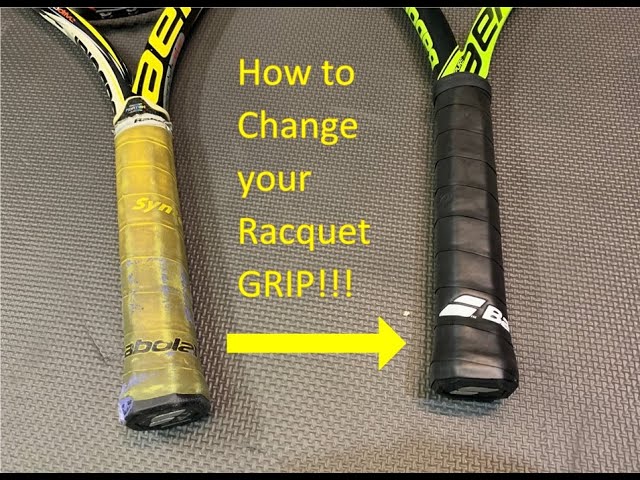
-Tennis racquet
-Paintbrush
-Spray paint
-Newspaper
Preparation
Before beginning the project, you will need to gather the supplies. You will need a tennis racquet, paint, painter’s tape, and a drop cloth. You will also need to decide on the colors you want to use. Once you have all of your supplies, you will need to prep the racket. Start by taping off any areas of the racket that you do not want to paint. Then, lay down a drop cloth to protect your work surface.
Next, you will need to paint the frame of the racket. To do this, start by painting the outer edge of the frame. Then, fill in the rest of the frame with paint. Once the frame is painted, let it dry completely before moving on to the next step.
Now, you will need to paint the strings of the racket. To do this, start by painting one string at a time. Start at the top of the string and work your way down. Once all of the strings are painted, let them dry completely before moving on to the next step.
Finally, you will need to paint the grip of the racket. To do this, start by painting the outer edge of the grip. Then, fill in the rest ofthe grip with paint. Once the grip is painted, let it dry completely before using it again.
Applying the Paint
Now that the prep work is done, you can start painting your tennis racquet. Make sure to use a thin layer of paint so that it dries evenly and quickly. You may need to apply several coats of paint in order to get the desired look. Once the paint is dry, you can add any embellishments or designs that you want.
Letting the Paint Dry
Drying time will vary depending on the paint you choose and the temperature and humidity of your work area. A general rule of thumb is to allow at least 24 hours for the paint to cure before using the racquet. If possible, try to find a spot out of direct sunlight and with good ventilation to let your racquet dry. Once the paint is dry, you can begin re-stringing your racquet and get back out on the court!
Conclusion
Now that you have completed all the necessary steps, your tennis racquet is ready to go! Give it a try on the court and see how it feels. Painting your own tennis racquet is a great way to customize your gear and make it truly your own. With a little time and effort, you can have a one-of-a-kind racquet that is sure to turn heads.