How to Replace Tennis Grommets
If your tennis racket is in need of new grommets, you’ve come to the right place. In this blog post, we’ll show you how to replace them quickly and easily.

Introduction
replacing your grommets is important to maintain proper function and performance of your racket. Grommets help protect the frame of your racket from impact and friction damage, as well as help grip the strings to keep them in place. If you play tennis frequently, you will likely need to replace your grommets every 6-12 months. In this guide, we’ll show you how to replace your grommets in just a few simple steps!
Materials
In order to replace your own tennis grommets, you’ll need a new set of grommets (they usually come in a pack with instructions), a small Phillips screwdriver, and a hammer. A hacksaw may also be necessary if your old grommets are severely damaged and need to be cut off.
Tools
In order to replace tennis grommets, you will need the following tools:
-A screwdriver
-A Phillips head screwdriver
-A hammer
-Pliers
-A new tube of tennis grommets
-Tennis racket string
Preparation
Preparation is key when replacing grommets in your tennis racket. Depending on the condition of your racket, you may need to replace all of the grommets or just a few. It is important to take note of which grommets need to be replaced so that you can properly install the new ones. If possible, take a digital picture of the racket before disassembling it so that you have a reference point for putting everything back together. In addition, practice stringing a few rackets before working on your own so that you feel comfortable with the process.
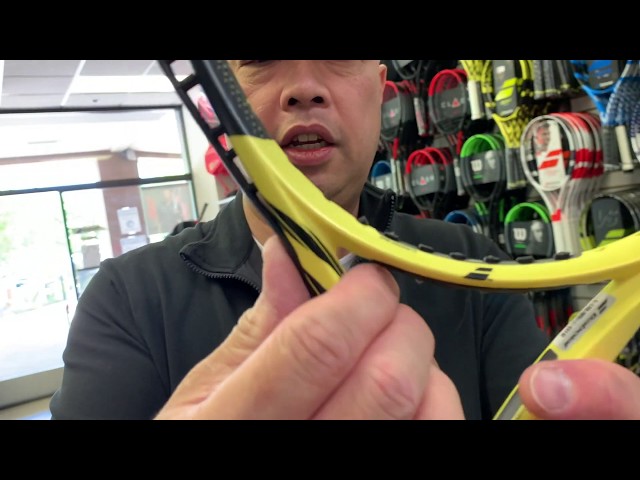
Replacing the Grommets
If your racket’s grommets are worn out, you’ll need to replace them to keep the strings from coming loose. You can buy grommet kits at most sporting goods stores, or online. You’ll also need a small Phillips head screwdriver and a hammer.
1. Start by loosening the screws that hold the old grommets in place. If they’re very corroded, you may need to use a pair of pliers.
2. Carefully remove the old grommets and discard them.
3. Place the new grommets in the same position as the old ones, making sure they’re facing the right way.
4. Use the hammer to gently tap the grommets into place. Be careful not to damage them.
5. Screw the racket back together, and you’re done!
Finishing Up
Now that you have the old grommets out and the new ones in, it’s time to finish up. Start by lacing up the racket as usual. Next, use a paint pen or permanent marker to trace the outline of each grommet hole on the inside of the frame. This will give you a guide for where to put the lashings when you re-string the racket. Once you have drawn around all of the grommets, cut along each line with a sharp knife.
Be sure to use a cutting board or some other type of surface protector when doing this. Once you have cut out the openings, remove any sharp edges from the holes with a file or sandpaper. Now you are ready to string your racket!