How To Switch To Goalie In Nhl 20?
Contents
Want to know how to switch to goalie in NHL 20? It’s actually pretty easy once you know how. Just follow these simple steps and you’ll be in net in no time.
From the “Settings” menu, open the “Game Settings” tab. In the “Game Settings” tab, scroll down to the “Position Lock” setting and switch it to “Off.” This will allow you to play any position on the ice, including goalie.
Select the “Controls” option.
In the “Controls” option, scroll down to ” goaltending ” and select it. By default, the controls for shooting and passing are mapped to the right bumper (RB) and trigger (RT) buttons for your right hand, while goaltending is mapped to the left bumper (LB) button for your left hand.
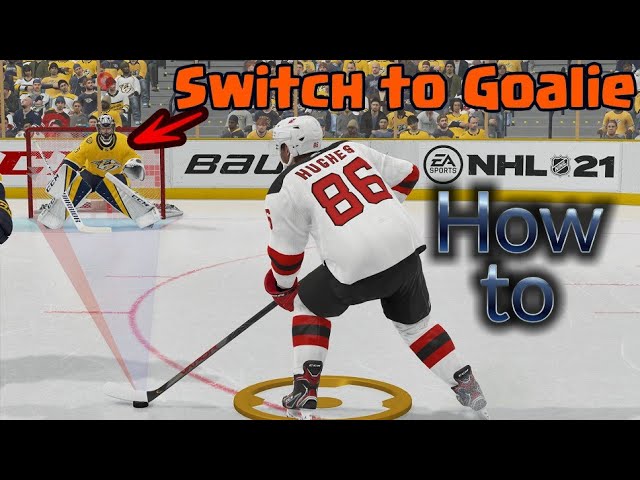
NHL 20 features a new way to play goalie. If you want to switch to goalie in NHL 20, scroll down to the “Goalie” section and press the “X” button. This will put you in control of the goalie. You can also switch to goalie by pressing the “Start” button and then selecting the “Goalie” option from the menu.