How to Teach a Child to Throw a Baseball
Contents
It is important to teach your child how to throw a baseball properly so they can avoid injury and have fun playing the game. This guide will show you the proper technique to help your child learn how to throw a baseball.

Introduction
Playing catch is one of the first things we learn as children. It seems so simple, but there’s actually a lot of technique involved in throwing a baseball properly. If you’re teaching a child how to throw a baseball, the most important thing is to make sure they have fun while they’re learning. Here are a few tips to help them master the perfect throw.
The Grip
The first step in teaching a child to throw a baseball is to teach them the grip. The grip is the way you hold the ball in your hand. There are two main grips for throwing a baseball: the four-seam grip and the two-seam grip. The four-seam grip is the grip that is most often used by pitchers.
Two-Seam Grip
The two-seam grip is perhaps the most common grip for a pitcher, as it provides good control and movement on the ball. To throw a two-seam fastball, place your index and middle fingers across the narrow seams of the baseball and position your thumb under the ball near the bottom seam. Your fingers should be slightly spread apart, with your index finger slightly higher on the ball than your middle finger.
Four-Seam Grip
The four-seam fastball is the fastest pitch in baseball, and it’s thrown the same way as a two-seam fastball, except for the grip. To throw a four-seam fastball, place your index and middle fingers along the seams of the baseball so that they’re touching. Then, place your thumb on the bottom of the ball in the space between your index and middle fingers.
The Stance
If you’re teaching a child how to throw a baseball, the first thing you need to do is teach them the proper stance. They should start by standing tall with their feet shoulder-width apart. Then, they should bend their knees and shift their weight onto their back foot.
Stride
When teaching a child to throw a baseball, one of the most important things to emphasize is the stride. The stride is the distance the child takes toward the target before releasing the ball. A good stride will help the child generate more power and accuracy when throwing.
There are two main types of strides: long and short. A long stride is when the child takes a longer step forward with the lead foot before releasing the ball. This can help generate more power, but it can also make it more difficult to control where the ball goes. A short stride is when the child takes a shorter step forward with the lead foot. This doesn’t generate as much power, but it’s easier to control accuracy.
The best way to teach a child the proper stride is to have them stand side-by-side with an adult, both facing forward. The adult should then demonstrate how to take a small step forward with their lead foot, keeping their weight balanced over their midsection. The child can then imitate this movement. Once they’ve mastered the proper technique, you can then have them increase their stride length until they’re comfortable throwing from a long stride.
The Release
The most important thing for a child to learn when throwing a baseball is the release. The release is when the ball is dropped from the hand and propelled forward. It is a very important part of the throw and can be the difference between a successful throw and an unsuccessful one.
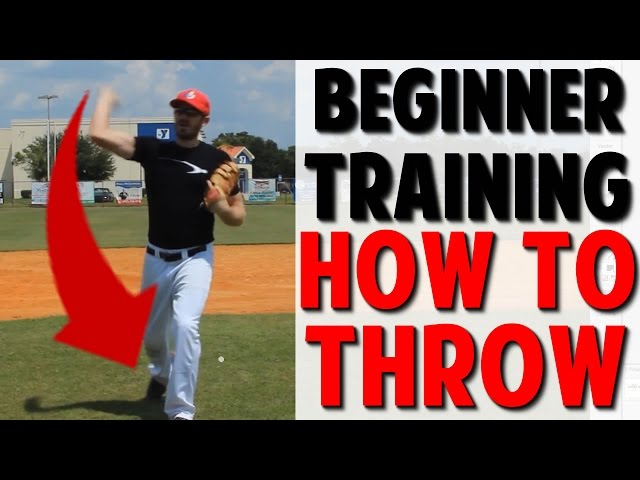
Overhand Throw
Most children will have an intuitive understanding of how to throw a ball overhead – they see adults do it all the time. In order to teach a child to throw a baseball correctly, you’ll need to provide some instruction and practice. Here’s how to do it:
1. Start by having the child stand tall with good posture and facing the target.
2. Place the baseball in the glove and hold it close to the body.
3. Bring the arm back behind the head, keeping the elbow close to the ear.
4. Swing the arm forward and release the ball at precisely the moment when the arm is level with the shoulder. The wrist should snap downwards as you release, adding spin to the ball.
5. Follow through with the arm after release, keeping the elbow close to the body.
Sidearm Throw
The sidearm throw is the second most common type of throw in baseball, and is used when the situation calls for a more moderate speed throw. For example, sidearm throws are typically used when a runner is stealing second base or third base, or when a baserunner is coming home on a play at the plate.
To properly execute a sidearm throw, start with your feet shoulder-width apart and your weight balanced evenly on both feet. cock your arm back so that your hand is behind your ear, and then snap your wrist forward as you release the ball. As you release the ball, snap your elbow forward so that your arm is extended out straight in front of you.
The key to throwing a good sidearm throw is to keep your elbow above your shoulder throughout the entire motion. This will ensure that you get good rotational power on the ball, and will also help to keep your throws accurate.
Knuckleball Throw
The knuckleball throw is one of the most intriguing and difficult pitches to master in baseball, but it can be highly effective when used correctly. The key to throwing a successful knuckleball is to release the ball without spin, so that it flutters in the air and is difficult for the batter to predict.
To throw a knuckleball, start by gripping the ball with your middle and index fingers on either side of the stitches. Place your thumb underneath the ball, and curl your ring finger and pinky under your palm. As you wind up for the pitch, keep your hand relaxed and let the ball roll off your fingers. When you’re ready to release, snap your wrist forward and follow through with your arm.
If done correctly, the lack of spin on the ball will cause it to move erratically in the air, making it hard for even the best hitters to make contact. However, because knuckleballs are so difficult to control, they are also often wild pitches. So be careful not to overdo it with this pitch – use it sparingly and only when you’re confident in your ability to throw it accurately.
Conclusion
Praise your child’s effort and offer constructive feedback to help them improve their technique. Reward your child with verbal praise, high-fives, and/or small treats after each successful throw. With patience, practice, and proper instruction, your child will be throwing like a pro in no time!