How to Teach a Tennis Forehand in 5 Easy Steps
Contents
Are you looking to teach a tennis forehand in 5 easy steps? Then look no further! This blog post will show you exactly how to do it.
Introduction
Teaching a tennis forehand can be a daunting task, but if you break it down into smaller, manageable steps, it can be much easier. Here are five easy steps to teaching a tennis forehand:
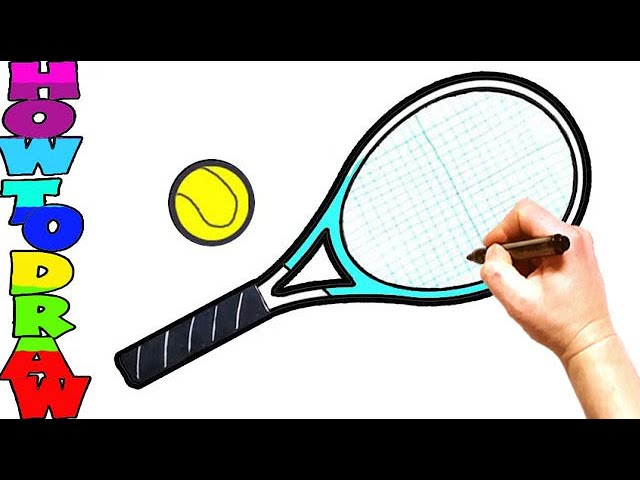
1. Start by teaching the proper grip. The grip is important because it will determine how the racket face hits the ball. If the grip is too tight, the ball will go off to the side. If the grip is too loose, the ball will not have enough power.
2. Next, teach your students how to properly position their feet. The feet should be shoulder-width apart and aligned with the center of their body. The weight should be on the balls of their feet so they can explode into their shot.
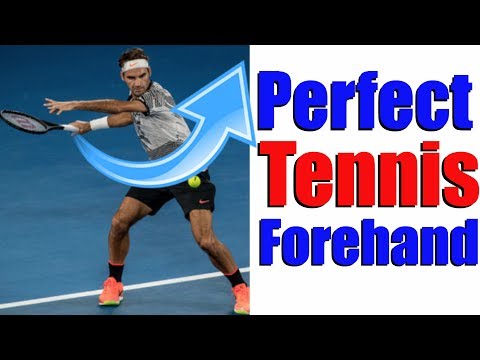
3. Once the grip and footwork are sorted out, teach your students how to properly swing their racket. They should start with their racket behind their head and then take it all the way back until it is even with their waist. From there, they should swing forwards and hit the ball at waist level.
4. It is also important to teach your students how to properly follow through with their swing. After they hit the ball, they should continue swinging all the way around until their racket is back in front of them again. This will ensure that they put all of their power into their shot.
5. Finally, make sure your students practice regularly so they can master these techniques and become better tennis players overall!
Step One: The Grip
One-handed backhands are not as common as they once were, but the grip is essentially the same: Start by holding the racket in your nondominant hand and placing that hand underneath the handle. Rest your dominant hand on top of the handle and interlace your fingers. Now, position your grip so that your palm covers the bevel at the bottom of the racket head. For a one-handed backhand, you can position your grip in one of two ways. If you want more power, place your thumb on top of the racket. If you want more control, slide your thumb underneath the racket.
Step Two: The Backswing
On the backswing, the racket moves backward and up. The player turns the shoulders, preparing to hit the ball. The elbow should be close to the body, and the hand should be in line with the shoulder. The racket should be pointing downwards, ready to swing up and make contact with the ball.
Step Three: The Contact Point
After you have your grip and your racket head position correct, it’s time to focus on where you make contact with the ball. For a forehand, this will be out in front of your body, and for a backhand, it will be behind your body.
There are two main ways to hold the racket when making contact with the ball: an eastern grip and a continental grip. An eastern grip is where you hold the racket so that your palm is facing down when you make contact with the ball. A continental grip is where you hold the racket so that your palm is facing up when you make contact with the ball.
Most beginners will want to use an eastern grip because it is simpler to learn. If you are using an eastern grip, make sure that you are using the right part of the racket. You want to make contact with the ball using the sweet spot, which is the part of the racket that is in between the two blue lines on either side of the head.
If you are using a continental grip, then you want to make sure that you are using the right part of the racket as well. You want to make contact with the ball using the sweet spot, which is right in between those two blue lines on either side ofthe head.
Once you have your grip and your contact point sorted out, it’s time to focus on hitting the ball in front of your body for a forehand or behind your body for a backhand.
Step Four: The Follow Through
After contact, the racquet should continue moving up and across your body following the path of the ball. The momentum generated by the swing will cause your arm and racquet to end up in front of your body, which is perfectly fine. Just make sure that you don’t stop your swing prematurely or else you won’t hit through the ball correctly.
Conclusion
Now that you know the 5 easy steps to teaching a tennis forehand, it’s time to put them into practice. Remember to start slow and build up speed and power as your students become more comfortable with the stroke. And most importantly, have fun!