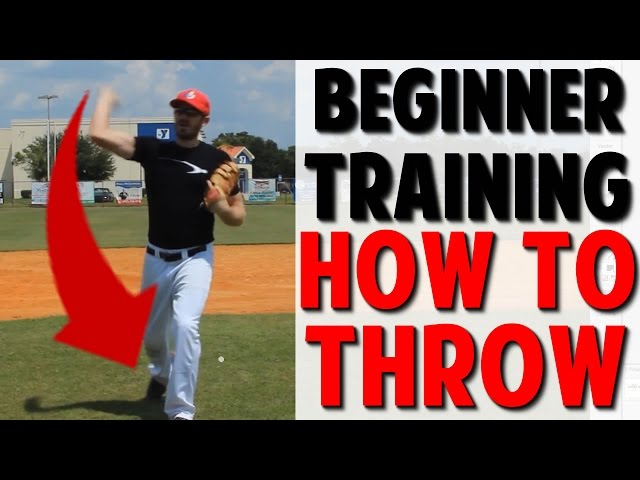
How to Teach Baseball Throwing the Right Way
Throwing a baseball the right way is important for any player. Here’s a guide on how to teach baseball throwing the right way, so your players can have success on the field.
grip
One of the most important aspects of throwing a baseball is the grip. There are a few different grips that can be used, but the most common is the four-seam grip. To throw a four-seam fastball, put your index and middle fingers along the seams of the ball, and your thumb opposite your middle finger.
stance
One of the first things you need to work on with your young baseball players is their stance. This will be the foundation for all their future success throwing the ball, so it’s important to get it right from the start.
There are two main types of stances: closed and open. The closed stance is where the feet are together and the toes pointing straight ahead. The open stance has the feet slightly more than shoulder-width apart and the toes pointing outwards.
Which stance you teach your players will depend on their individual abilities, but as a general rule, younger players should start with a closed stance. This will help them to maintain their balance and keep their bodyweight over their front foot, ready to drive forward when they release the ball.
As they get older and more experienced, you can then start to introduce an open stance. This will give them a wider base of support and help them generate more power through their hips. It’s also a good idea to have some players experiment with an open stance from an early age, as this will give you a better idea of which ones are naturally suited to this style of throwing.
arm action
One of the most important aspects of proper baseball throwing is having the correct arm action. The arm action is what generates the power behind the throw, and if it is not done correctly, it can lead to a lot of problems, such as reduced velocity and accuracy. Here are some tips on teaching the correct arm action:
The first thing you need to do is make sure that the player’s elbow is in the correct position. The elbow should be at a 90-degree angle, with the hand behind the ball and the thumb pointing down. This is known as the “locked and loaded” position and it will help to ensure that the player’s arm is in the correct position when they release the ball.
Next, you need to make sure that the player bends their elbow slightly as they go through their wind-up. This will help to generate more power behind their throw. As they come through with their arm, they should snap their wrist and follow through with their throw. Make sure that they keep their eyes on their target and do not drop their elbow during this phase of their delivery.
follow through
One of the most important aspects of throwing a baseball is the follow through. The follow through is what gives the ball its velocity and accuracy. If you do not have a good follow through, your throw will not be as strong or accurate. Here are some tips on how to teach your child the proper way to follow through when throwing a baseball.
Have your child stand in an open space with their feet shoulder width apart.
Instruct them to hold the ball in their right hand and bring their right arm up so that the hand is at ear level.
Tell them to then extend their arm forward and release the ball when their hand is even with their front shoulder.
As they are releasing the ball, tell them to snap their wrist so that their fingertips are pointing down towards the ground.
Finally, tell them to follow through with their arm by continuing to extend it out until their hand is pointing towards the ground.