How to Work In a Baseball Glove?
Contents
It’s not as easy as one might think to break in a baseball glove. In this blog post, we’ll show you how to work in a baseball glove so that it’s game-ready.
Introduction
Your baseball glove is an essential piece of equipment that will help you perform your best on the field. It’s important to take care of your glove and break it in properly so that it feels comfortable and provides the support and protection you need. In this article, we’ll show you how to work in a baseball glove so that it’s ready for game day.
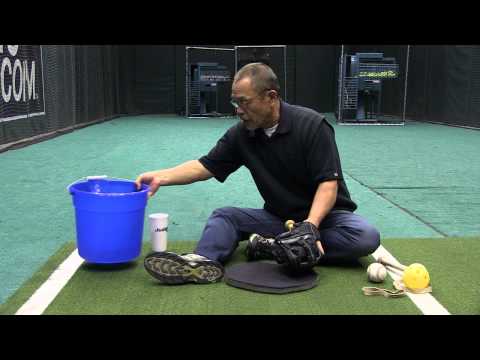
What You Will Need
– Baseball glove
– Ball
– Soft cloth
– Water
– Conditioner
– petroleum jelly (optional)
To work in your baseball glove, start by doing some soft catch with a ball to loosen up the leather and make it more pliable. Next, dampen a soft cloth with water and rub it over the entire glove to clean it. Once the glove is clean, apply a small amount of conditioner to it and work it into the leather. Finally, if desired, you can apply a small amount of petroleum jelly to the inside of the glove to help keep it moist.
Step One: Preparing the Glove
The first step to working in a baseball glove is to prepare the glove. You will need to break in the glove so that it is soft and pliable. There are several ways that you can do this. One way is to soak the glove in water for about an hour. Another way is to rub the glove with a baseball or with your hand. You can also use a glove mallet to pound on the glove. The important thing is to get the glove soft and pliable so that it will be easy to work with.
Step Two: Stretching the Glove
Once you have prepared the glove, you will need to stretch it out. The best way to do this is to put your hand in the glove and then pull on the fingers and thumb. You can also use a baseball or a bat to help stretch out the glove. Be sure to stretch all parts of the glove, including the webbing, palm, and back of the hand.
Step Three: Working In The Glove
Once you have stretched out the glove, you are ready to begin working it in. This process can be done by using your hand, a bat, or a baseball. Start by working the ball into the pocket of the glove. Then, work it around all parts of the inside of the glove, including all of the fingers and thumb. Work it into every nook and cranny until it feels smooth all over. This process may take some time, but it is important that you take your time and do it right so that your glove will last for many years.
Step Two: Applying the Glue
Owning a baseball glove is one thing, but working in a baseball glove is an entirely different task. If you’ve just purchased a new glove, or if you’re simply trying to break in an old one, there are a few things you can do to help the process along. Applying a little bit of glue is one way to work in a baseball glove. Here’s how it’s done:
1. Start by purchasing some leather glue from your local sporting goods store. You’ll also need a rag and something to spread the glue with, like an old credit card.
2. Spread a thin layer of glue over the entire palm area of the glove. Avoid getting any glue on the fingers of the glove, as this can make them stiff and difficult to move.
3. Once you’ve applied the glue, put on the glove and grip a baseball firmly. The more you squeeze the ball, the better the glove will start to fit your hand.
4. Leave the glove on for at least an hour, or until the glue has completely dried. Once it’s dry, you can remove the glove and start using it in games or practices.
Step Three: Wrapping the Glove
After you have applied the conditioner, it is time to wrap the gloves. This will help the leather to retain its shape and keep the glove from drying out. You can use a clean cloth or cotton sock for this. Wrap the glove tightly, but not too tight, and tie it off with a string or rubber band. Be sure to wrap the wrist area as well, so that the opening of the glove is not left open.
Step Four: Drying the Glove
After you have worked the glove oil into the leather, you will need to allow the glove to dry. It is best to do this in a warm area, such as in front of a fan or heater. Allow the glove to dry for at least 12 hours so that the oil has a chance to work its way into the leather.
Step Five: Applying the Laces
The final step in lacing your glove is to tie the two leather lace ends together. Start by threading one lace end through the loop on the other lace. Then, pull the laces tight and tie them in a knot. Trim off any excess lace, and you’re done!
Step Six: Breaking In the Glove
After you have conditioned the leather, it’s time to break in the glove. Start by spraying a light layer of lubricant on the inside of the glove. Then, work the ball into the pocket of the glove, using your hand to mold the pocket around the ball. Once the ball is in the pocket, wrap a baseball around it so that the ball is held securely in place. Finally, tie a string around the top of the glove to keep it tightly closed. Leave the glove overnight so that the leather can soften and mold around the ball.
Conclusion
Now that you understand how to break in a baseball glove, it’s time to put your new knowledge to the test. Get out there and start practicing with your new glove. With a little time and effort, you’ll have a glove that feels like it’s been part of your hand for years.