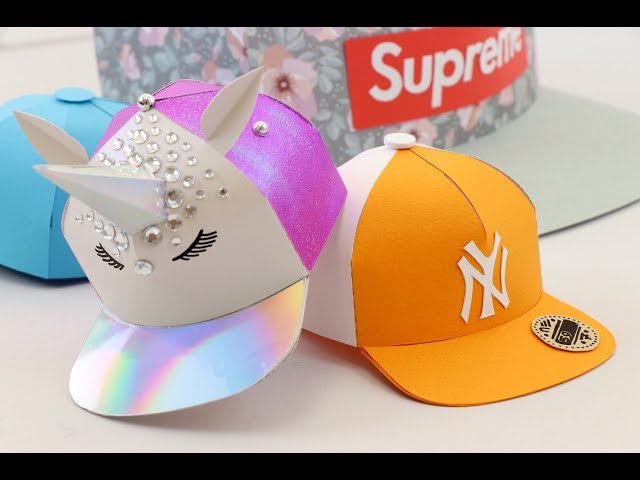
How to Make a Printable Paper Baseball Cap Template
Contents
Learn how to make a printable paper Baseball Cap template with this easy to follow tutorial. This is a great craft project for kids or adults and can be used to make party favors costume accessories, or just for fun.

Introduction
In this Instructable, I’ll show you how to make a printable paper baseball cap template. This can be used for a number of things, from making party hats to props for school plays.
You will need:
-A printer
-Paper
-Scissors
-Tape or glue
Optional:
-Decorations (markers, crayons, glitter, etc.)
What You’ll Need
-A4 size paper
-Ruler
-Pencil
-Scissors
-Craft knife (optional)
-A3 size tracing paper (optional)
-Printer (optional)
Step 1: Trace the Hat Template
Print out the baseball hat template on regular computer paper. Place the template on a piece of cardstock and trace around it with a pencil. Then, cut out the cardstock hat using a pair of scissors.
Step 2: Cut Out the Hat
Next, you will need to cut out the hat. If you are using a baseball cap template, simply trace the template onto the paper and then cut it out. If you are not using a template, then you will need to free-hand the shape of a baseball hat onto the paper and then cut it out. Once you have cut out the shape of the baseball hat proceed to Step 3.
Step 3: Assemble the Hat
Now that you have all your pieces cut out, it’s time to assemble the hat. Start by folding the bill of the cap in half lengthwise. Then, take the side panels and fold them in half lengthwise as well.
Next, take the bill of the cap and glue or tape it to one of the side panels. Then, do the same with the other side panel. Make sure that the folded edges are lined up with each other.
Now take the back panel of the cap and glue or tape it to one of the side panels. Then, do the same with the other side panel. Make sure that all of the raw edges are lined up with each other.
Last, take the top panel of the cap and glue or tape it to the back panel. Make sure that all of the raw edges are lined up with each other.
Your printable paper baseball cap template is now complete!
Step 4: Add the Bill
Now it’s time to add the bill to your baseball cap template! To do this, trace the bottom half of a small oval onto the center of the front of the cap. Then, cut out the traced oval. Next, use a ruler to draw a line from one side of the oval opening to the other. Cut along this line.
Step 5: Cut Out the Visor
Now that you have all your pieces cut out, it’s time to start assembling your Baseball Cap The first step is to cut out the visor.
Start by cutting along the dashed line that runs along the top edge of the visor template. Next, cut out the two small triangles at the bottom of the visor template. These will create the tabs that will be used to attach the visor to the rest of the baseball cap
Step 6: Attach the Visor
Use hot glue or a strong adhesive to attach the visor to the top front of the paper cap. Make sure that the visor is level and flush with the top edge of the paper cap. If using hot glue, be very careful not to touch the hot glue with your fingers.
Step 7: Add the Strap
In this step, you will add the strap to the back of the baseball cap template. This will help keep the Baseball Cap template in place when you re wearing it.
1. Start by folding a piece of paper in half lengthwise.
2. Then, cut a strip of paper that is about 2 inches wide and 12 inches long. This will be the strap for the baseball cap template.
3. Next, glue one end of the strap to the back of the baseball cap template, about 1 inch from the edge.
4. Finally, glue the other end of the strap to the back of the Baseball Cap template, about 1 inch from the other edge.
Conclusion
Now that you know how to make a printable paper baseball cap template, you can use it to create unique and personalized caps for any occasion. Whether you’re making caps for a team, a group of friends, or just for yourself, you can now add your own personal touch to plain old baseball caps So get creative and have fun!