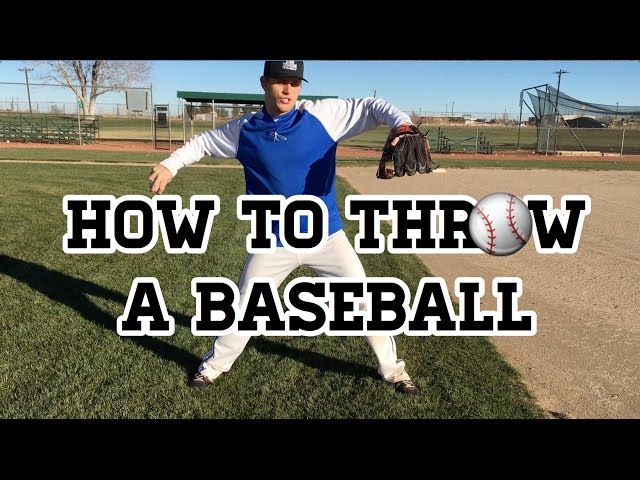
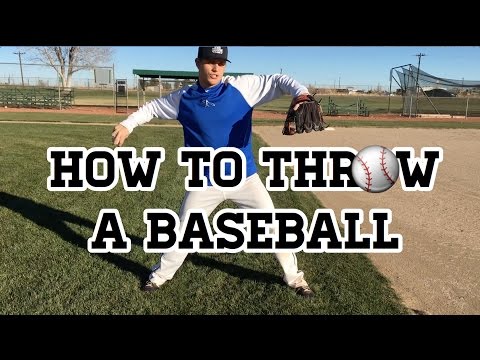
Throwing Technique: How to Throw a Baseball
Contents
Throwing a baseball may seem like a simple task, but there is actually a lot of technique involved. In this blog post, we’ll break down the basics of how to throw a baseball so that you can perfect your technique.
Introduction
Whether you’re Playing catch with a friend or trying out for the team, learning how to throw a baseball correctly is important. In addition to improving your accuracy, a proper throwing technique can also help you avoid injuries Here are a few tips on how to throw a baseball correctly.
First, grip the ball with your fingertips and fingers. Place your thumb under the ball and position your middle finger along the side of the ball. For right-handed throwers, place your index finger between the seams of the ball. For left-handed throwers, do the opposite.
Next, raise your elbow so that it’s level with your shoulder and bring the ball up to your ear. This is called the “power position” because it gives you more leverage when you throw.
Then, cock your wrist back and point your index finger toward second base for right-handed throwers (toward first base for lefties). This puts extra spin on the ball and makes it easier to control.
Finally, step forward with your non-throwing hand and explosively release the ball As you release it, snap your wrist forward and follow through with your arm toward the target.
The Grip
There are many ways to grip a baseball, but the two most common grips for a fastball are the four-seam grip and the two-seam grip. The four-seam grip is the more traditional of the two, and it is how most pitchers learn to throw a fastball. To throw a four-seam fastball, put your index and middle fingers along the wide seams of the baseball and hold it so that your thumb is on the bottom of the ball at the point where the leather stitches meet. Your thumb and fingers should be spread out as much as possible.
The two-seam fastball is gripped slightly differently. Instead of holding the ball along the wide seams, you will hold it along the narrow seams. Place your index finger on one seam and your middle finger on the other seam, and then position your thumb underneath the ball at the point where the leather stitches meet. Again, you want to make sure that your thumb and fingers are spread out as much as possible.
The Stance
Assuming a proper stance is the key to Hitting the ball You should be square to the plate, which means your feet should be shoulder-width apart and your toes pointing straight ahead. Your knees should also be slightly bent. This will give you a strong base to work from.
The Windup
From the stretch position, the pitcher brings his throwing arm back until the hand is near his ear. As he does this, he lifts his lead leg and moves it forward; this will put his weight on the back leg. When his lead leg is about knee-high to the batter, he should be shifting his weight to it. The front shoulder will rotate so that the shoulder and elbow are pointing at second base (for a right-handed pitcher). From here, he brings his arm forward and releases the ball.(Windup)
The Delivery
Assuming a right-handed pitcher, the delivery begins with the pitcher taking a lead off first base with his right foot. As he throws, his left foot comes up and he jabs his platform (his back leg) towards home plate This creates torque and allows the Pitcher to transfer his weight from his back foot to his front foot. As he does this, he brings his arms up above his head and depending on the pitch being thrown, will cock his wrist behind his ear. When his front foot hits the ground, he should be in a position where he is looking directly at home plate and is balanced on the balls of both feet. The lead leg (right leg for a right-handed pitcher) will now act as a pivot point as he brings it back. As this happens, his torso and throwing arm will rotate clockwise around this axis until they are facing away from home plate (for a right handed pitcher). His off-speed pitches will require less arm speed than fastballs so pitchers generally decelerate rather than accelerate through their release point for these pitches; additionally, they sometimes try to hide their release point for these pitches by keeping their glove raised longer or by intentionally holding/delaying their follow-through.
The Follow Through
After you release the ball, your arm should continue moving forward, ending up in what is called the follow through. This ensures that your body generates as much power as possible, and also prevents injury to your elbow and shoulder. To follow through properly, keep your arm parallel to the ground and point your thumb down. Your arm should end up next to your opposite hip, with your hand pointing toward the direction you want the ball to go.
Common Mistakes
One of the most common mistakes in throwing a baseball is not following through with your throw. You should aim to have your hand shoulder-height when you release the ball, and your follow-through should end with your arm at full extension. Many novice players also make the mistake of throwing the ball too hard, which can lead to inaccuracy. Another common mistake is not involving your lower body in the throw. Rotating your hips and using your legs will generate more power and accuracy than relying on arm strength alone.
Advanced Throwing Techniques
There are many different ways to throw a baseball, but some pitching styles are more effective than others. If you want to throw like a professional, you need to learn the proper techniques.
Advanced Throwing Techniques
Once you have mastered the basics of throwing a baseball you can begin to experiment with more advanced techniques. These can help you throw with more power and accuracy.
One commonadvanced technique is to use a two-seam Fastball Grip This grip involves holding the baseball with your index and middle fingers along the seams of the ball. This grip can help you throw a fastball with more movement.
Another advanced technique is to throw a changeup. A changeup is a slow pitch that is thrown with the same arm motion as a fastball. However, the ball is released slightly differently, which makes it appear to be coming in slower than it really is. This can confuse hitters and make them swing early, resulting in an easy out.
If you want to throwing like a pro, you need to master these advanced techniques. With practice, you will be able to dazzle batters with your powerful pitches and outstanding control.
Tips for Success
Throwing a baseball is not as easy as it looks. It takes practice and proper technique to throw the ball with accuracy, speed and power. Here are a few tips to help you master the art of pitching:
1. Start by gripping the ball with your index and middle fingers across the seams, and your thumb underneath the ball.
2. For a fastball, cock your wrist back so that your hand is behind the ball, and then snap your wrist forward as you release the ball. For a curveball, start with your hand above the ball and then rotate your wrist downward as you release it.
3. As you release the ball, extend your arm forward and follow through with your throwing motion This will help add velocity to the pitch.
4. Practice makes perfect! The more you practice, the better you will become at Throwing strikes
Conclusion
Now that you know the basic mechanics of how to throw a baseball, you can begin to work on perfecting your technique. Remember to keep your non-throwing hand behind your back, and use your legs and trunk to generate power. As you become more comfortable with the motion, you can experiment with different grip types and release points to find what works best for you. With practice, you’ll be throwing strikes in no time!