What Does A Baseball Glove Look Like?
Contents
If you’re a baseball fan, you’ve probably wondered what a baseball glove looks like. While the answer may seem obvious, there’s actually a lot of variation in the design of baseball gloves. In this blog post, we’ll take a closer look at the different features of baseball gloves and how they impact performance.
The History of the Baseball Glove
The baseball glove has come a long way since its humble beginnings. What started as a simple piece of leather has evolved into a complex piece of equipment designed to help players perform at their best.
While the basic design of the baseball glove has remained relatively unchanged over the years, the materials and construction techniques have been constantly evolving. Today, there are dozens of different types of baseball gloves available on the market, each with its own unique features and benefits.
If you’re curious about the history of the baseball glove and how it has evolved over time, read on for a quick overview.
The first recorded use of a baseball glove dates back to 1875, when Cincinnati Reds player Doug Allison was spotted wearing a pair of modified gardening gloves during a game. These early gloves were little more than pieces of leather that covered the palms and fingers. They provided very little protection and did little to improve players’ grip on the ball.
In 1877, Philadelphia Athletics player George Wright debuted the first true baseball glove. Wright’s glove featured padded fingers and an adjustable webbing between the thumb and forefinger that helped players catch more balls. This design quickly caught on and soon became the standard for gloves worn by professional players.
Over the next few decades, several companies began producing baseball gloves using different materials and construction techniques. In 1929, Horace Dorman introduced one of the first all-leather gloves made with horsehidepalm and webbing. This design became popular among infielders who needed extra protection while fielding hard-hit balls.
The Different Parts of a Baseball Glove
A baseball glove is made up of several different parts, each with a specific purpose. The back of the glove, where your fingers go, is called the “pocket.” The “webbing” is the part of the glove between your thumb and first finger. And the “wrist strap” goes around your wrist and attaches to the back of the glove.
How to Choose the Right Baseball Glove
Choosing the right baseball glove is important for every infielder, outfielder and catcher. Depending on your position, you’ll need a different glove to help you perform your best.
First Basemen – First basemen gloves are larger than other gloves to help with scooping low throws. They typically have an open webbing between the thumb and forefinger to help grab errant throws.
Second Basemen – Second basemen need a glove that is small and agile to help with double plays. The webbing on these gloves is usually closed so the ball doesn’t pop out as easily.
Third Basemen – Third basemen need a glove that is similar to a shortstop’s glove but may be a little bit bigger. This will help with scooping throws from the outfield as well as making long throws across the diamond.
Shortstop – Shortstops need a smaller glove to help with quick reflexes and quick transfers from glove to hand. These gloves often have closed webbing so the ball doesn’t pop out easily.
Outfielders – Outfielders need a glove that is large and has an open webbing to help them catch fly balls. The deep pockets on these gloves will help secure the ball when it’s caught.
Catchers – Catchers gloves are larger than other gloves to help them catch pitches in the dirt as well as block wild pitches in the dirt. The padding in these gloves will also help reduce the sting when catching fastballs.
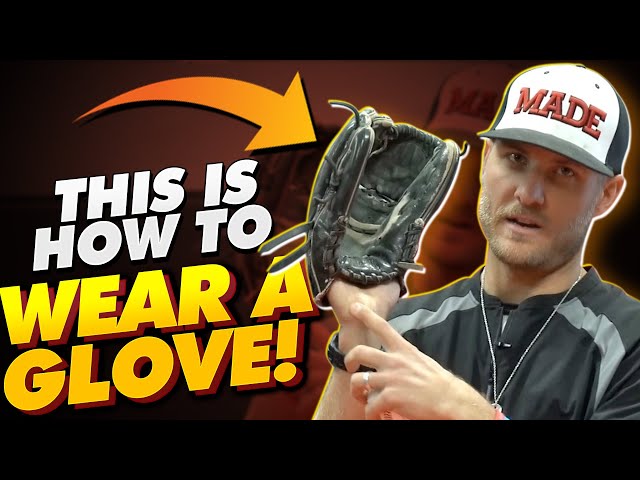
How to Break In a New Baseball Glove
There’s nothing like the feel of a brand new baseball or softball glove. The leather is soft and the padding is springy. It’s like a glove made specifically for you. But before you can take your new glove out to the field, you need to break it in.
Don’t worry, breaking in a baseball glove is easy and only takes a little time and effort. With these simple steps, you’ll be playing catch with your new glove in no time.
What You Need:
-Your new baseball or softball glove
-A ball (or two)
-Glove mallet (optional)
-Rawlings Glove Conditioner (optional)
– Break-in kit (optional)
Instructions:
1.Start by snapping your ball into your new glove a few times. This will help to loosen up the leather and make it more pliable. If the leather feels stiff, you can also use a mallet to lightly tap around the entire surface of the glove. Be careful not to overdo it – you don’t want to damage the leather.
2.Once the leather feels softer and more flexible, it’s time to start working the laces. Start by tying them in a knot, then gently pulling on them until they’re nice and tight. Again, avoid putting too much pressure on the laces – you don’t want to break them.
3.Now it’s time to start shaping the pocket. To do this, place your ball in the pocket and close the glove around it as tightly as you can without damaging the leather or laces. Once the ball is in place, work it back and forth until it forms a nice pocket shape that will hold the ball securely when you catch it.
4.”seasoning” your glove with some rawlings Glove conditioner will help to soften up the leather even more and make it more durable in the long run. Simply apply a small amount of conditioner to a clean cloth and rub it into all surfaces of the glove, paying special attention to areas that see a lot of wear and tear like the palm pads
And that’s it! Your new baseball or softball glove is now ready for action on the field