How to Make a Baseball Cap Treat Box
Contents
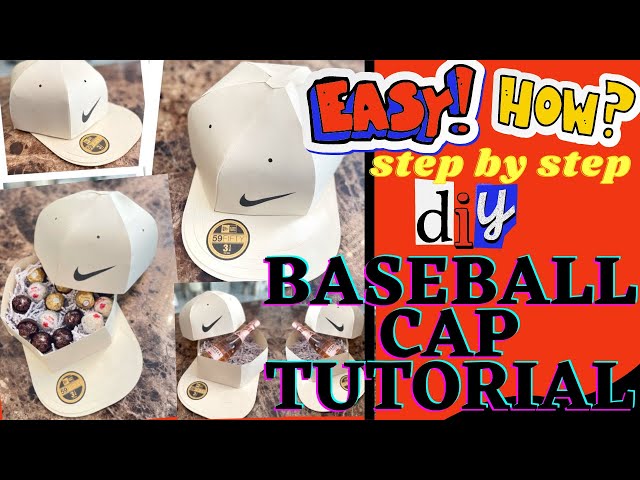
These Baseball Cap treat boxes are perfect for a baseball themed party or for a fun summer treat! They are easy to make and only require a few supplies.

Introduction
This easy baseball cap treat box is a fun way to Show Your Team spirit! It’s perfect for game days, sporting events, or any time you want to show your support for your favorite team Plus, it’s a great way to show your creative side.
What you will need
--baseball cap themed box or container
-Construction paper
-Pencil
-Scissors
-Tape
-Glue
-Stickers (optional)
Step One – Cut out the template
To make this baseball cap treat box, you will need to cut out the template. You can find the template here. Once you have printed out the template, use a pair of scissors to cut out the shape of the baseball cap
Step Two – Trace and cut the felt
Next, trace around the template onto the felt twice. Make sure that the pieces are facing opposite directions so that when they are sewn together, the stitches will be hidden on the inside of the treat box. Cut out the felt along the tracing.
Step Three – Assemble the box
If you want to make a Baseball Cap treat box, the third step is to assemble the box. You will need a sheet of cardstock, a scissors, a pencil, and a glue stick. First, fold the cardstock in half lengthwise. Next, use the pencil to trace a half-circle on one end of the cardstock. Cut out the half-circle with the scissors. Now, fold up the bottom of the box so that the half-circle forms the brim of the baseball cap Finally, use the glue stick to secure all of the sides of the box.
Step Four – Fill the box
Now it’s time to fill your box with goodies! You can use anything you like – candy, cookies, cake, fruit, or even a small toy. If you’re using candy, make sure to put it in a bag first to keep things tidy. Once you’ve filled your box, close the lid and decorate the top with a bow or ribbon.
Step Five – Attach the lid
Now that you have your box and lid cut out, it’s time to attach the lid. Fold along the dotted lines on the lid, then use glue or double-sided tape to attach the flap to the inside of the box. This will make a nice, clean finish on your treat box.
Step Six – Add the finishing touches
Now that your box is all put together, it’s time to add the finishing touches. You can use paper to decorate the box any way you like. You can also add a ribbon or bow to make it extra special.
Conclusion
Assembling the baseball cap treat box is quick and easy, and it makes a great party favor or addition to a party table. Simply gather your supplies, including a Baseball Cap shaped box, tissue paper, and candies. Fill the baseball cap with tissue paper, then add your favorite candies. Fold the tissue paper over the top of the candy, then close the box and enjoy!
FAQ
Q: What size box should I use?
A: Any size box will work, but we recommend using a 3″ x 3″ x 3″ box.
Q: How many baseball caps can I fit in one treat box?
A: It depends on the size of the baseball caps For small Baseball Caps you can fit up to 12 in one treat box. For larger baseball caps you can fit up to 6 in one treat box.
Q: What type of candy should I use?
A: Any type of candy will work, but we recommend using wrapped candy so it doesn’t make a mess.