How to Make Your Own Baseball Hat Mickey Ears
Contents
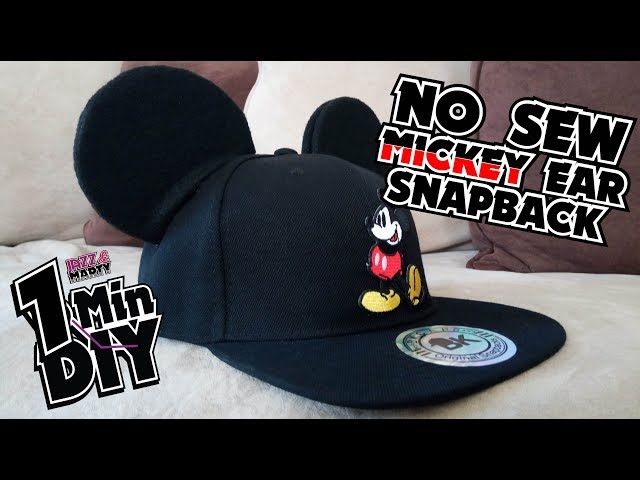
How to Make Your Own baseball hat Mickey Ears – Check out this blog post for a step by step guide on how to make your own Mickey ears out of a baseball hat!

Introduction
Welcome to my tutorial on how to make your own baseball hat Mickey ears! This is a quick and easy craft project that anyone can do, and it’s a great way to show your love for all things Disney. You’ll need a few supplies that you probably already have around the house, and in no time at all you’ll have your very own Mickey ears to wear. So let’s get started!
What You’ll Need
-2 sheets of black felt
-1 sheet of white felt
-2 black Pipe cleaners
-1 red Pipe cleaner
-1 small amount of polyester stuffing
-Scissors
-Hot glue gun and glue sticks
-Pencil
-Ruler or measuring tape
Cutting the Ears
The first step is to cut the Mickey ears out of the felt. You can use a template, freehand them, or trace around an existing pair of Mickey ears. If you are freehanding or tracing, make sure to mirror the images so that you have a left and right ear. Once you have cut out the two Mickey ears, set them aside.
Assembling the Ears
Now that you have all of your materials, it’s time to assemble the ears. Start by folding one pipe cleaner in half and then twisting the two halves together to create a smaller loop. This will be the top of one ear. Then, take the remaining three pipe cleaners and twist them together in the center to create a larger loop. This will be the bottom of one ear. Next, take your top and bottom loops and twist them around each other in the center to create a 3D shape. Finally, measure out a piece of black electrical tape and wrap it around the point where the two loops meet to secure them together. Repeat this process for the other ear.
Attaching the Ears to the Hat
Before you can attach the ears to the hat, you’ll need to use a hot glue gun to glue two strips of velcro onto the back of each ear. Next, line up the ears on the front of the hat and attach them with the velcro.
Finishing Touches
Once you have your Mickey ears cut out and on the brim of your baseball hat it’s time to add the finishing touches! You can use black Sharpie or a black fabric pen to add details like nostrils and eyelashes. If you want to get really creative, you can also add some Goofy teeth or Donald Duck’s signature bill. Once you’re happy with your design, set your hat aside to dry. And that’s it! You now have a one-of-a-kind baseball hat with Mickey ears that you made yourself.
Alternative Ear Designs
If you’re looking for something a bit more creative or unique than the traditional Mickey Mouse ears design, there are plenty of other options out there! Here are just a few of the alternative ear designs that you could try for your next trip to Disneyland:
-Tomahawk Mickey Ears: This design features two tomahawks crossed in the center of the forehead, in place of the usual ears. You can make them as simple or as elaborate as you’d like.
-Pirate Mickey Ears: These ears feature a pirate bandana tied around the head, with two skull and crossbones patches in place of the traditional ears.
-Princess Mickey Ears: For a touch of Disney royalty, try this design featuring a glittery tiara in place of the ears.
-Bunny Mickey Ears: perfect for Easter or any other time of year, these cute ears feature bunny ears instead of Mickey’s signature ones.
-Bowtie Mickey Ears: A bowtie shaped like Mickey’s head is attached in place of the ears in this fun design.
Tips and Tricks
Mickey Mouse ears are a staple of any visit to a Disney theme park. Whether you’re two or 92, donning a pair of these classic ears is a surefire way to get into the magic of Disney.
While you can purchase Mickey ears at any of the parks, they can be expensive, especially if you’re purchasing them for multiple people in your group. A cheaper and more fun alternative is to make your own DIY Mickey ears out of baseball hats!
Here are some tips and tricks to make sure your DIY Mickey ears are as magical as possible:
1. Choose a hat that is black or another dark color. This will ensure that the contrast between the hat and theMickey ear “ears” is stark, making your Mickey ears really stand out.
2. If you want to add some extra pizazz to your Mickey ears, try adding some rhinestones or other bedazzlements around the edge of the “ears”. This will add some extra shimmer and shine to your DIY creation!
3. Make sure that the “ears” are securely attached to the hat so that they don’t fall off while you’re wearing them. One way to do this is by using hot glue or another strong adhesive.
4. If you want your Mickey ears to be truly unique, try personalizing them with paint or fabric markers. You could add your name, a character’s name, or anything else that you think would be fun!
troubleshooting
If you are having trouble getting the cereal to stick to the hat, try using a piece of tape to secure it in place while the hot glue dries. If the ears are too pointy, try flattening them out a bit with your fingers. And finally, if the cereal is giving you a hard time staying put, add a few dabs of hot glue to help it adhere better.
Conclusion
To make your own Baseball Hat Mickey ears, you will need:
-A Black Baseball hat
-A hot glue gun
-Black felt
-Scissors
-1 large red button
-2 small black buttons
Instructions:
1. Cut two black felt circles out – these will be the Mickey ear shapes. Make sure they are slightly bigger than the size of your buttons.
2. Hot glue the large red button in the center of one of the black felt circles. Then hot glue a small black button on each side of the red button. This will be one of your Mickey ears. Repeat for the other ear.
3. Hot glue the Mickey ears onto the baseball hat positioning them so that they sit just above the brim of the hat. Allow to dry and enjoy!