How to Make a Baseball Pumpkin
Contents
Get in the Fall spirit by carving a baseball pumpkin! This is a fun and easy project that the whole family can enjoy.

Introduction
You will need:
-1 pumpkin
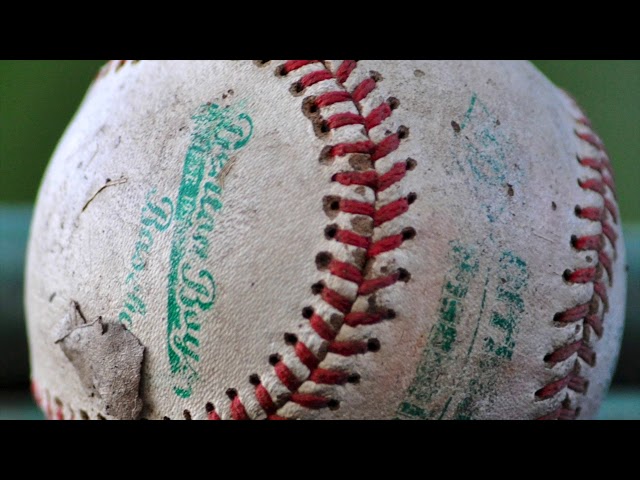
-1 baseball
-Tape
-Sharpie
Before you begin, draw a simple outline of a baseball on the pumpkin using a Sharpie. This will help you to get the proper dimensions for your design.
Next, cut a circular hole in the top of the pumpkin. This will be the hole that you insert the baseball into. Make sure that the hole is slightly smaller than the circumference of the ball.
Now, take your baseball and tape it securely to the inside of the pumpkin. Be sure that the taped portion is facing outwards so that it is visible from the outside of the pumpkin.
Your baseball pumpkin is now complete!
What You’ll Need
To make a baseball pumpkin, you will need the following supplies:
-One medium to large sized pumpkin
-A sharp knife
-A spoon or scoop
-A black Sharpie or other black permanent marker
--baseball stickers (optional)
First, use the knife to cut off the top of the pumpkin, as if you were carving a traditional jack-o-lantern. Next, use the spoon or scoop to remove the pumpkin guts and seeds. Once the pumpkin is cleaned out, begin drawing a baseball diamond on the front of the pumpkin with the black Sharpie. If desired, add some baseball stickers around the diamond. Your baseball pumpkin is now complete!
Step One: Prep the Pumpkin
Start by prepping your pumpkin. If you’re using a real pumpkin, you’ll need to cut off the top, scrape out the guts, and carve a hole in the back for your baseball. You can also use a foam pumpkin or styrofoam ball.
If you’re using a real pumpkin, you’ll also want to roast the seeds. Separate them from the guts, rinse them off, and toss them with a little olive oil and salt. Spread them on a baking sheet and roast at 300 degrees for about 30 minutes, stirring a few times. Let them cool before adding them to your pumpkin.
Step Two: Cut a Hole in the Pumpkin
Cut a hole in the top of the pumpkin large enough to fit your hand through. You will need to scoop out the inside of the pumpkin, including the seeds and guts. A large spoon or an ice cream scoop works well for this.
Step Three: Carve the Pumpkin
Now that you have your pumpkin, it’s time to carve it! Carving a baseball pumpkin is not much different than carving a traditional jack-o’-lantern. Use a sharp knife to cut a hole in the back of the pumpkin, then scoop out the insides.
Once your pumpkin is hollowed out, use a pencil or pen to draw a baseball diamond on the front. For the home plate simply draw a square. Then, use your knife to carve out the diamond shape. Be sure to make the lines as straight as possible.
Next, it’s time to add some detail to your pumpkin. Carve two small holes for the eyes, and a larger hole for the mouth. You can also carve out triangles for the teeth if you like. Finally, use a spoon or other tool to scrape away some of the flesh inside the mouth area, creating a “teeth” effect.
Your baseball pumpkin is now complete! Place a candle inside and enjoy your handiwork!
Step Four: Paint the Pumpkin
After you have cut out the top of the pumpkin, scraped out the insides, and cut out the baseball design, it is time to paint the pumpkin. You will need to gather a few supplies before beginning. You will need white paint, a black Sharpie, and orange paint.
To begin, use the white paint to completely cover the pumpkin. Once the white paint is dry, use the black Sharpie to draw stitches on the pumpkin. Finally, use the orange paint to add a little bit of color around the base of the pumpkin.
Your baseball pumpkin is now complete!
Step Five: Add the Details
Now that the basic pumpkin shape is complete, it’s time to add the details that will turn it into a baseball.
Start by using a black Sharpie to add the laces to the pumpkin. Start at the top center of the pumpkin and draw a line down to the bottom center. Then, draw lines coming out from both sides of the central line, making sure to leave some space in between each line.
Once the laces are in place, it’s time to add the stitching. First, use a ruler to draw a horizontal line across the center of the pumpkin. Then, starting at the top left corner of the pumpkin, draw a line downwards towards the right side of the pumpkin, making sure to stop before you reach the horizontal line in the center. Repeat this step on the other side so that you have two lines coming down from either side of the top of the pumpkin.
Finally, use a white paint pen or Sharpie to add dots along the lines you just drew, imitating stitches. Once you’re done, your baseball pumpkin is complete!
Step Six: Display Your Pumpkin
There are lots of ways to display your baseball pumpkin. You can put it on your front porch, in your entryway, or on your mantel. You can also get creative and display it in other places in your home, like on a shelf or in a window. Wherever you decide to put it, make sure it’s in a place where everyone can admire it!
Tips and Tricks
It’s that time of year again! Time to get out the carving tools and create some Halloween magic. If you’re looking for something a little different this year, why not try carving a baseball pumpkin?
Here are a few tips and tricks to help you create the Perfect Baseball pumpkin:
-Start by finding a pumpkin that is the right size and shape. You’ll want one that is round and fairly uniform in shape. Avoid pumpkins that are too big or too small, as they can be more difficult to carve.
-Next, use a sharp knife to cut off the top of the pumpkin. You’ll want to make a large enough opening so that you can easily reach inside and scoop out the guts.
-Once the top is off, use a spoon or your hands to remove all of the seeds and stringy bits from inside the pumpkin. Be sure to scrape the sides and bottom so that they are nice and clean.
-Now it’s time to start carving! For the baseball, you’ll want to carve a small circle in the center of the pumpkin for the stitching. Then, use a curved line to carve out the shape of the ball.
-To finish up, cut two small triangles out of black construction paper and glue them onto the pumpkin for eyes. Then, use a marker or paintbrush to add details like facial expressions, team logos, or player names.
With these tips, you’ll be sure to create a baseball pumpkin that is sure to score a home run with your friends and family!
Conclusion
By following the steps above, you’ll be well on your way to making a baseball pumpkin that will impress all your friends and family. Just remember to have fun and be creative!