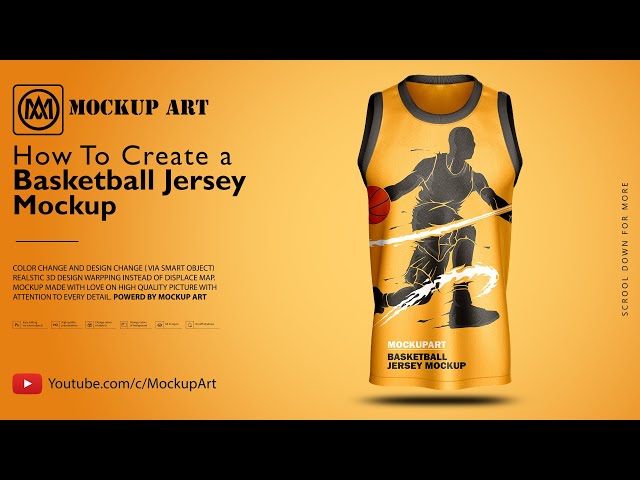
How to Create a Baseball Jersey in Photoshop
Contents
In this tutorial, we will show you how to create a baseball jersey in Photoshop. You will learn how to use the pen tool, how to create clipping masks, and how to add text to your jersey.

Introduction
Custom baseball jerseys are a great way to show your support for your favorite team or player. You can also use them to show off your own personal style. If you’re a Photoshop user, you can create your own custom baseball jersey right at home.
In this tutorial, we’ll walk you through the steps of creating a custom baseball jersey in Photoshop. We’ll start by creating a jersey shape, then we’ll add some fabric texture. Next, we’ll add the team logo and player name and number. Finally, we’ll add some final touches to complete the look.
Let’s get started!
Step One: Choose Your Jersey Template
baseball jerseys are a type of shirt worn by baseball players They typically have a button-down collar and front, and either short or long sleeves The back of the jersey typically has the player’s name and number, and the team’s logo may be featured on the front or sleeve. baseball jerseys are typically made of polyester or a polyester blend, which helps to wick away sweat and keep the player cool.
There are a few different ways to create a baseball jersey in Photoshop. One way is to use a pre-made jersey template. This can be found online or in some graphics design software programs. Another way is to create your own jersey template from scratch using the Photoshop software program.
Step Two: Choose Your Font
Now that you’ve got the perfect image for your jersey, it’s time to add some text! You’ll want to choose a font that is eye-catching and easy to read from a distance. A good rule of thumb is to use a Sans Serif font for the body of your text, and a Script or Decorative font for your player’s name. In this tutorial, we’ll be using the following fonts:
For the body text: Arial Black
For the player’s name: Playbill
Once you’ve chosen your fonts, it’s time to start typing out your text!
Step Three: Add Your Text
Now that you have your image placed on your jersey, it’s time to add some text. In Photoshop, there are a few different ways to add text. The first way is to use the Horizontal Type tool. This tool can be found in the “Toolbox” window, which is usually located on the left side of your screen.
To use the Horizontal Type tool, select it from the Toolbox and then click on the area of your image where you want to add your text. A “Text” layer will automatically be created in your “Layers” window. From here, you can simply type out the text that you want to appear on your jersey.
If you want to change the font or color of your text, you can do so by clicking on the “Type” menu at the top of your screen and choosing a new font or color from the options there.
Another way to add text in Photoshop is by using the “Freeform Type” tool. This tool can also be found in the Toolbox window and works in much the same way as the Horizontal Type tool. However, with this tool you can actually draw out the shape of your text on your image before typing it out.
To use the Freeform Type tool, select it from the Toolbox and then click and drag on your image to draw out a text box. Once you’ve release your mouse button, a “Text” layer will automatically be created in your “Layers” window and you can begin typing out your text inside of it.
As with the Horizontal Type tool, if you want to change the font or color of your text when using the Freeform Type tool, you can do so by clicking on the “Type” menu at the top of your screen and choosing a new font or color from there.
Step Four: Save Your Jersey
Saving your baseball jersey is easy! Just head to File > Save As, and choose your file format. We recommend PNG for the highest quality image. And that’s it — you’re all done!
Step Five: Print Your Jersey
Now that your jersey design is complete, it’s time to print it out! But before you hit the print button, there are a few things you need to do to make sure your design comes out looking its best.
1. Make sure your design is in CMYK mode. This is important because most printers use CMYK inks, and if your design is in RGB mode, the colors will look different when printed. To convert your design to CMYK mode, go to Image > Mode > CMYK.
2. Adjust the resolution. For the best printing results, set the resolution of your design to 300 DPI (dots per inch). To do this, go to Image > Image Resolution. In the Resolution dialog box that appears, enter 300 into the Resolution field and make sure the Resample Image checkbox is unchecked. Click OK when you’re done.
3. Save your file as a PDF. This will ensure that your design prints correctly no matter what printer or computer it’s printed on. To save your file as a PDF, go to File > Save As and select PDF from the Format drop-down menu. Click Save and you’re done!
Conclusion
As you can see, creating a baseball jersey in Photoshop is relatively easy. By following the steps outlined in this tutorial, you should be able to create a realistic jersey that looks great. Remember to experiment with different colors and designs to create a unique jersey that reflects your own personal style.