How to Make a Baseball Stitch Svg
Contents
How to Make a baseball stitch Svg – If you are looking for a fun and easy project to do with your Cricut or other cutting machine, you will love this baseball stitch svg tutorial!

Introduction
A baseball stitch svg is a popular design for t-shirts, hats, and other garments. This type of svg is created by using a device called a Brother Scan N Cut. The Brother Scan N Cut is a personal cutting machine that can be used to cut out designs from paper, fabric, and other materials.
What You’ll Need
-A baseball
-An x-acto knife
-A bath mat
-A cutting board
-A svg file of a baseball stitch
-You can find a baseball stitch svg file online or you can make your own. If you make your own, you’ll need to use an x-acto knife to carefully cut it out.
-A black sharpie
Step One: Create the Design
The first step is to create the design for your baseball stitch svg. You can use any vector editing program for this, but I prefer Inkscape because it’s free and easy to use. If you’re not familiar with Vector graphics think of it like drawing with digital Easter eggs instead of pixels. Each object in a vector graphic is its own separate entity that can be moved, scaled, or otherwise manipulated without affecting the rest of the image.
Once you have Inkscape open, the first thing you need to do is create a new document. To do this, go to File > New. A window will pop up asking you to set the width and height of your document. For this project, we’ll be working with a width of 8 inches and a height of 10 inches. You can leave the units as “inches” or change them to “px” if you prefer working in pixels. I find that inches work better for print projects and px work better for web projects, but it’s ultimately up to you.
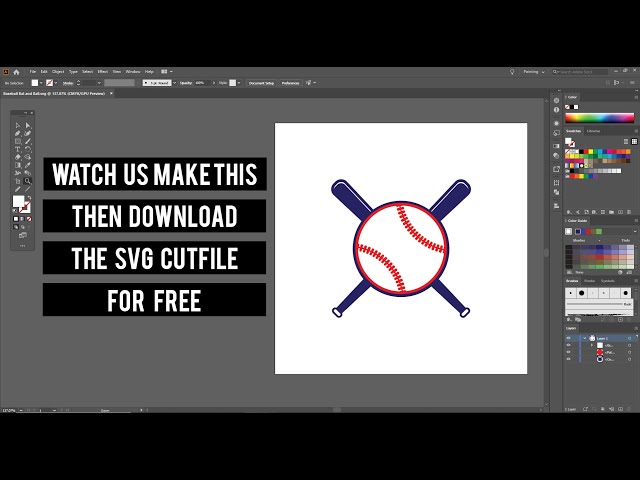
Once you have your document size set, click “OK” and you’ll be taken to your blank canvas. The next thing we need to do is draw our Baseball Stitches To do this, we’ll be using the pen tool, which can be found in the toolbar on the left side of your screen.
If you’ve never used the pen tool before, it can be a bit tricky to get used to. The best way to learn is by doing, so go ahead and give it a try! Draw a couple of lines until you get comfortable with how it works. Once you’re ready, we’ll move on to step two.
Step Two: Cut Out the Design
After you’ve designed your svg, it’s time to cut it out! You can use a cutting machine like a Cricut or Silhouette, or you can cut it out by hand. If you’re cutting by hand, I recommend using a sharp craft knife and a self-healing cutting mat.
To cut out the design, start by tracing the outline of the design with your knife. Then, start cutting along the traced line, being careful not to cut yourself. Once you’ve cut along the entire outline of the design, gently peel away the excess vinyl.
If you’re using a cutting machine, simply load your svg file into the software and follow the prompts to cut it out. Once it’s been cut, weed away the excess vinyl and apply transfer tape to the remaining design.
Step Three: Sew the Design
Now that you have all your supplies, it’s time to start sewing!
Thread your needle with a length of embroidery floss knot the end, and insert the needle into the fabric just below the design.
Sew along the outline of the design, using small stitches and being careful to keep the stitches evenly spaced. When you reach a corner, don’t forget to pivot!
And that’s it! You’re finished sewing your very own baseball stitch svg design.
Step Four: Add the batting
Now we’re going to add the batting. We’ll start by creating a rectangle that’s the same width as the baseball and about half as tall. Then we’ll add a small circle in the center of the rectangle to represent the stitching.
To create the batting, start by drawing a rectangle that’s the same width as the baseball and about half as tall. Then add a small circle in the center of the rectangle to represent the stitching.
Step Five: Finish the Svg
The final step is to finish the svg by adding a baseball stitch pattern to it. This is a simple process that can be accomplished with any vector editing software. In this case, we’ll be using Inkscape.
Conclusion
By now you should have all the information you need to make your own baseball stitch svg file. If you followed the steps in this guide, you should have no trouble creating a realistic baseball stitch in vector form. If you run into any problems, feel free to leave a comment below and I’ll help you out.