How To Break A Baseball Glove In?
Contents
Still using that ancient baseball glove your dad gave you when you were a kid? It’s time for an upgrade. Here’s a step-by-step guide on how to break in a baseball glove the right way.
Introduction
Most baseball gloves will come pre-oiled from the factory. This oil helps to protect the glove during shipping and also provides a small amount of protection from the elements. Before using your glove, it is important to remove this oil so that the glove can be properly conditioned. The easiest way to do this is to simply play catch with the glove until the oil has been removed. Once the oil has been removed, you can then begin to break in your glove.
Step One: Soften The Leather
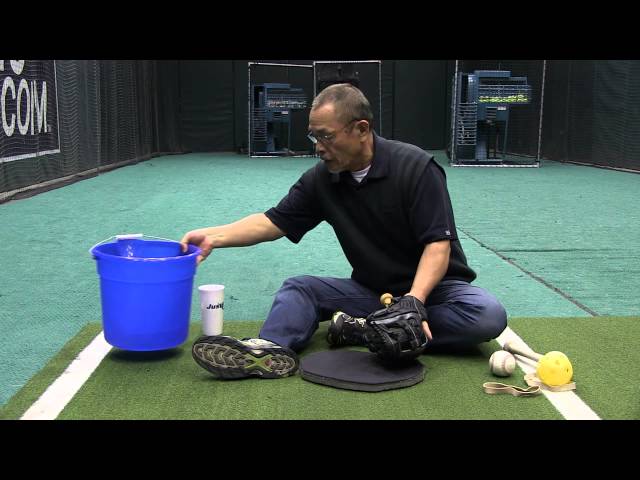
The first step is to soften the leather. This can be done by submerging the glove in a bucket of water for about an hour. You want the leather to be soaked all the way through, so make sure to keep flipping the glove over so that both sides get evenly wet.
Step Two: Form The Glove To Your Hand
Once the leather has softened, it’s time to start forming the glove to your hand. Start by putting your hand in the glove and making a fist. Once you have formed a fist, begin working the leather around your hand, using your fingers to mold it into shape.
Step Three: Wrap The Glove In A Towel
Once you have formed the glove to your hand, wrap it in a towel and leave it overnight. This will help the leather retain its shape as it dries.
Step Four: Repeat Steps Two And Three
After the first night, repeat steps two and three until the glove feels comfortable and broken-in. This process can take anywhere from one to two weeks, depending on how often you repeat the steps.
Step Two: Form The Pocket
The next step is to form the pocket. This can be done by working the ball into the glove from the top down. Start by holding the ball in the palm of your hand and insert it into the glove. Next, use your fingers to push the ball down into the webbing. finally, close your glove around the ball and squeeze it tightly to form the pocket.
Step Three: Break In The Laces
After you’ve loosened the glove and formed it to your hand, it’s time to break in the laces. Start by wetting the laces with warm water. Once they’re wet, tighten them as much as you can. Then, put the glove on and make a fist. Hold onto something (like a door knob) and twist your wrist back and forth 30 times. Finally, remove the glove and let it dry overnight.
Step Four: Season The Glove
After you have oiled the glove, you will need to season it. Seasoning is critical to breaking in a glove, as it helps the leather to soften and become more pliable. It also helps to prevent the glove from developing mold or mildew.
To season your glove, you will need to rub it down with a lanolin-based leather conditioner. You can purchase a conditioner specifically for gloves, or you can use a lanolin-based saddle soap. Rub the conditioner into the leather until it is evenly distributed, then allow the glove to air dry. Once the glove is dry, you can begin using it.
Conclusion
There is no single answer to the question of how to break a baseball glove in. Some people prefer to work the leather by hand, while others may use a glove mallet or other tool. Ultimately, it is up to the player to experiment and find what works best for them.