How To Draw A Bat For Baseball
It’s baseball season, which means it’s time to break out the bats! Here’s a quick guide on how to draw a bat for your next baseball game.
Introduction
How to Draw a Bat for Baseball is a step-by-step guide that will help you learn how to draw a baseball bat. This guide is perfect for beginners and people who want to improve their drawing skills. The guide includes easy-to-follow instructions and detailed illustrations.
What You Need
To get started, you will need a few supplies. First, you will need a bat. You can use a real bat, or you can use a piece of wood that is the same size and shape as a bat. Second, you will need a piece of paper. Third, you will need a pencil. Fourth, you will need a black pen. Finally, you will need some crayons or colored pencils.
Now that you have all of your supplies, it is time to start drawing! Begin by sketching out the general shape of the bat with your pencil. Once you have the basic shape down, start adding in the details. Use your black pen to draw the seams on the bat. Add in any other details that you want. When you are finished, color in your bat with your crayons or colored pencils.
There you have it! Now you know how to draw a bat for baseball.
Step One
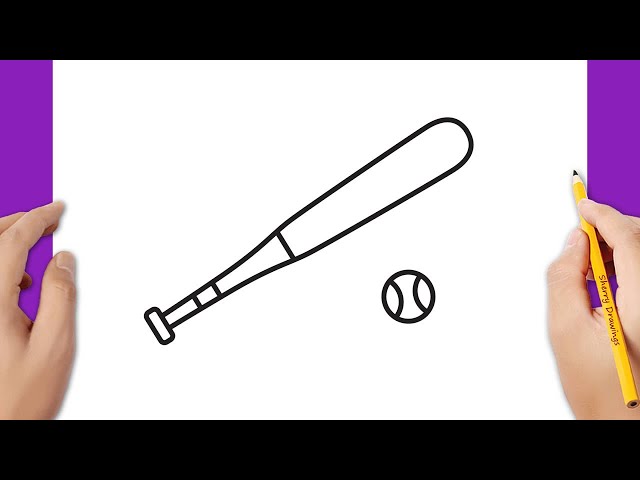
The first step is to start with the body of the bat. Use a pencil to sketch out the general shape of the bat. You can make it as long or short as you like. Just make sure that the bottom is wider than the top.
Step Two
Now that you have your bat drawn out the way you want it, it’s time to start adding some details. Begin by drawing two small oval shaped circles at the top of the bat for the head and knobs. Next, draw a small rectangle near the bottom of the bat for the grip. Then, add two horizontal lines across the bat for the seams. Finally, add two small circles at the very end of the bat for the laces. That’s it! You now have a completed drawing of a baseball bat.
Step Three
Now that the body of the bat is complete, it is time to add the details. Start by drawing two small circle at the top of the bat for the eyes. Then, draw a line across the middle of the bat for the mouth. Next, draw three small lines on each side of the bat for the legs. Finally, draw a line down the middle of the bat for the spine.
Step Four
After you have drawn the two lines that converge at a point to form the bottom of the bat, finish drawing the barrel of the bat by drawing a curved line from this point to the top of the bat.
Step Five
Draw the top part of the bat using a curved line. Then, draw the bottom part of the bat using another curved line. Finally, connect the two lines using a third curved line.
Conclusion
Now that you know the basics of how to draw a baseball bat, you can add your own personal touches to make your drawing unique. Remember to keep the shape simple and think about the direction of the lines when you’re drawing. With a little practice, you’ll be able to draw a great looking baseball bat in no time!