How To Make A Custom Wwe Belt?
If you are looking for a guide on how to make a custom WWE belt, look no further! This blog post will show you everything you need to know to make your own championship belt.
Introduction
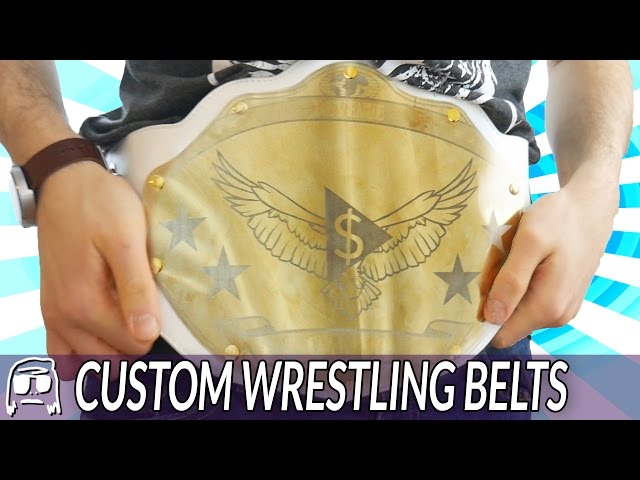
In this Instructable, I’ll be showing you how to make a replica WWE Championship Belt. The process is pretty simple and only requires a few supplies that you may already have around the house. This project is also inexpensive, so it won’t break the bank.
So let’s get started!
What You’ll Need
-3/4 yard of 4″ wide black leather or pleather
– measuring tape
-marker
– sharp scissors
– paintbrush
– leather paint or acrylic paint in the colors of your choice
– clear acrylic sealer (optional)
Instructions
1. Find a heavy duty vinyl or leather. The thickness should be around 4 to 6 oz (0.1 to 0.2 cm).
2. Using a template, trace and cut out the shape of the WWE belt. You can use an image from the internet or create your own design.
3. If you want to add raised accents, glued on small pieces of leather or vinyl in the desired shape. Allow the glue to dry completely before proceeding.
4. Paint the entire belt with latex paint, using several thin coats to prevent Runs.”
5. Place a piece of cardboard inside the belt to protect the back while you’re working on the front.
6. To add color, use acrylic paints or fabric dye.”
7. Add details such as logos or emblems with permanent markers or acrylic paints.”
8. Finish by spraying on a layer of clear latex sealant.”
Conclusion
In conclusion, making your own WWE belt is a great way to show your support for your favorite wrestler or to start your own wrestling collection. With a little time and effort, you can create a one-of-a-kind belt that will be the envy of all your friends.