How to Make a Lego Baseball Bat
Learn how to make a Lego baseball bat with this easy to follow tutorial. You’ll be hitting home runs in no time!

Introduction
In this Instructable, I will show you how to make a Lego baseball bat. This is a simple project that can be done in about an hour, and it makes a great gift or decoration.
You will need the following parts:
-One Lego 2x4 brick
-One Lego 2x2 brick
-One Lego 1x2 brick
-One Lego 1x1 brick
Instructions:
1. Start by assembling the base of the bat. To do this, attach the 2x4 brick to the 2x2 brick, as shown in the first picture.
2. Next, add the 1x2 brick to the top of the bat, as shown in the second picture. This will be the handle of the bat.
3. Finally, add the 1x1 brick to the end of the handle, as shown in the third picture. This will be used as a knob at the end of the bat.
Your Lego baseball bat is now complete!
What You’ll Need
To make a Lego baseball bat, you will need the following:
-24 Lego bricks (1x2 size)
-1 Lego brick (2x4 size)
-1 Lego tile (1x2 size)
-1 Lego minifigure
Optional:
-Paint or other decorations for your bat
Instructions:
1.Start by building the base of your bat. To do this, take 12 of the 1x2 bricks and stack them on top of each other, side by side.
2.Next, add the 2x4 brick to the center of the stack, making sure that it is perpendicular to the 1x2 bricks.
3.Now take your remaining 11 1x2 bricks and create a second stack on top of the first one, lining up the bricks so that each one is directly above a brick from the first stack.
4.Attach the 1x2 tile to the top of this second stack, again making sure that it is perpendicular to the 1x2 bricks beneath it. This will be the top of your bat.
5.Finally, add your minifigure to the top of the bat by attaching it to the 1x2 tile. If desired, you can now paint or decorate your bat however you like!
Step One
In order to make a Lego baseball bat, you will need the following materials:
-34 Lego blocks
-A baseplate
-A ball
To begin, you will need to create the barrel of the bat. This can be done by stacking the Lego blocks on top of each other in a row. Once you have the desired length for the barrel, you will then need to attach it to the baseplate.
Next, you will need to create the handle of the bat. This can be done by taking two of the Lego blocks and stacking them on top of each other. Once you have the desired length for the handle, you will then need to attach it to the barrel.
Finally, you will need to attach the ball to the end of the barrel. This can be done by taking one of the Lego blocks and attaching it to the end of the barrel. Once you have attached the ball, your bat is complete!
Step Two
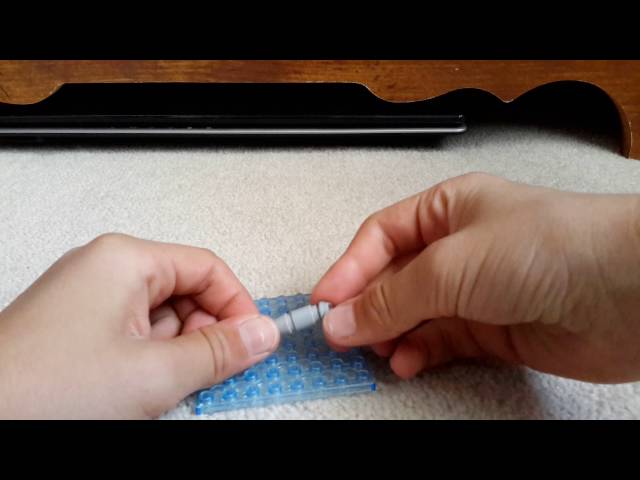
Attach one 2 x 6 red Lego beam to the top of the 6 x 12 green Lego plate, making sure that the red beam is aligned flush with the left side of the green plate. This will be the handle of the bat.
Step Three
Now that you have your pieces, it’s time to put them all together. First, take the barrel and connect it to the handle. Next, add the knob to the other end of the handle. Finally, attach the bat to the barrel.
There you have it! Your very own Lego baseball bat!
Step Four
Now that you have your Lego bat, it’s time to start building! The first thing you’ll need to do is gather your materials. For this project, you’ll need:
-One Lego board
-One inch white square pipe cleaners (fourteen)
-One inch black square pipe cleaners (two)
-Yellow round pipe cleaners (two)
-Scissors
-Tape
-Paper towel rolls (two)
Cut the paper towel rolls into six inch pieces. You will need fourteen of these. Tape seven pieces together to form the handle of the bat. Tape the remaining seven pieces together to form the barrel of the bat. These will be the two main parts of your Lego bat.
Next, take your white square pipe cleaners and tape them along the length of the handle. This will serve as the grip for your bat. Once you have done this, take your black square pipe cleaners and tape them horizontally across the top of the barrel. This will create a cross symbol on top of the barrel, which is necessary for stability when hitting a ball. Finally, take your yellow round pipe cleaners and twist them around the bottom of the barrel. This will serve as decoration for your bat and add some extra stability.
Step Five
Now that you have your Lego baseball bat assembled, you need to practice using it. You can do this by hitting a Lego baseball or by hitting a real baseball. If you are hitting a real baseball, make sure that you are doing so in a safe place where there is no danger of breaking something. Once you have practiced using your Lego baseball bat, you will be ready to use it in a game.
Conclusion
Now that you know how to make a Lego baseball bat, it’s time to put your new skills to the test. Try building a simple bat first, then move on to more complex designs. With a little practice, you’ll be able to create all sorts of different bats, each with its own unique features. So get building, and have fun!