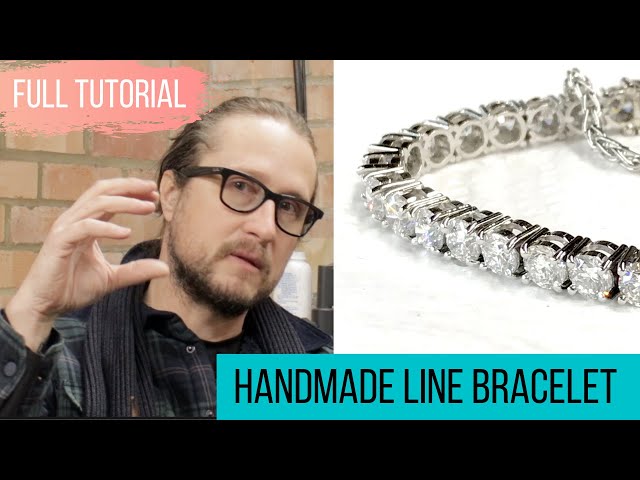
How To Make A Tennis Bracelet?
Contents
How to make a tennis bracelet? This is a question that we get a lot! So, we decided to put together a quick and easy guide to help you make your very own tennis bracelet.

Introduction
A tennis bracelet is a piece of jewelry that consists of a string of diamonds or other precious stones. It is called a tennis bracelet because it was introduced to the public by tennis player Chris Evert in 1987, after she lost her diamond bracelet during a match. While the original bracelet was made with diamonds, today, tennis bracelets are available with any type of stone.
What You Need
– 3 yards of beading thread
– 3 yards of clear monofilament beading thread
– 108 size 6 seed beads
– 54 size 8 seed beads
– 1 gram of 11/0 seed beads (optional)
– 1 bead tip
– 1 crimp bead
– 1 pair of needle nose pliers
– 1 pair of scissors
Instructions:
1. Cut one length of beading thread and one length of monofilament beading thread, each about 3 yards long.
2. Place the cut threads side by side and fold in half. Use the needle nose pliers to open the loop at the end of the bead tip and slide it over the folded end of the threads, then pull it snug against the threads.
3. Separate the two halves of the threads. Pick up 108 size 6 seed beads and slide them onto one half of the thread. Then pick up 54size 8 seed beads and slide them onto the other half of the thread. (If you are using 11/0 seed beads, add them now, evenly distributing them between the two halves of thread.)
4. Slide the 54size 8 seed beads down so they rest against the bead tip. Cross the two halves of thread over each other, making sure all the beads remain on their respective halves of thread.
5.String a crimp bead onto one half of the thread, then pass both halves of thread through it again. Pull snug againstthe bead tip, leaving a small loop. Use your needle nose pliers to flattenthe crimp bead (or use a Crimp Tube Tool).
The Steps
A tennis bracelet is a sparkly and chic piece of jewelry that can dress up any outfit. It’s perfect for special occasions or everyday wear. While they can be expensive to purchase, they are actually quite easy to make at home. All you need are some basic supplies and a little bit of time. Follow the steps below to learn how to make your own tennis bracelet.
1. Gather your supplies. You will need wire, beads, clasps, and jump rings. You can purchase all of these items at your local craft store.
2. Decide on the length of your bracelet.Measure your wrist and add 2 inches to that measurement. This will be the length of your bracelet. Cut a piece of wire to this size using wire cutter pliers.
3. String the beads onto the wire according to your desired pattern. Leave about 1 inch of wire at each end for attaching the clasp later on.
4. Use pliers to bend the wire into a loop at one end of the bracelet. Make sure that the loop is large enough so that it can slide over the clasp easily when you are putting it on later.
5. Attach a jump ring to the loop that you just created. A jump ring is a small metal ring with an open space in the middle of it. You will use this open space to attach it to the clasp later on.
6 Repeat steps 4 and 5 on the other end of the bracelet.?
7.?Now it’s time to attach the clasp.?Use pliers to open up one side of the jump ring that is attached to one end of the bracelet.?Slide on one half of the clasp and then close up the jump ring again.?Repeat this process on the other side of the bracelet with the other half of the clasp.?
8.?And that’s it!?Your bracelet is now complete!?
Conclusion
In conclusion, making a tennis bracelet is not as difficult as it may seem. With a little patience and practice, you will be able to make one in no time. Just remember to take your time and use good quality materials. With a little effort, you will have a beautiful piece of jewelry that will last for many years to come.