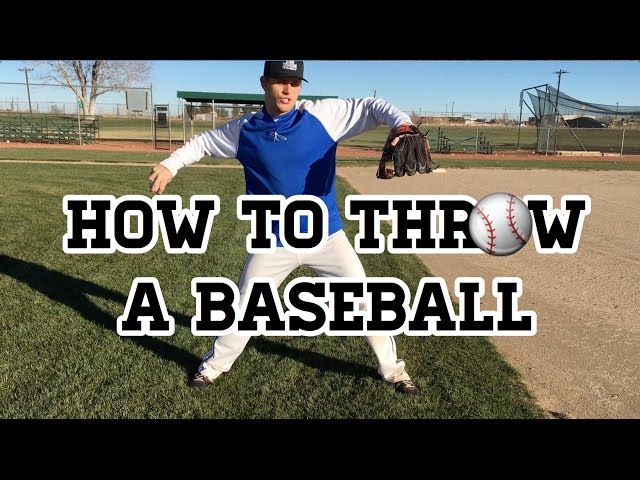
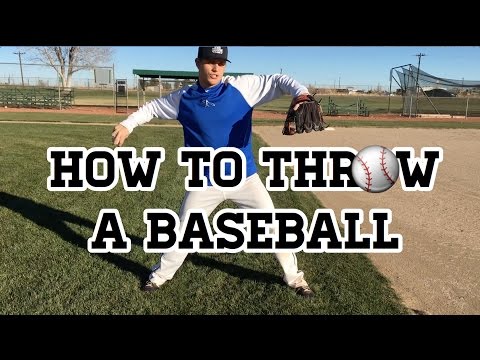
How to Throw a Baseball
Contents
A baseball blog that covers how to throw a baseball. Topics include proper grip, release point, and follow through.
Introduction
Throwing a baseball is not as easy as it may seem. It takes practice and dedication to throw a ball with accuracy and power. In order to throw a baseball properly, you must first understand the basic mechanics of the throw. Then, you can practice these mechanics until they become second nature. With a little bit of practice, you’ll be throwing like a pro in no time!
Step One: The Grip
The grip is the first and most important step in throwing a baseball. The goal is to hold the ball in your fingertips so that the seams are parallel to your bones, not perpendicular. This may feel a bit strange at first, but it will result in more spin on the ball and more control.
Here’s how to do it:
-Place your index and middle fingers along the seams of the ball, with your thumb directly underneath.
-Your ring finger and pinky should be tucked inside the ball.
-Hold the ball loosely in your hand—you should be able to shake it without effort.
Step Two: The Stance
Every great pitcher has his or her own unique pitching style, but there are some general rules that apply to all pitchers. proper stance is the foundation of every pitch, so it’s important to get it right.
There are two main types of pitching stances: the windup and the stretch. The windup is used when there are no runners on base and gives the pitcher a chance to generate more power. The stretch is used when there are runners on base and is designed to be quicker and more efficient.
Here’s how to set up in each stance:
Windup: Start by standing with your feet shoulder-width apart and your toes pointing toward home plate. Raise your glove hand up so that it’s level with your chin, and hold the ball in your throwing hand behind your back. cock your arm back so that your elbow is pointing behind you, then stride forward with your lead foot (i.e., the foot on the same side as your throwing hand) and release the ball when your front foot hits the ground.
Stretch: Start in the same position as the windup, but without cocking your arm back. Instead, bring your glove hand up to chest level and rest the ball in the crook of your elbow. As you stride forward, bring your glove hand down so that it meets your throwing hand just before you release the ball.
Step Three: The Windup
The windup is the first part of the pitching motion. A right-handed pitcher starts with his left foot on the rubber and his right foot on the ground, in line with his left heel. He then brings his right knee up, keeping his glove hand down at his side and his throwing hand behind his head. As he brings his leg up, he should be turning his torso and shoulders to the left, so that when he throws the ball, he is facing the batter.
Step Four: The Release
Now it’s time to let go of the ball. As you do so, snap your wrist so that your hand turns over and the ball comes off the thumb side of your hand. This will give the ball backspin, which makes it harder for the hitter to hit it hard and far.
Conclusion
The most important thing to remember when learning how to throw a baseball is to relax and have fun. It takes time and practice to perfect your technique, so don’t get discouraged if you don’t get it right away. Be sure to warm up before you start throwing, and cool down afterwards to avoid injury. With a little time and effort, you’ll be throwing like a pro in no time!