How to Improve Your Basketball Shooting Form with a Diagram
Contents
How to Improve Your Basketball shooting form with a Diagram
If you’re looking to improve your shooting form, one of the best ways to do so is by studying a shooting form diagram. By understanding the proper form and mechanics involved in shooting a basketball you can make the necessary adjustments to improve your shooting percentage.

Introduction: Why form is important for shooting
Good shooting form is essential for any player who wants to be successful on the court. Having proper form not only makes your shots more accurate, but it also makes them more powerful and allows you to shoot with less effort. In addition, good shooting form is crucial for preventing injuries to your shoulders and elbows.
There are many different aspects of shooting form that you need to pay attention to, but the most important ones are your grip, stance, and arm position. In this article, we will take a closer look at each of these aspects and provide some tips on how you can improve your shooting form. We will also include a helpful diagram that you can use as a reference when you are working on your form.
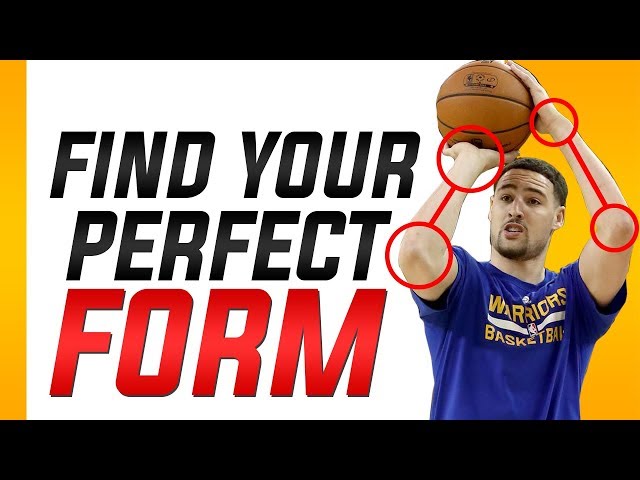
The shooting form diagram
There are a lot of different aspects to a good shooting form, but here is a quick overview with a handy diagram to help you out. Remember, practice makes perfect!
Your shooting hand should be placed on the ball in line with your forehead and your elbow pointing out to the side.Your off-hand should be placed lightly on the side of the ball, not interfering with your shooting hand. As you take your shot, snap your wrists to create spin on the ball and follow through with your shot arm extended toward the basket.
The three main points of the shooting form diagram
There are three main points to the shooting form diagram: the shooting hand, the guide hand, and the elbow. The shooting hand is the hand that is holding the basketball, and the guide hand is the hand that is helping to guide and balance the ball. The elbow should be in line with the basket, and the shooting arm should be perpendicular to the floor.
The follow through
One of the most important aspects of shooting a basketball is the follow through. The follow through is the final stage of the shooting motion in which the wrist is snapped so that the ball rotates forward, propelling it toward the basket.
The follow through can be divided into two parts: The first part is when the player’s hand is still on the ball, and the second part is when the player’s hand has left the ball. In order to ensure a successful shot, it is important to snap the wrists quickly and forcefully in order to generate enough power to send the ball toward the basket.
There are two main ways to improve your follow through: First, you can practice by holding a basketball in your shooting hand and snapping your wrists as if you were releasing a shot. Second, you can use a shooting Aid such as a shooting sleeve or glove to help you develop proper form
The release
After you’ve practiced your shooting stance and grip, it’s time to focus on your release. A smooth, consistent release is key to taking accurate shots. Here are some pointers to keep in mind:
-keep your shooting hand and elbow close to your body
--release the ball at the apex of your jump
-follow through by snapping your wrists and extending your arm
The shooting pocket
One of the most important aspects of shooting a basketball is getting the ball into the shooting pocket. The pocket is the space between your shooting hand and your head. Getting the ball into the pocket allows you to control the ball and keep it balanced as you shoot.
There are two main ways to get the ball into the shooting pocket:
1. The first way is to hold the ball in your shooting hand and then tuck it under your chin. This is called the chin tuck method.
2. The second way is to hold the ball in your non-shooting hand and then place it in the shooting pocket. This is called the sinker method.
Once you have placed the ball in the shooting pocket, you are ready to shoot!
The elbow
One of the most important things for a basketball player to remember is to keep the elbow in when shooting. This will ensure a good follow through and provide more power behind the shot. Another tip is to release the ball at the top of the jump, when the arm is fully extended. Use the diagram below to help improve your form.
The off-hand
One of the most important aspects of shooting a basketball is your off-hand. This hand provides balance and support for the shooting hand, and if it’s not in the correct position, your shot will suffer. Here’s a quick diagram to help you position your off-hand correctly when shooting a basketball:
The feet
One of the most important aspects of shooting a basketball is your feet. The position of your feet will determine the balance and stability of your shot, as well as the direction in which the ball will travel. To help you get started, we’ve created a diagram that outlines the proper way to position your feet when shooting a basketball.
When you’re ready to take your shot, start by placing your feet shoulder-width apart. If you’re right-handed, place your right foot slightly ahead of your left foot. If you’re left-handed, place your left foot slightly ahead of your right foot. This will help ensure that you have a stable base when you take your shot.
Once you have your feet in position, it’s time to focus on your form. Bend your knees and keep your hips low so that you have a good center of gravity. From here, raise the ball so that it’s level with your eyes and extend your shooting arm straight out in front of you. As you take your shot, snap your wrists so that the ball rotates forwards and upwards, giving it spin as it leaves your hand. Follow through with your shot by extending your arm all the way up until it pointing towards the basket.
Practice, practice, practice!
basketball shooting is all about muscle memory. The more you practice, the better your form will become. But even the best shooters need to occasionally take a Step Back and analyze their form to make sure they’re still on track.
That’s where a basketball shooting diagram comes in handy. By studying a well-drawn shooting diagram, you can pick out small flaws in your form that you might not have noticed before. Then it’s just a matter of practicing with the new, improved form until it feels natural.
Here’s a quick overview of how to use a basketball shooting diagram to improve your form.
1. Pick out a spot on the court that you want to be your focus point. It could be the top of the key, the Free Throw Line or even just a spot on the backboard.
2. Study the diagram and identify which part of your body should be in alignment with that focus point when you release the ball. For example, if you’re looking at a diagram of a player shooting from the free throw line you’ll notice that their elbow is in line with the rim.
3. Now it’s time to head to the court and put what you’ve learned into practice! Take some shots from your chosen spot, making sure to keep your body in alignment with the focus point. If your shots are consistently off target, go back and study the diagram again to see if you can identify what you’re doing wrong.
With enough practice, you’ll soon have perfect basketball shooting form!