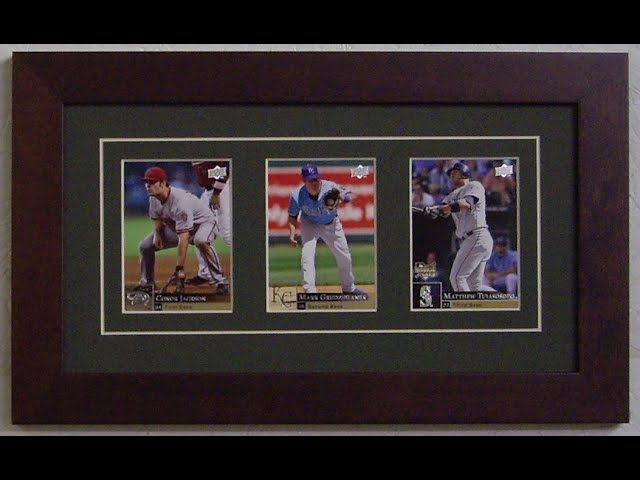
How to Frame Your Baseball Cards
Contents
So you’ve decided to take the plunge and start framing your own baseball cards Here’s a quick guide on how to get started.
Introduction
If you’re a baseball fan you probably have a few favorite players Perhaps you even have a few cards featuring your favorites. But do you know how to frame them properly so they’ll be protected and look their best?
Here are a few tips on how to frame your baseball cards
– Choose a frame that is the right size for your card. If the frame is too big, the card will look lost; if it’s too small, the card will be cramped.
– Make sure the frame has glass or acrylic protectors on both sides. This will keep your cards from being damaged by dirt, dust, or other contaminants.
– Use acid-free backing and matting materials. These will help prevent your cards from yellowing over time.
By following these simple tips, you can be sure that your baseball cards will be protected and look great for years to come!
What You’ll Need
To frame your Baseball Cards you will need the following materials:
– A piece of cardstock or Bristol board measuring 8.5″ x 11″
– A sharp craft knife
– A metal straightedge
– A self-healing cutting mat
– A pen or pencil
– Double-sided tape
– A ruler or measuring tape
– Scissors
– A framesuch as an 8″ x 10″ frame with an mats measuring 5″ x 7″
Step One: Choose Your Frame
There are a few things to consider when choosing a frame for your baseball cards The most important thing is the size of the frame. You want to make sure the frame is big enough to fit all of your cards. Another thing to consider is the color of the frame. You want to choose a color that will match the décor in your home.
Step Two: Cut the Cardboard
The second step in framing your Baseball Cards is to cut the cardboard to the desired size. Cut two pieces of cardboard, one for the front and one for the back, to the same size as your baseball card If you are using a standard-sized baseball card you can find precut pieces of cardboard at your local craft store.
Step Three: Tape the Cardboard to the Back of the Frame
Use clear tape to attach the cardboard to the back of the frame. Be sure to smooth out any bubbles as you go.
Step Four: Put the Glass Back in the Frame
If you’re framing your baseball cards you’ll want to put the glass back in the frame before you hang it on the wall. Here’s how to do it:
1. Place the frame face down on a flat surface.
2. Place the glass on top of the frame, aligning it with the edges.
3. Use a Phillips screwdriver to screw the four corner brackets into place, holding the glass in place. Be careful not to overtighten the screws, as this could crack the glass.
4. Hang your framed baseball cards on the wall and enjoy!
Step Five: Hang Your Frame
The fifth and final step in framing your baseball cards is to hang your frame. Make sure you have chosen a location for your frame that is free of humidity and temperature fluctuations. These can both damage your cards over time. If possible, try to find a spot where the frame will not be exposed to direct sunlight.
Once you have found the perfect location, use picture hanging hardware to secure your frame to the wall. You can find this hardware at most hardware stores or online. Make sure the hardware you select is appropriate for the size and weight of your frame.
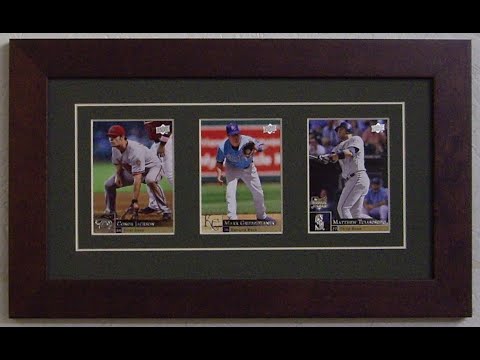
With your frame now hung on the wall, Step Back and enjoy your work! Framing your baseball cards is a great way to protect them while still being able to show them off to family and friends.
Tips and Tricks
Do you have a bunch of baseball cards that you’re not sure what to do with? You could just stick them in a box, but where’s the fun in that? If you’re looking for a way to display your cards and show them off to your friends, family, and fellow baseball fans then framing them is a great option
Framing your cards will not only keep them safe from being bent or damaged, but it will also allow you to display them in a way that looks great. Plus, if you do it right, framing your cards can actually add value to them. If you’re interested in learning how to frame your baseball cards like a pro, then read on for some tips and tricks.
Before You Begin
Before you start framing your cards, there are a few things you need to do in order to get started. First, you need to gather all of the supplies that you’ll need. This includes:
-A stack of baseball cards
-Cardboard backing (this will ensure that your cards stay flat)
-Tape (double-sided tape or clear packing tape both work well)
-A sharp knife or box cutter
-A ruler or measuring tape
-A level (this is optional, but it will help you make sure your frame is level)
-A pen or marker
-A frame (the size will depend on how many cards you’re planning on framing)
Once you have all of the supplies that you need, it’s time to move on to the next step: measuring and cutting your cardboard backing.
Conclusion
In conclusion, properly framing and displaying your baseball cards can add both value and enjoyment to your collection. By following the tips outlined in this guide, you can be sure that your cards will be well protected and look great for years to come!
Further Reading
There are many ways to store and protect your baseball cards Here are a few ways that other collectors have used:
-Storing your cards in protective plastic sleeves
-Putting your cards in a binder
-Using a card album
-Displaying your cards in a frame