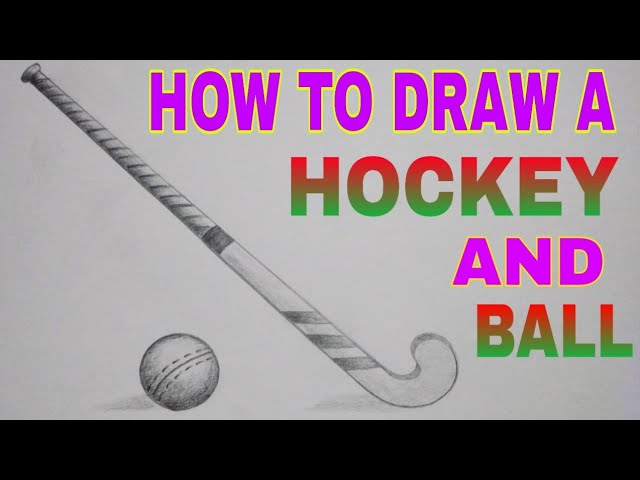
How to Draw a Hockey Stick
Contents
A hockey stick is a tool used by Hockey Players to help them hit the puck. In order to hit the puck, the player must first understand how to hold the stick and then how to swing it.
Introduction
In this tutorial, you will learn how to draw a hockey stick This can be a fun activity for kids or adults, and it can be done in just a few minutes.
First, you will need to gather some supplies. You will need a piece of paper, a pencil, and an eraser. Once you have these supplies, you are ready to begin.
Next, you will want to sketch out the basic shape of the Hockey Stick Start by drawing a straight line near the top of the paper. This will be the top of the stick. Then, draw another straight line about two inches below the first line. This will be the bottom of the stick. Finally, connect these two lines with a curved line This is the blade of the hockey stick
Now that you have the basic shape of the Hockey Stick drawn on your paper, it is time to add some details. First, draw some lines on the blade of the stick to give it texture. Then, add some curves to the top and bottom lines to give them a more realistic look.
Once you are happy with how your Hockey Stick looks, you can erase any pencil marks that are showing through. Now you have a finished hockey stick drawing!
The Basic Shape
Start with a basic rectangle. This will be the shaft of the hockey stick The rectangle doesn’t have to be perfect, but it should be fairly rectangular. From the middle of the top edge of the rectangle, draw a line straight up. This will be the center of the blade. At the end of this line, draw a small circle – this will be the top of the blade.
Adding the Blade
The blade is the long, flat part of the stick that is used to hit the puck. It is attached to the shaft at an angle, and it should be slightly curved so that it can make contact with the puck more easily.
To add the blade to your drawing, start by drawing a long, curved line attached to the shaft at an angle. Then, add a shorter, curved line at the bottom of the blade to complete its shape.
Adding the Curve
Now that you have the basic Hockey Stick shape down, it’s time to add the curve. The curve is what makes a Hockey stick a hockey stick and it’s also what makes it so difficult to draw.
With the help of a friend or a ruler, draw a line from the top of the stick down to the bottom, making sure that it curves in at the bottom. The best way to do this is to start at the top and slowly move your hand down as you draw, making sure that the line is always curved.
Once you have the curve drawn, go over it with a dark pencil or pen so that it stands out. Erase any remaining pencil lines, and you’re done!
Finishing Up
Now that you have the basic shape of the hockey stick it’s time to add some detail. Start by giving the stick a wood grain texture. To do this, draw a series of curved lines going up and down the length of the stick. Make some lines longer and some shorter, and vary the spacing between them to give the wood grain a realistic look.
Next, add the metal blade to the end of the stick. The blade should be curved, and you can use straight lines to give it a grooved look. Finally, add the knob at the top of the stick. This can be a simple circle or oval. Now your hockey stick is complete!
Tips and Tricks
Although it may look complicated, drawing a hockey stick is actually quite simple if you follow a few basic steps.
First, start by drawing a long, curved line for the blade of the stick. Next, add two shorter lines at the top of the blade for the metal end of the stick. Finally, add a small rectangle at the bottom of the blade to complete the shaft of the stick.
Now that you know the basic shape of a hockey stick you can experiment with different styles and sizes to create your own unique design. Remember to have fun and be creative!
Variations
You can use a few simple strokes to draw a basic hockey stick From there, you can add details to create different variations of the stick. In this tutorial, we’ll show you how to draw a hockey stick in three different styles.
For each style, we’ll start with a basic outline of the stick. Then, we’ll add details to create the finished drawing. Pay attention to the placement of the various lines and curves as you work. With a little practice, you’ll be able to draw any type of hockey stick you like!
Conclusion
The most important thing to remember when drawing a Hockey Stick is to make the blade as long as possible. The longer the blade, the more powerful the shot will be. The shaft of the stick should be about two-thirds the length of the blade, and the grip should be about one-third the length of the shaft.
Resources
To get started, you’ll need a few supplies. A hockey stick some tape, and a marker will do the trick. You can find all of these items at your local sporting goods store
Once you have your supplies, it’s time to get started. Begin by taping the hockey stick to a flat surface. Then, using your marker, draw a line down the center of the stick. This will be your guide as you create the rest of the design.
Next, start drawing lines perpendicular to the center line, starting at the top of the stick and working your way down. These lines should be evenly spaced and should extend outwards from the center line. As you get closer to the bottom of the stick, start making the lines shorter.
When you’re finished, you should have a series of lines that resemble the blades of a hockey stick To give your creation some extra flair, try adding some color or patterns to the design.
About the Author
My name is Luis ramirez i’m from hemet, California. I have been drawing since I was little. I use to draw all the time. When I was about to finish highschool, I had no clue what I wanted to do with my life. Then one of my friends showed me some of hisDrawings and I was amazed. So I decided that’s what I wanted to do with my life.
I went to college for 2 years and got my associates degree in graphic design and new media. Then I transferred to the Art Institute of Pittsburgh Online Division where I am currently studying Game Art & Design. My goal is to become a concept artist or character designer in the video game industry or any type of industry where my art would be appreciated.